


Pixel Toning is an exciting new innovation that helps make your SprintRay 3D printer new again by radically improving the surface quality of your printed parts. A triumph of synergy between software and hardware, Pixel Toning represents a big step on the path of SprintRay’s commitment to creating future-proof products that get better over time. We’re incredibly proud of the results we’ve achieved with this update – reduced voxel lines across all axes and a 5% improvement in accuracy.
So how does Pixel Toning work, and how does it synergize with SprintRay’s existing software and technologies?
Slicing 3D Model into 2D Images
To understand how Pixel Toning works, we have to know how software understands and describes 3D models to your printer. The video below illustrates the fundamental principles that make up 3D printing – that a 3D model gets sliced into hundreds or thousands of individual image-layers. For a crash course on how 3D printing functions, check out the video below.
Slicing is one of the fundamental technologies for DLP 3D printing, and it’s important to understand how the process works in order to explain Pixel Toning properly. Now, let’s take a close look at what a slice might look like for a SprintRay Pro 95 print job:
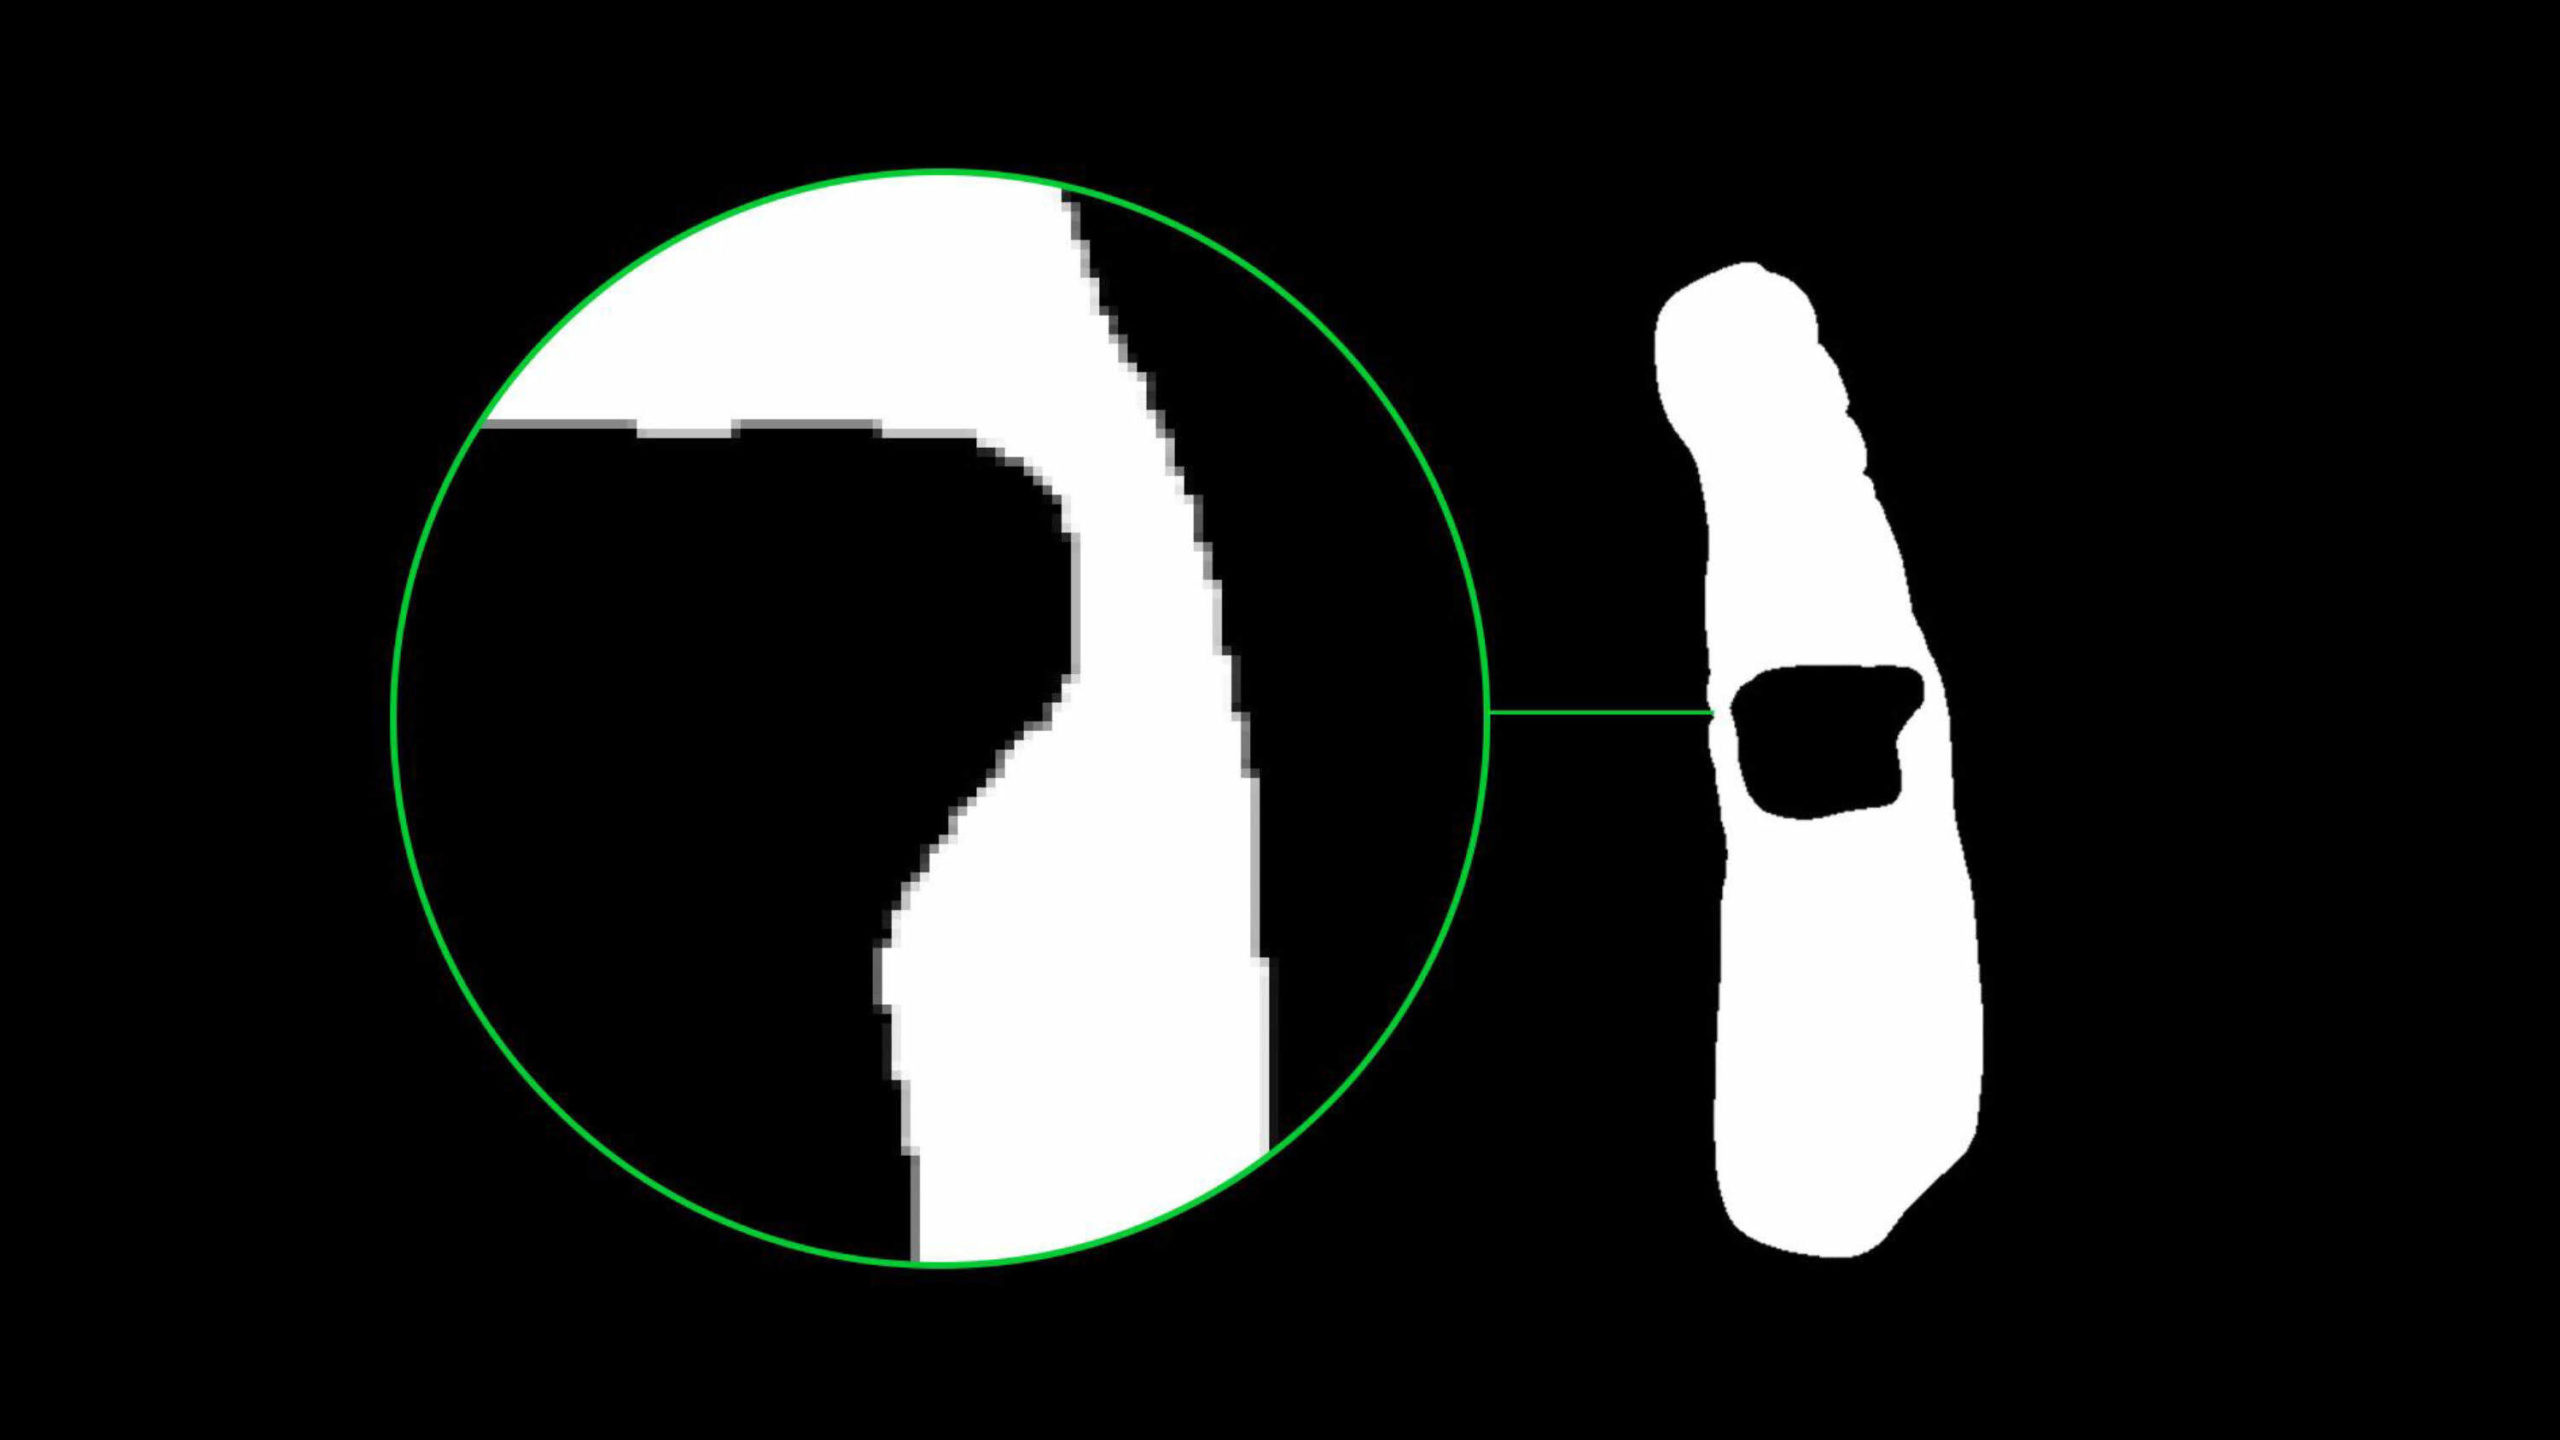
This image-layer shows what a single slice looks like up close. The square nature of pixels can lead to this ‘stepping’ effect, which causes voxelization in printed parts.
On this model, zooming-in is very revealing – slices are digital blueprints constrained by the size of the individual pixel on both the XY and Z axes. Along the edges of the print, particularly where the model has organic contours, we see the jagged edges that will form the physical reality of our printed model. These hard edges are why, when our print is completed, we can often see voxelization across the surface of our prints, such as on the dental model baseline pictured below.
Here, we see voxelization in full force.
One piece of feedback that we’ve received about Pro 95 was that, while its accuracy is demonstrably better than traditional methods for model making, the voxelization effect was sometimes seen as undesirable.
RayWare and SprintRay Pro: A More Perfect Union
When we released SprintRay Pro, we included features like a powerful onboard computer, bespoke PrintOS software, and an extremely precise projector. Pixel Toning leverages each of these, unlocking the potential of SprintRay Pro without the need for costly hardware upgrades.
![]()
Pixels, which are the building blocks of 3D printed models, are square. This means that when a 3D printer fabricates a precise model that has curved surfaces, the ‘steps’ between each pixel are visible upon close inspection. This is the case because, in a typical 3D printing slice, pixels are either ‘On’ or ‘Off.’ This is to say that in a given layer, every single pixel is either fully cured into hard plastic or it remains liquid.
Pixel Toning takes-up the problem of the square pixel, using a highly-advanced algorithm in order to evaluate each of the ‘steps’ along both the XY and Y axes. Pixel Toning evaluates the model’s geometry in its entirety, smoothing-out the voxel lines that are sometimes considered unsightly. The results are immediately obvious.
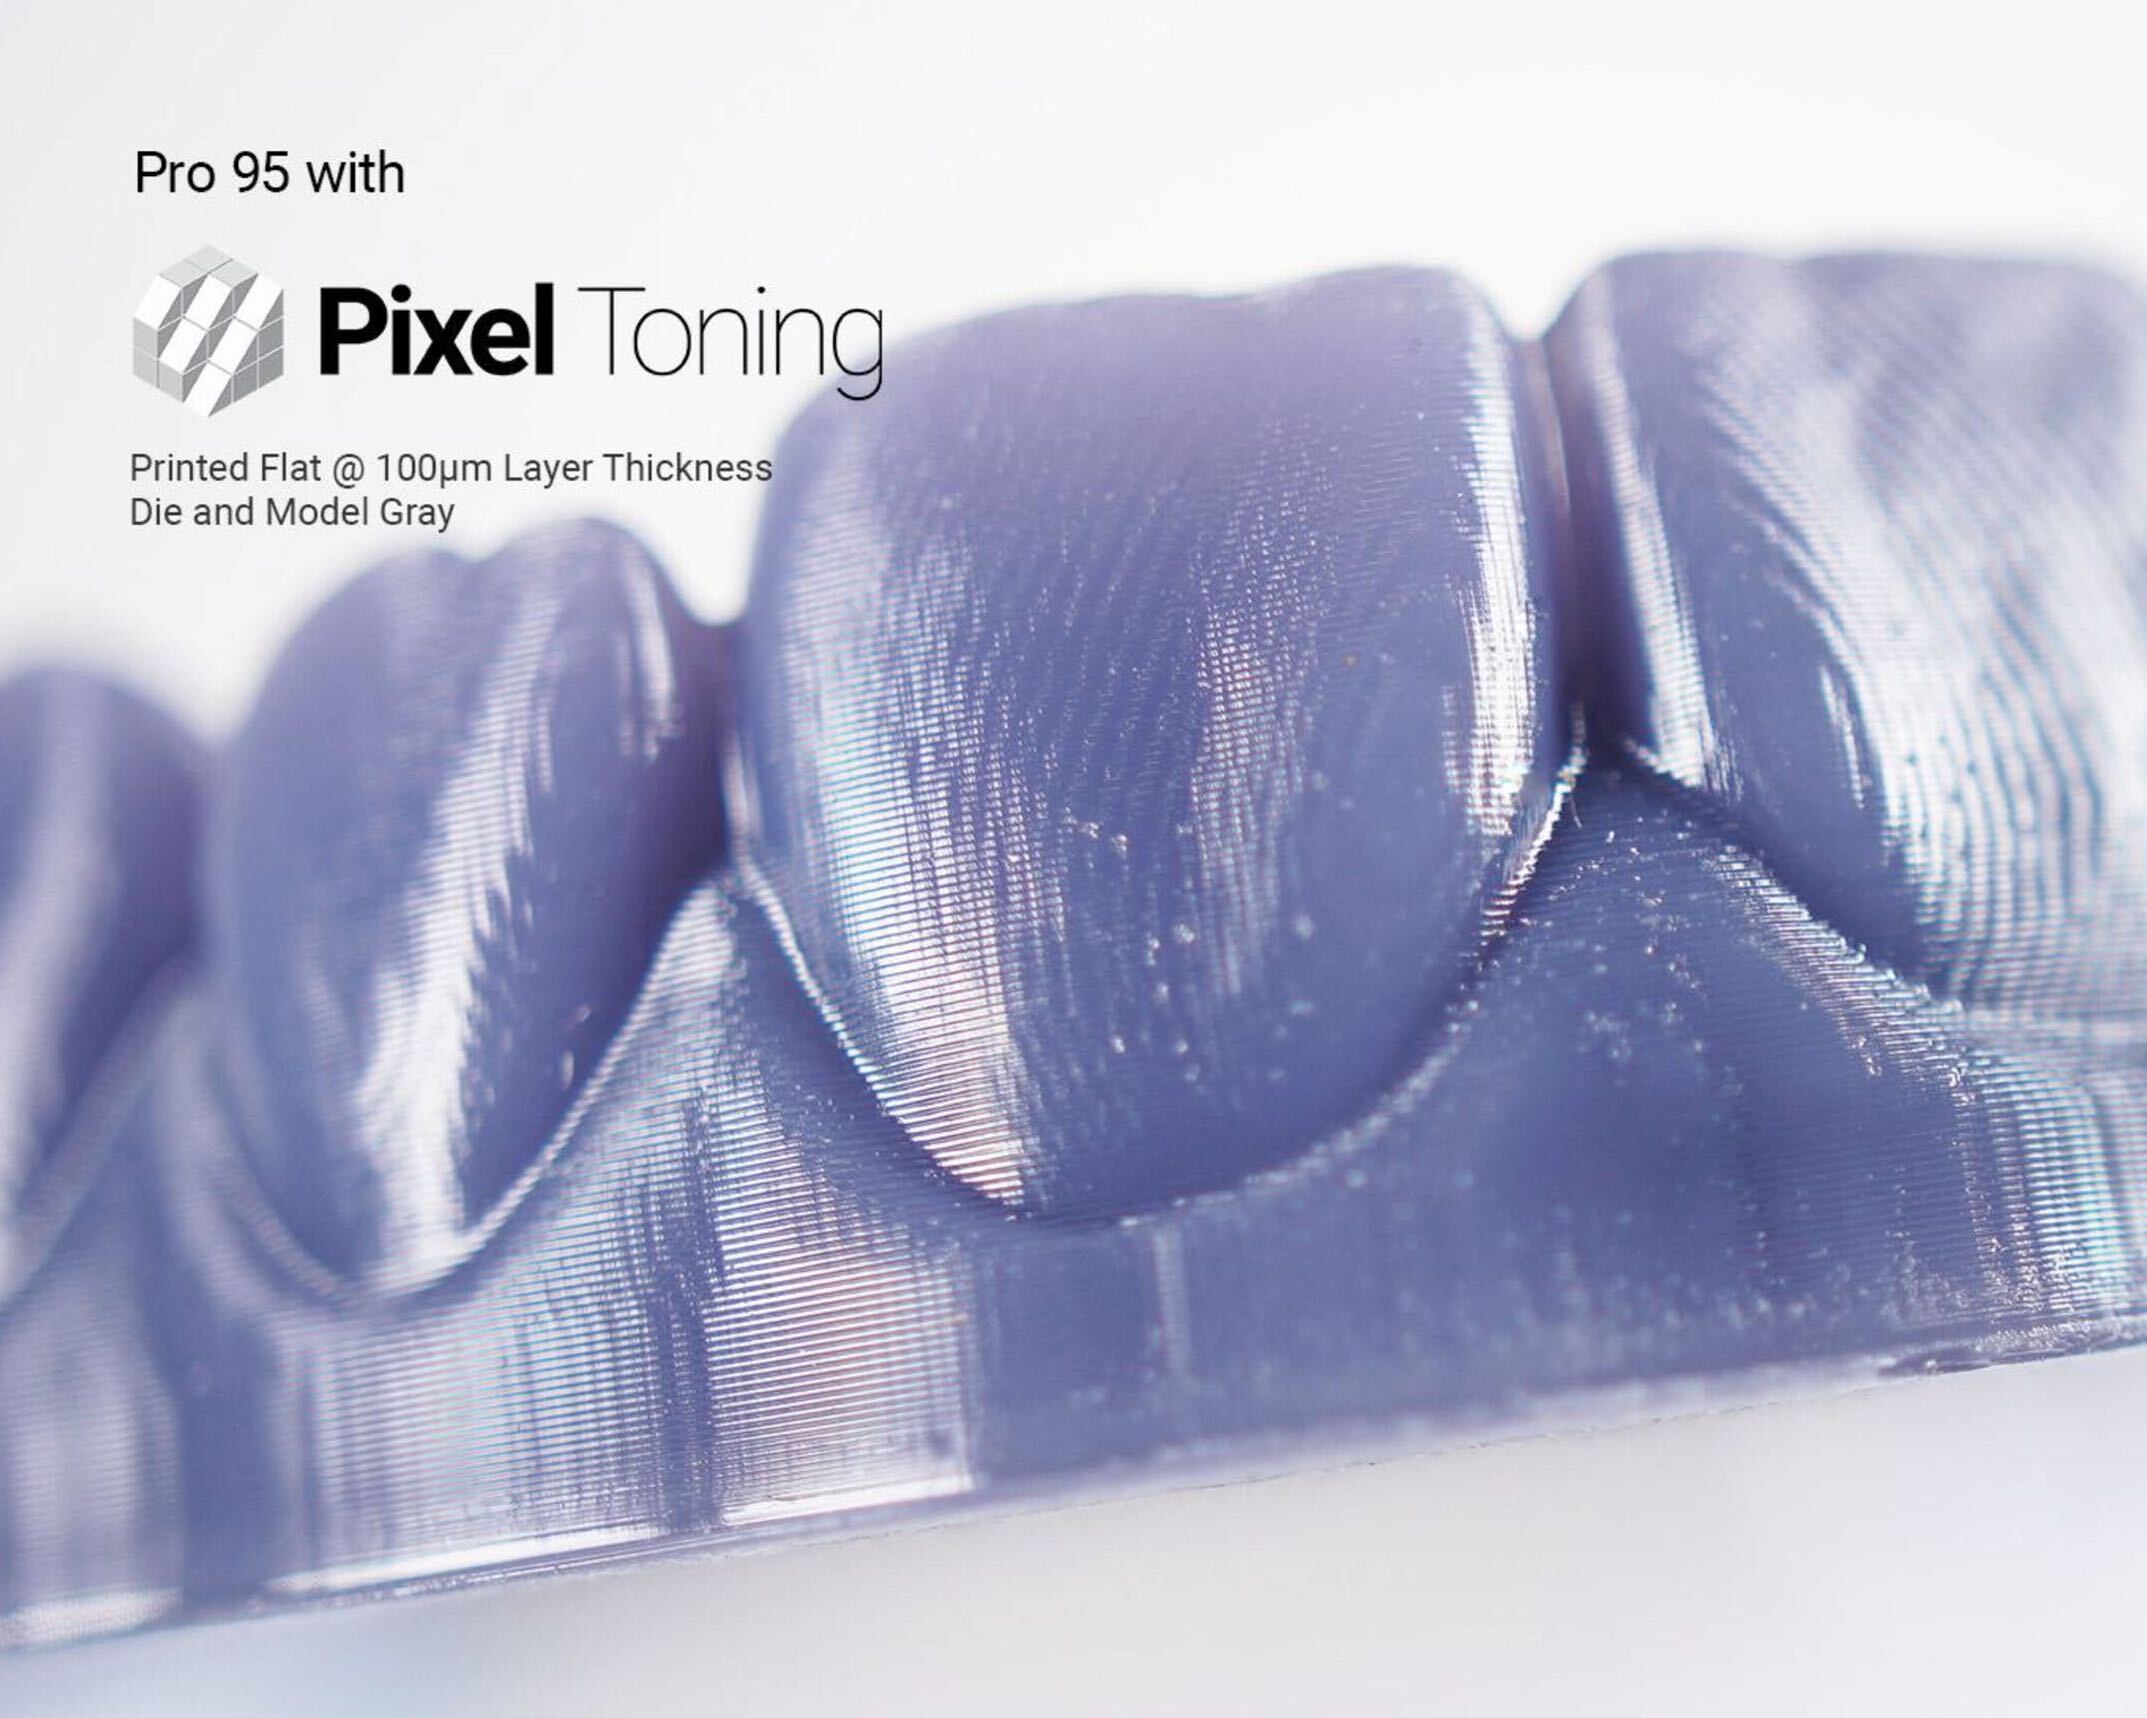
Pixel Toning uses advanced software to significantly reduce the ‘stepping’ effect created by square pixels. Without making any changes to hardware, SprintRay 3D printers now product much smoother models.
Pixel Toning makes your models incredibly smooth by leveraging the existing hardware and intelligent new software. But this advanced feature goes above and beyond smoothness; our studies show that it also improves accuracy by around 5% for dental model production. Models printed with Pixel Toning are a truer representation of their STL blueprints.
Pixel Toning in The Wild
Dr. Wally Renne has been putting Pixel Toning to the test with his SprintRay Pro as well, printing a handful of fantastic comparison studies that show that this feature is even useful for translucent materials. Check out his images below:

These two images were taken with the exact same lighting. The one on the left was taken without Pixel Toning, the one on the right with Pixel Toning.

This overlay shows two identical models superimposed together to demonstrate the difference that Pixel Toning makes on 3D printed parts.
Thanks to Dr. Wally Renne for the fantastic work he and his team are doing at MUSC!
Have you taken an excellent image of your 3D printed parts with Pixel Toning? Join our social media contest! You can enter once a week for a chance to win a free bottle of resin!
The Summer of RayWare Continues
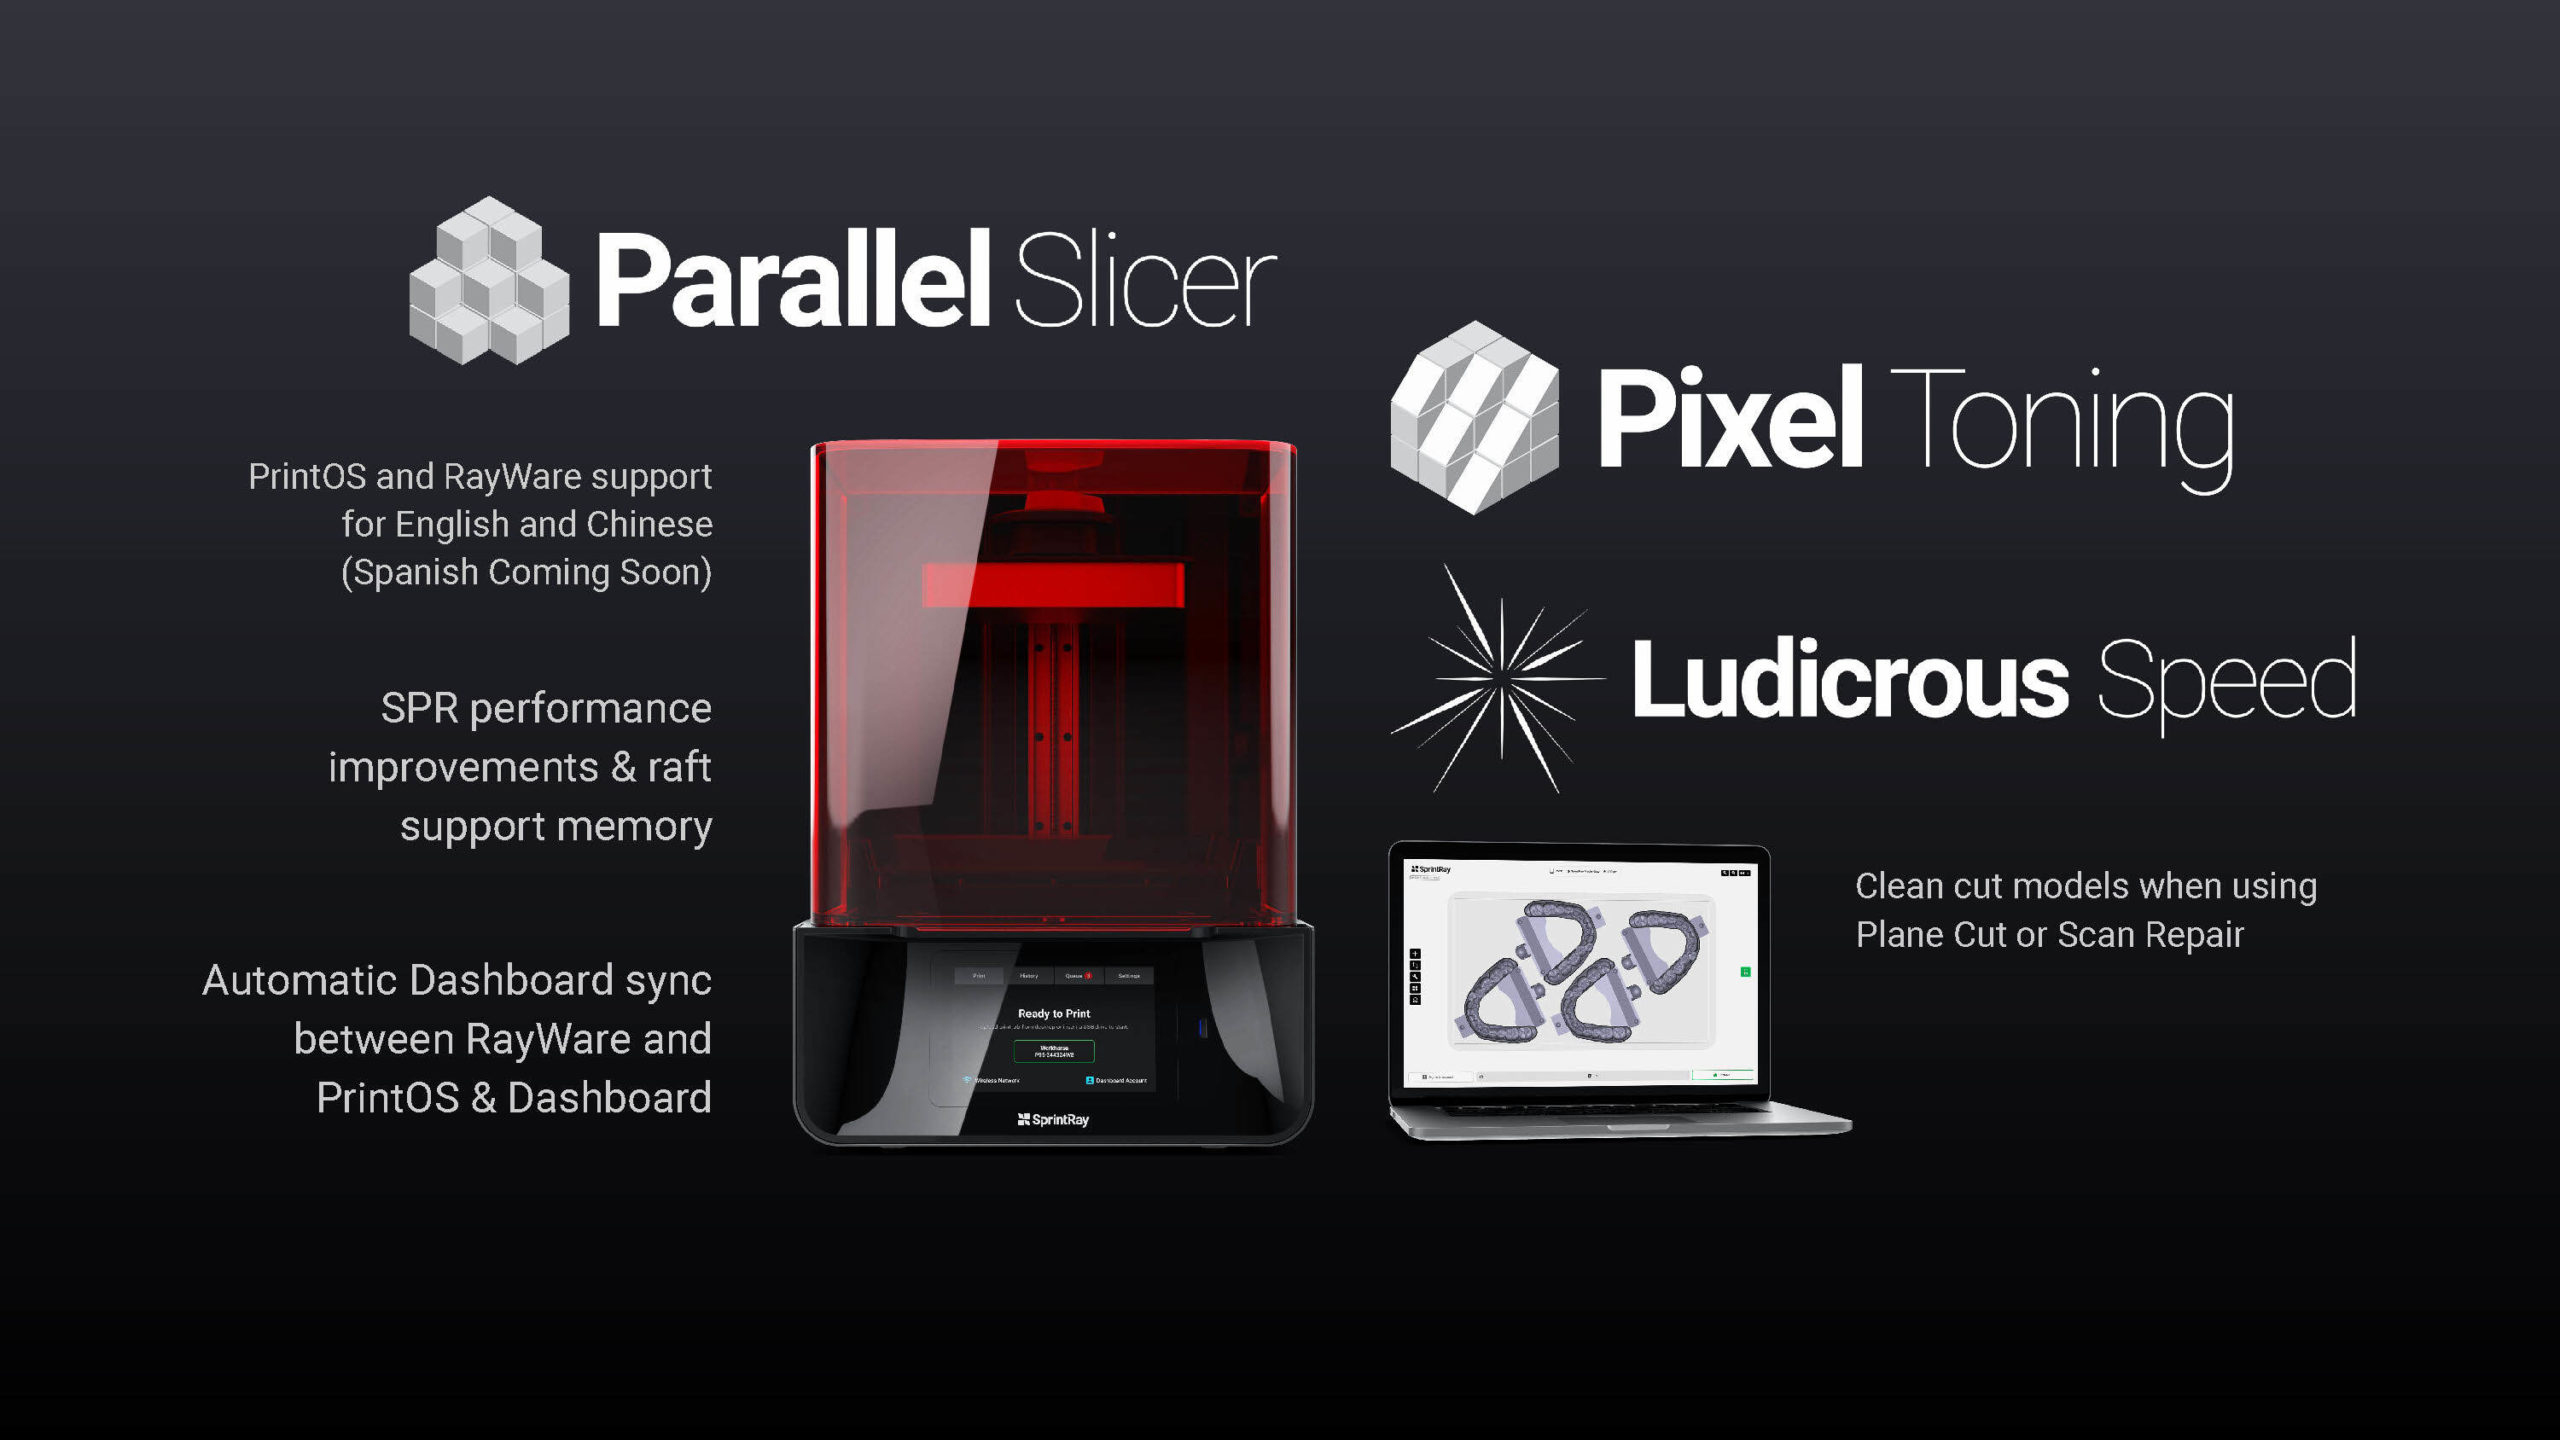
Pixel Toning, Parallel Slicer, and Ludicrous Speed are all part of this free update. And we’re just getting started.
Pixel Toning, part of the RayWare 2.5 update, kicks off The Summer of RayWare alongside Parallel Slicing and Ludicrous Speed. We’ve also added a huge number of new resins to our supported materials system, including those for definitive restorations. This is the first in a series of updates this summer that will continue to focus on delivering on our promise to keep making our products better.
Stay tuned all summer for even more improvements to your SprintRay 3D printing ecosystem – we can’t wait to show you what’s next!
Pixel Toning Contest Details:
Share a post on Facebook or Instagram that includes at least one photo of the 3D printed part(s) that have been printed using Pixel Toning. In order for your entry to be considered you must include both the hashtags: #SprintRay and #pixeltoning and follow SprintRay on the account being used to submit.