






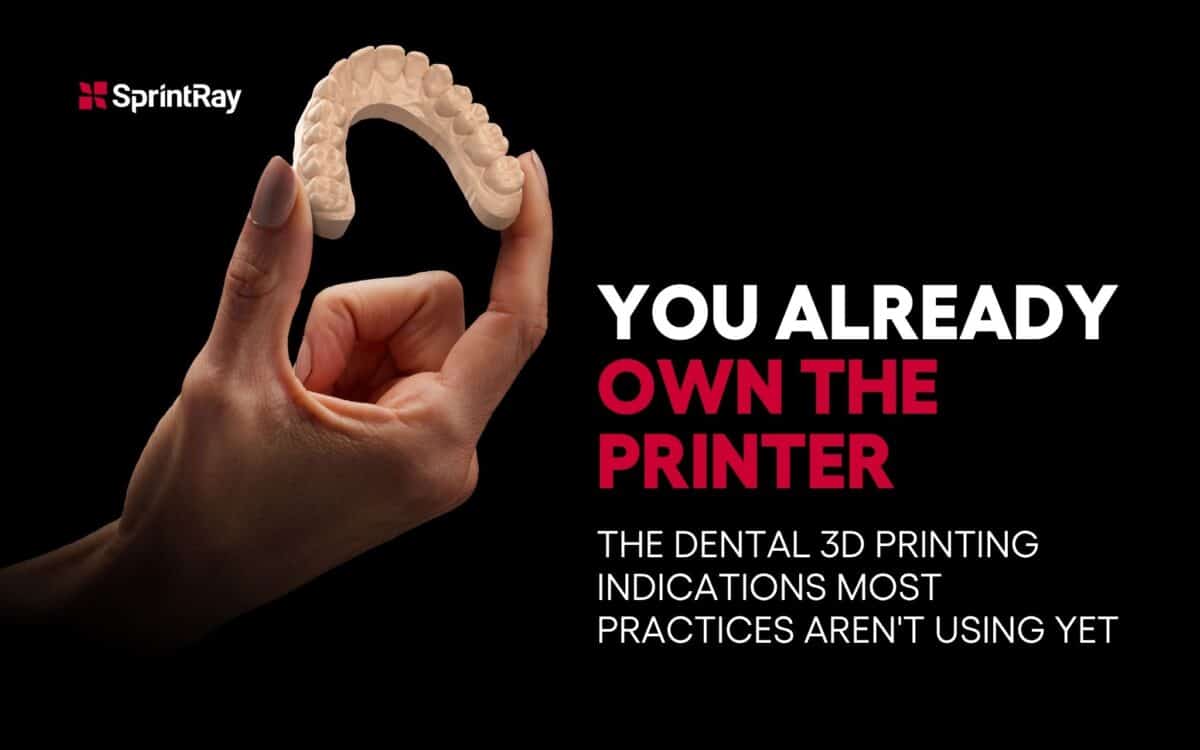
Many practices buy a dental 3D printer to solve one problem. Maybe it was models for clear aligners, or night guards to stop sending them out. The printer earns its place on that one job, settles into a corner of the lab, and stays there. Months later, it is still printing the same one or two things it printed in week one.
But your dental 3D printer can do so much more.
Single job printing is the most common form of leaving money on the table in digital dentistry. The hardware that handles models and night guards can handle a great deal more, and most of the additional work runs through the same scanner, the same design step, and the same post-processing already in place. You have the equipment, which means you’re already paying for these capabilities.
Using your dental 3D printer to its full range doesn’t add complexity to your office. Instead, it simplifies your workflows.
Here is the range most practices are underusing, organized roughly by how easily it slots into an existing workflow.
The Indications Most Practices Print First
The usual starting points are dental models and night guards. Models are the gateway because nearly every digital workflow needs them, and night guards are the first revenue capture because the demand is steady and the lab fee on every unit is easy to feel. If that is where a practice stopped, it has proven the workflow works. The next step is putting that same workflow to use on cases that are currently still going out the door.
Easy Wins You Can Add Without New Hardware
The shortest path to more value runs through appliances and guides, because they use the Pro 2 workflow a practice already knows.
Clear retainers are a natural addition for any practice doing orthodontic or aligner work, with direct printing removing the thermoforming step entirely. Surgical guides bring implant planning in-house and turn a lab dependency into a same-week capability. Indirect bonding trays give orthodontic and GP practices accurate bracket placement without outsourcing tray fabrication. And sports guards open a seasonal revenue stream that most practices never think to offer, with a design workflow that takes minutes.
None of these requires new equipment for a practice already running a Pro 2. You just have to decide to use the capability that is already sitting there.
Expanding Into Restorative Production
The larger opportunity is restorative work. The lab fees are bigger there, and the same-day payoff for the patient is hard to beat.
Provisionals and aesthetic wax-ups are an easy way in. They fold neatly into a workday, and they give you something to put in front of a patient when you’re walking them through a treatment plan. From there, crowns and bridges and definitive ceramic crowns let you design, print, and seat a restoration in a single appointment.
That definitive work runs on the Midas Digital Press, which was built specifically for the thick, ceramic-filled materials these cases call for. If you got your start printing appliances on a Pro 2, adding Midas is how that same digital habit carries over into the restorative chair.
 Removable: Dentures and Partials You Can Bring In-House
Removables used to be some of the most lab-dependent work in the practice, and that’s exactly what’s changed. You can now turn around a flexible partial denture in a single visit using the same workflow behind SprintRay’s same-day tooth replacement push. Digital dentures and fixed hybrid dentures take that further into full-arch and implant-supported cases. If your patient base leans heavy on dentures, this is about as high-value as in-house production gets.
How to Decide Which Indication to Add Next
The question for you isn’t whether or not your printer can do more — it can. The question is which added capabilities offer the biggest return with the easiest learning curve and the least disruption to your day. The answer? All of them. Just don’t try to implement them all at once — decide what makes the most sense for your practice and add them one at a time.
The cleanest way to choose is to look at what’s currently leaving your office for a lab, rank those cases by volume and lab fee, and start with the one that captures the most production for the least new learning. For most practices, that’s the appliance or guide you send out most often, since the workflow is already familiar and the win is immediate. Restorative and removable work can follow once you’re comfortable, usually alongside adding Midas to the bench. And throughout it all, Cloud Design handles the design step across every indication, so taking on more cases doesn’t add to your team’s design load.
The printer was a real investment. The return on it scales with the number of jobs it does, and most practices are running it at a fraction of its range. The fastest way to improve the economics of a printer already on the bench is to give it more to do.
To see the full range of indications and the workflow behind each, start with the SprintRay materials library and the indication pages linked throughout.
Frequently Asked Questions About Dental 3D Printing Applications
What can you 3D print in a dental practice?
With a SprintRay workflow, practices can print dental models, night guards, clear retainers, surgical guides, indirect bonding trays, sports guards, provisionals and wax-ups, crowns and bridges, definitive ceramic crowns, dentures, and flexible partial dentures.
How do I get more value from my dental 3D printer?
Identify the cases currently sent to a lab, rank them by volume and lab fee, and add the indication that captures the most production with the least new learning.
Do I need new equipment to expand what I print?
Many appliance and guide indications run on a Pro 2 you may already own. Definitive restorative work runs on the Midas Digital Press.
Which indication should I add first?
For most practices, the appliance or guide they send out most often, since the workflow is already familiar and the win is immediate.