






Most conversations about dental 3D printing stop at the printer. The printer gets the attention, the spec comparisons, and the budget line. But the step that actually determines whether a printed restoration is strong, safe, and the right shade happens after the part comes off the build platform.
Post-processing is where a good print becomes a usable restoration or quietly becomes a costly, time-consuming remake. Practices experiencing these reliability issues typically blame the printer. What many practices don’t understand is that the cause often lives in the wash-and-cure stage rather than the printer itself.
So why does it get a fraction of the consideration?
Why Post-Processing Determines Whether a 3D Printed Restoration Succeeds
A part fresh off the printer is not finished. It carries a layer of uncured resin on its surface and has not reached its final material properties. What happens in the next few minutes decides three things that matter clinically: how strong the restoration is, how biocompatible it is, and how closely it matches the intended shade.
Skip or shortchange this stage and the consequences show up at the chair. Under-cured parts can leave residual uncured monomer on the surface, which affects biocompatibility. They can fall short of their rated mechanical properties, which affects how the restoration holds up in function. And inconsistent curing can shift shade, which is the difference between a restoration that integrates and one that gets remade. The print can look perfect and still fail on any of these fronts if the finishing steps are off.
Washing and Curing: The Two Steps That Finish Every Printed Part
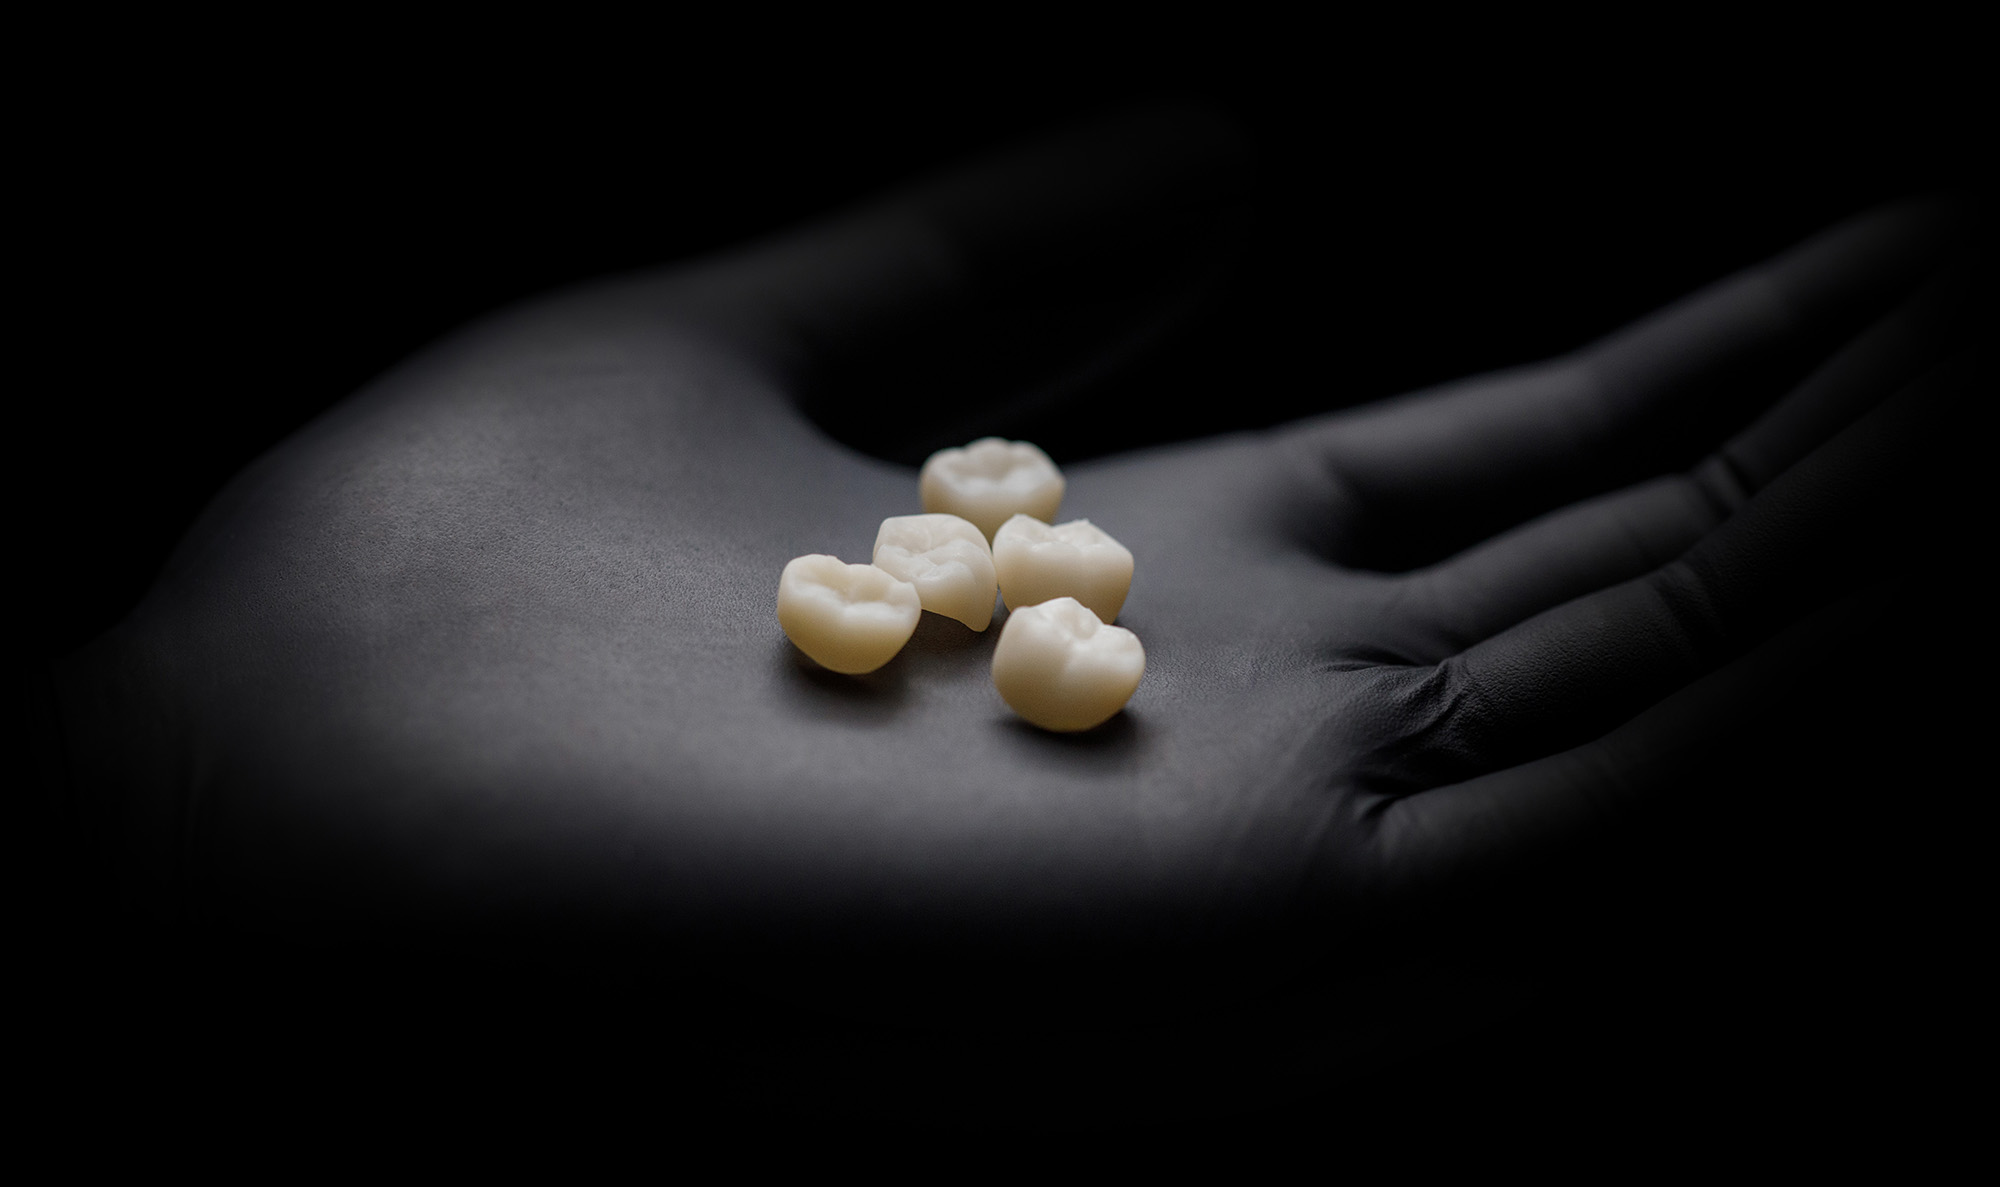
Post-processing is two distinct jobs. The first is washing, which removes the uncured resin clinging to the surface of the part. SprintRay handles this with automated systems like the ProWash S, which standardizes a step that is easy to do unevenly by hand.
The second job is curing, where light and heat drive the part to its final polymerized state. This is the step that converts a printed shape into a restoration with its intended strength and biocompatibility. The quality of the cure depends on getting light into the full volume of the part evenly, and on doing it with the right chemistry for the material. That is the work NanoCure is built to do.
How Dual-Wavelength Curing Affects Strength and Biocompatibility
The reason curing is harder than it looks comes down to a tension between surface and depth. SprintRay’s approach uses two wavelengths to address both. NanoCure pairs 365nm and 385nm LEDs with controlled heat, and each wavelength does a different job.
The 365nm light handles surface curing. It delivers an intense, short-range cure that eliminates surface tackiness and completes biocompatibility, which is the residual-monomer problem solved at the surface. The 385nm light handles volumetric curing, reaching into the depth of the part so the entire volume polymerizes rather than just the outer shell. Controlled heat then drives cross-linked chain reactions that maximize the part’s mechanical properties. The combination is what lets a restoration cure fully through without leaving a soft core or a tacky surface.
There is a shade benefit that follows from speed. Because the cure times are short, parts spend less time under prolonged light exposure, which keeps restorations closer to the intended shade without giving up strength or biocompatibility. For anterior and esthetic work, that shade fidelity is part of what makes chairside production viable. SprintRay also notes the system reaches its results without nitrogen, since the resins and LEDs are engineered to work together — which removes a tank, a consumable, and a maintenance burden from the bench.
Why Cure Times Vary by Dental Material
A common mistake is treating curing as one setting for everything. Different materials and indications need different cure profiles, and matching the cure to the material is part of getting a reliable result. On NanoCure, dental models finish in around two minutes, while surgical guides and crown-and-bridge work cure in roughly three. Occlusal guards and indirect bonding trays sit in the four-to-five-minute range, hybrid denture material around five, and full denture material closer to ten.
Those differences are not arbitrary. They reflect the chemistry and geometry of each material. Running everything on a single generic profile is one of the quieter sources of inconsistent results, which is why a curing unit that selects the right profile by material removes a real source of error. NanoCure pulls job and resin information automatically through its cloud connection, so the correct profile follows the part rather than depending on memory.
Getting Consistent Results From Chairside Post-Processing
For a practice that has invested in a Pro 2 or Midas, the printer is only as good as the finishing behind it. Consistent post-processing is what turns a capable printer into predictable daily output, and it is often the highest-leverage place to improve results without changing anything about how parts are designed or printed.
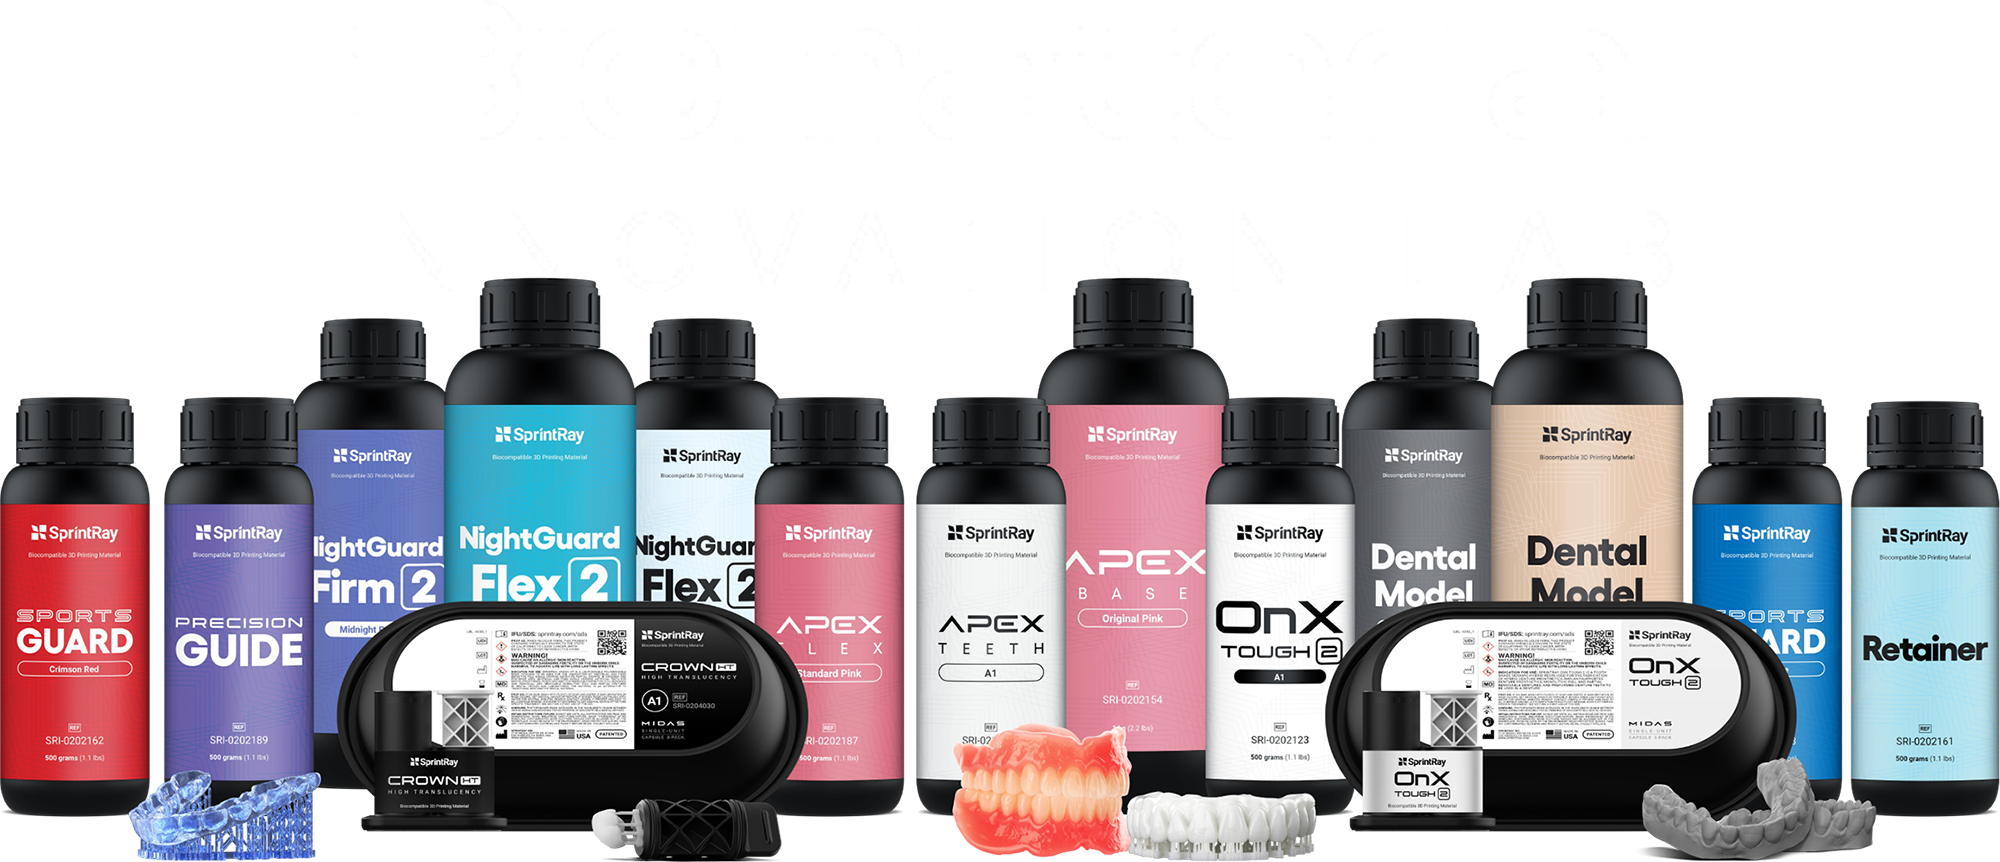
This is also where the integrated-ecosystem argument shows its value in practice. When the resin, the printer, and the curing unit are engineered as one system, the cure profiles, wavelengths, and chemistry are validated to work together rather than assembled from parts that were never tested as a set. The materials coming out of SprintRay’s Biomaterials Innovation Lab are formulated specifically to pair with the hardware that cures them.
Bottom line? Don’t hastily blame the printer. The post-processing process earns the result. Practices that treat post-processing as a core part of the workflow rather than an afterthought are the ones getting consistent strength, safe restorations, and shades that match the first time.
To see cure profiles by material and the full post-processing workflow, visit the NanoCure overview and the SprintRay materials library.
Frequently Asked Questions About Dental 3D Printing Post-Processing
Why is post-processing important in dental 3D printing?
Post-processing determines the final strength, biocompatibility, and shade of a printed restoration. Under-curing can leave residual uncured monomer on the surface and produce parts that fall short of their rated mechanical properties.
What are the steps in post-processing a 3D printed dental part?
Two steps: washing to remove uncured resin from the surface, then curing with light and heat to bring the part to full polymerization.
Why does NanoCure use two wavelengths?
The 365nm light handles surface curing for biocompatibility and a tack-free finish, while the 385nm light drives volumetric curing through the depth of the part. Controlled heat then maximizes mechanical properties.
Do different materials need different cure times?
Yes. On NanoCure, dental models cure in about two minutes, surgical guides and crown-and-bridge work in roughly three, and full denture material closer to ten.
Does NanoCure require nitrogen?
No. The resins and LEDs are engineered to work together, which removes the need for a nitrogen tank.