3D Printing Occlusal Guards
In today’s stressful world, the need for appliances such as occlusal guards has increased. However, these appliances can have a high cost and take time to produce before patient delivery. Fabricating occlusal guards in-office is a valuable service for both dental offices and patients. Dental professionals can simply use CAD software or SprintRay Cloud Design to design occlusal guards and then fabricate them in a SprintRay 3D printer using a biocompatible resin. This is followed by post processing, finish, and polish of the occlusal guard before patient delivery.
Below is a step-by-step guide to the occlusal guard workflow from scan to print followed by patient delivery.
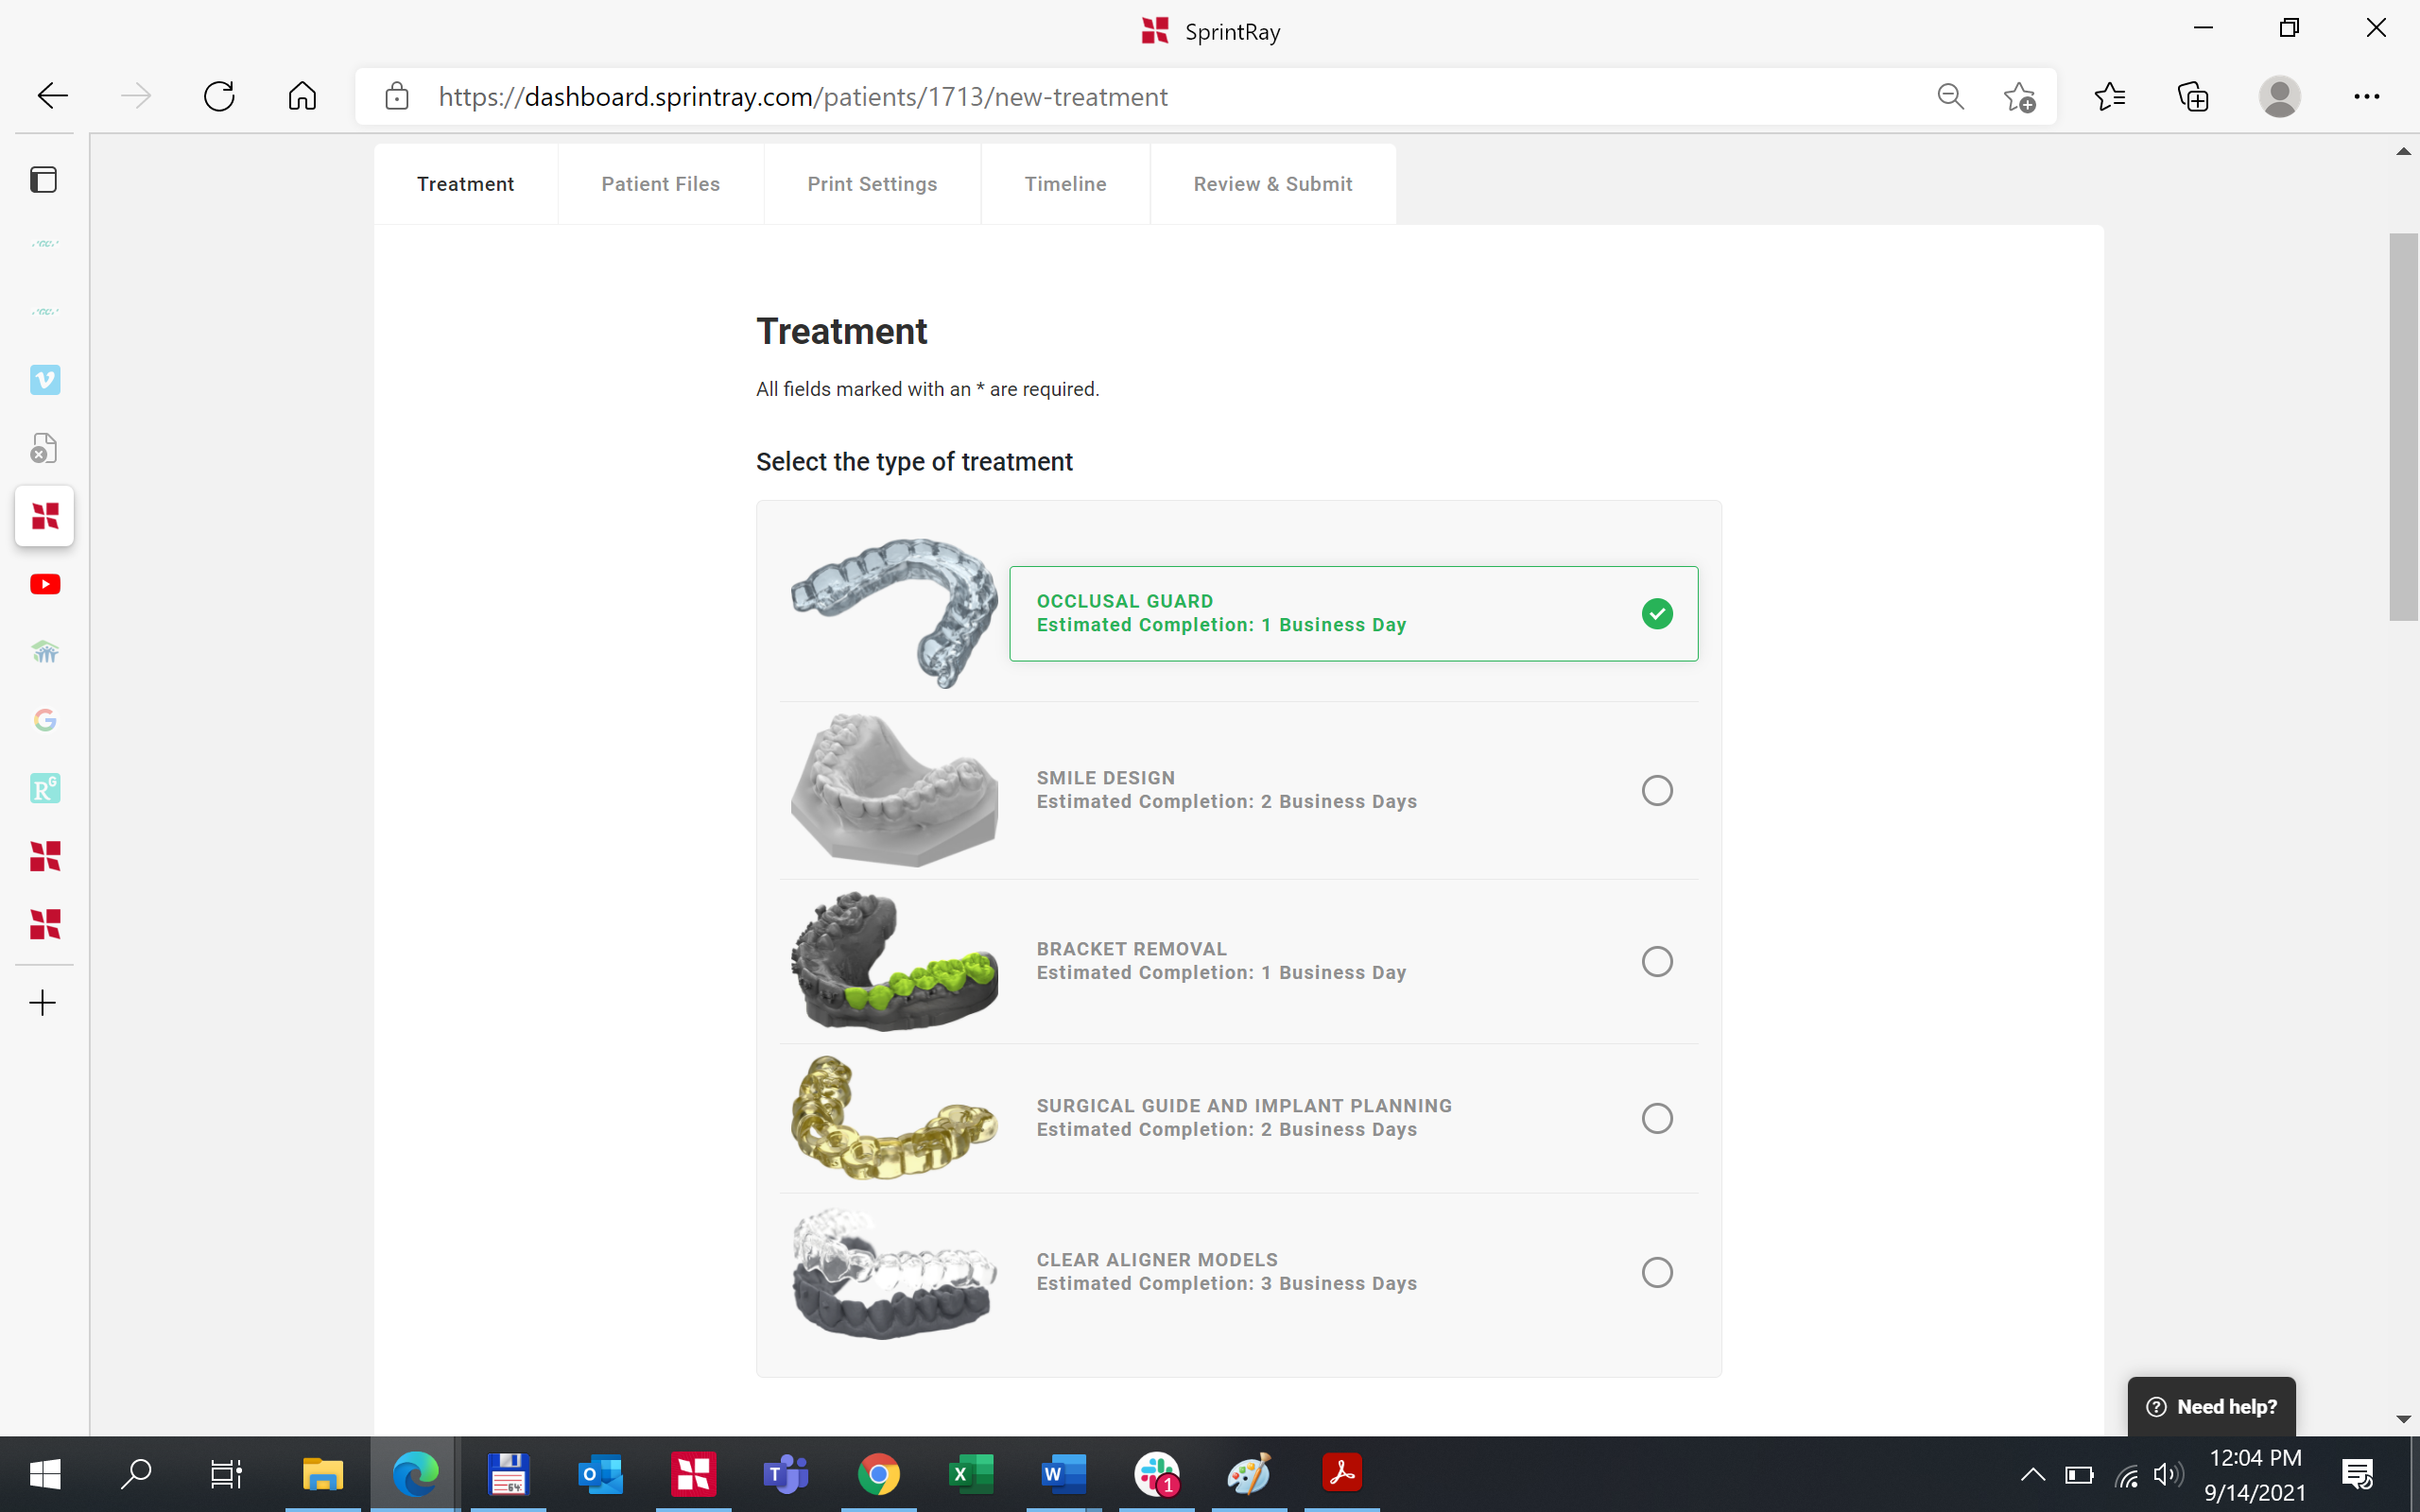
What you need: Access to the internet. Designing is done on Splint CAD software by SprintRay Cloud Design Services.
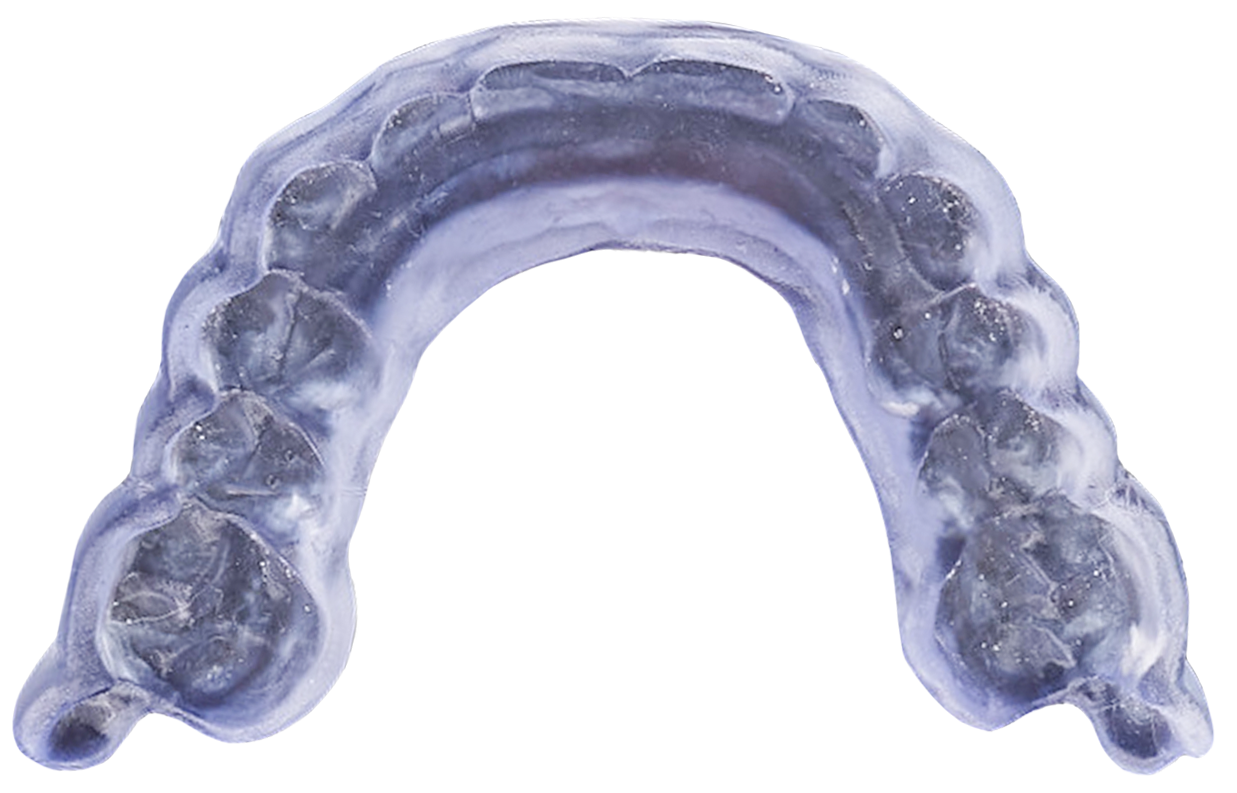
What you need: warm water, mixing bowl, muslin and cotton buffs, pumice, finishing and polishing compounds, nitrile gloves, protective eyewear, occlusal guard case.
Digital Impression
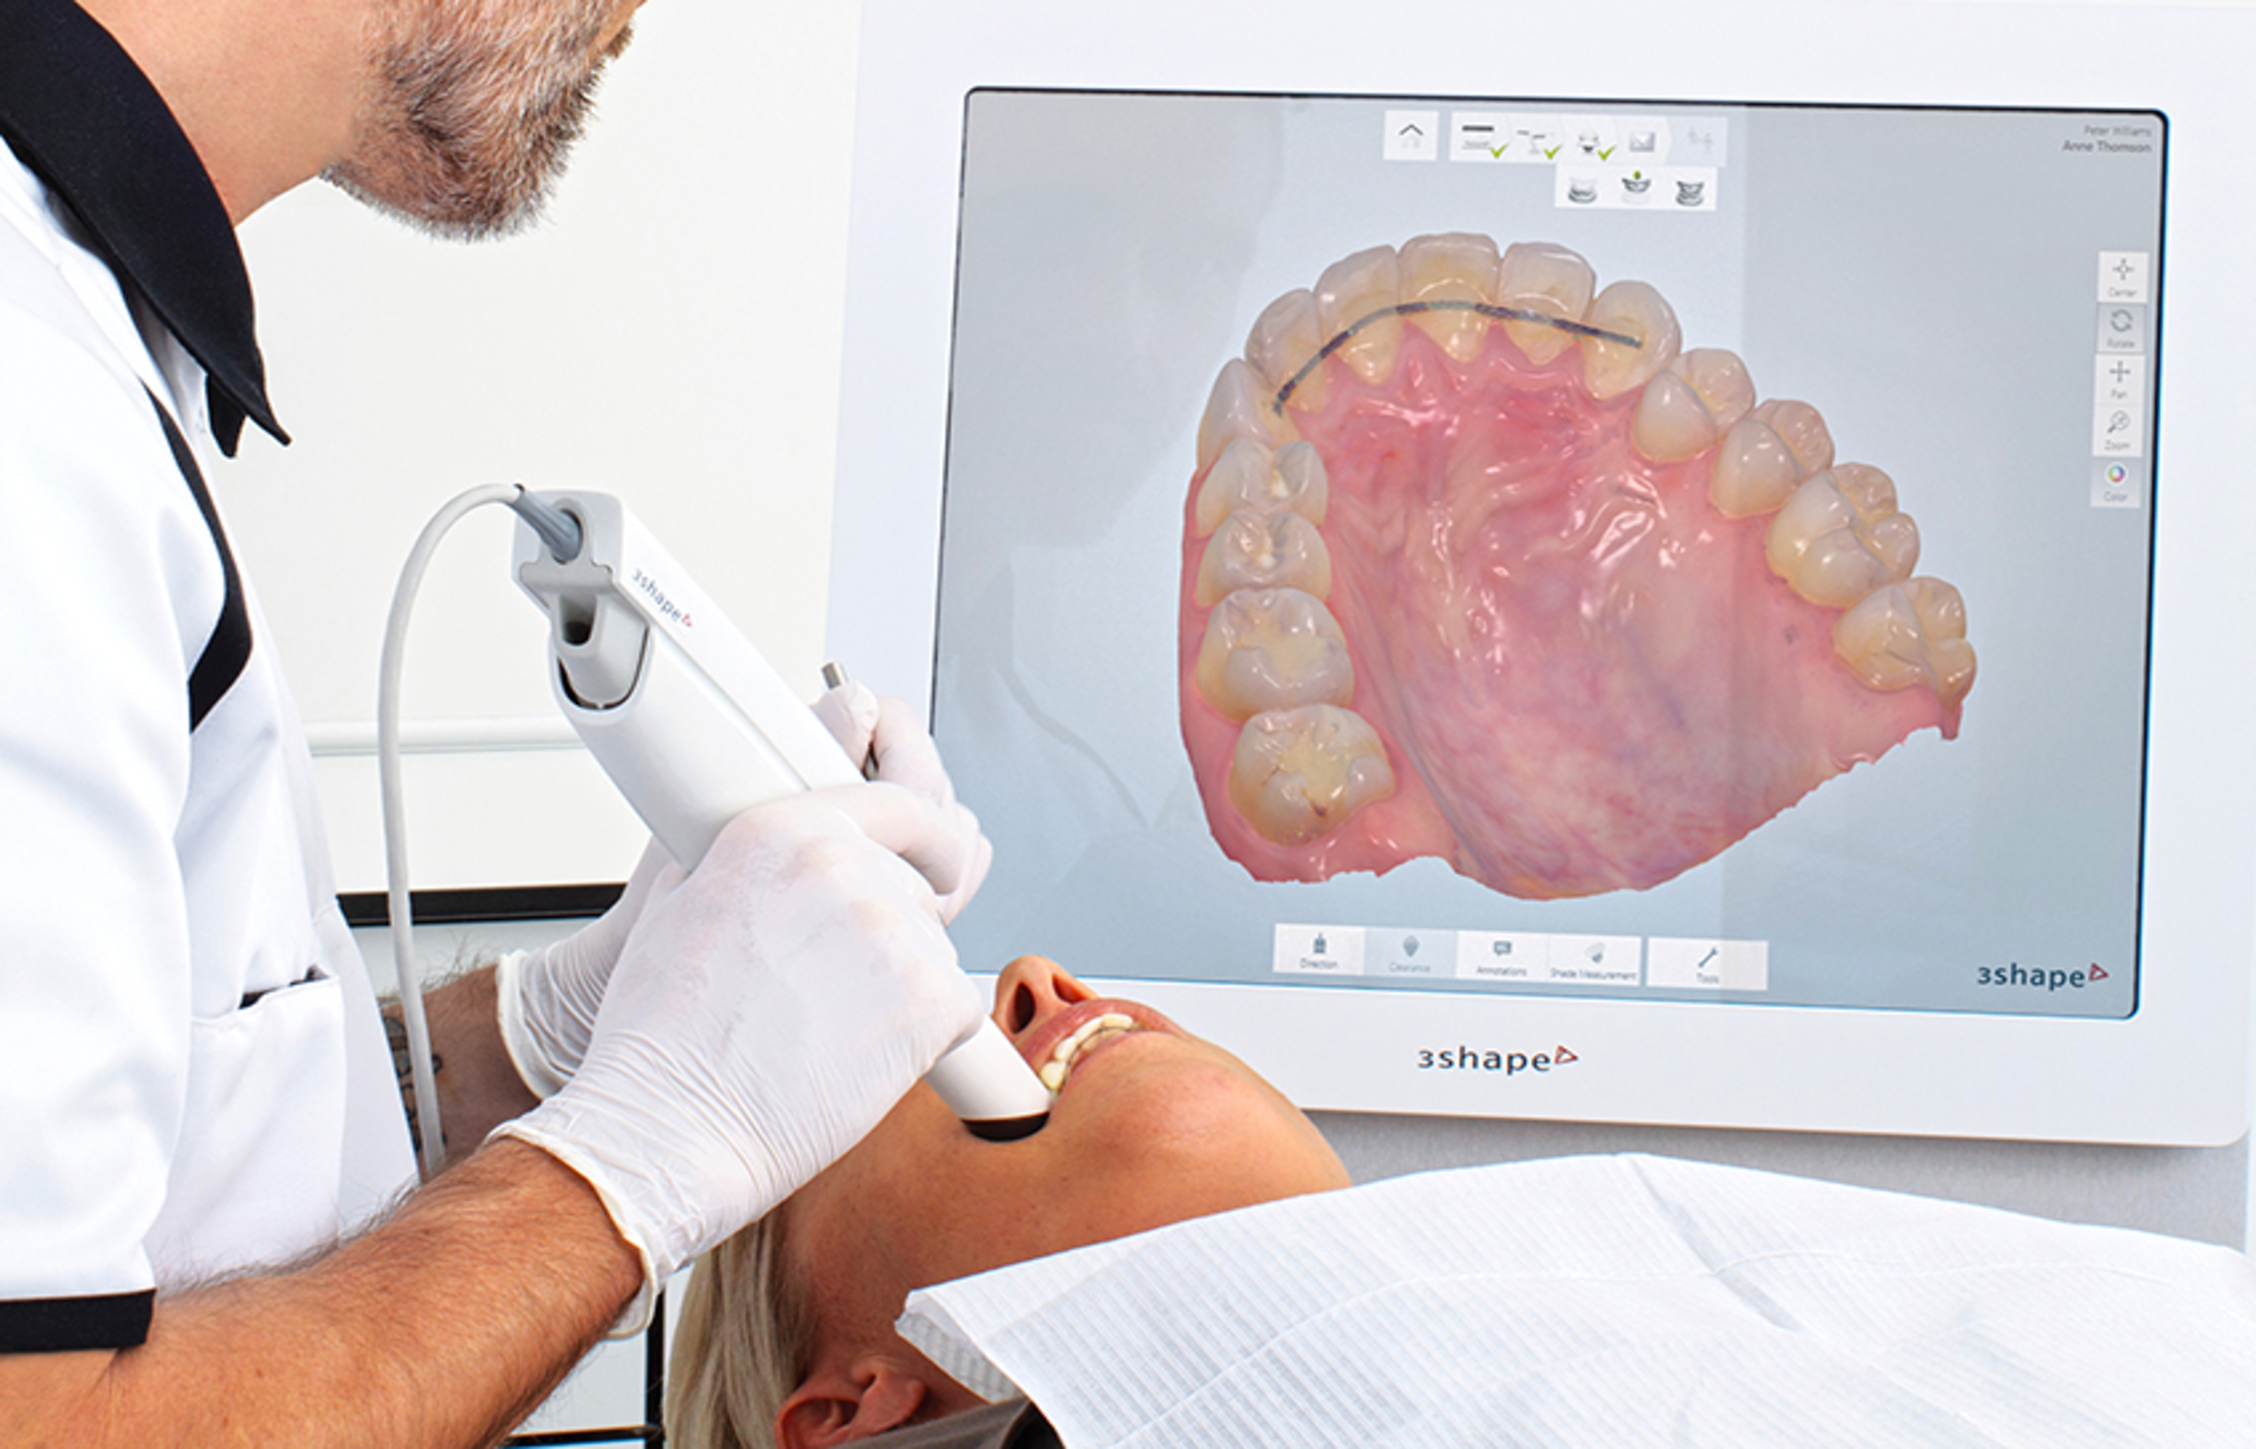
The first step in this workflow is to record the patient’s digital impression (upper scan, lower scan, and bite scan). We can either take a direct or indirect digital impressions.
Time required: 5-10 min
1.1. Using Intraoral Scanner
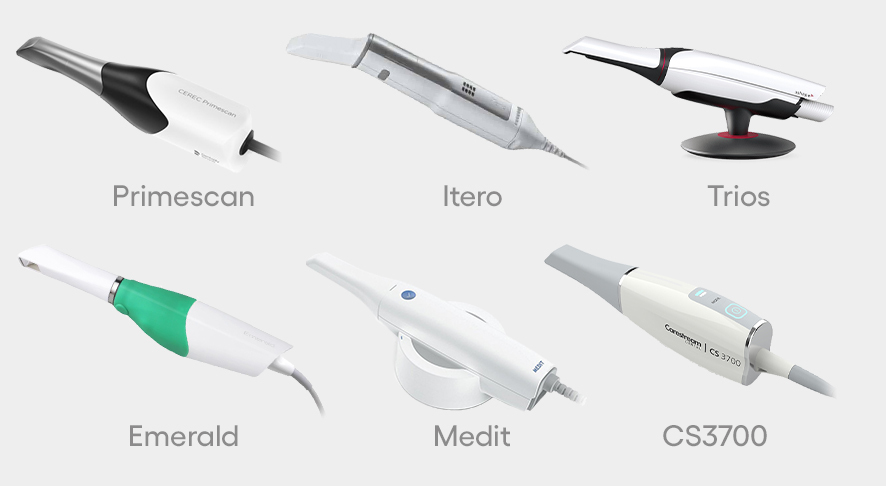
Use an intraoral scanner to take direct digital impressions, then export STL files. Common compatible scanners include, but are not limited to: Primescan (DentsplySirona), iTero (Align Tech), Trios (3Shape), Omnicam (DentsplySirona), Emerald (Planmeca), Medit (Medit), CS3700 (Carestream).
1.2. Using Desktop Scanner
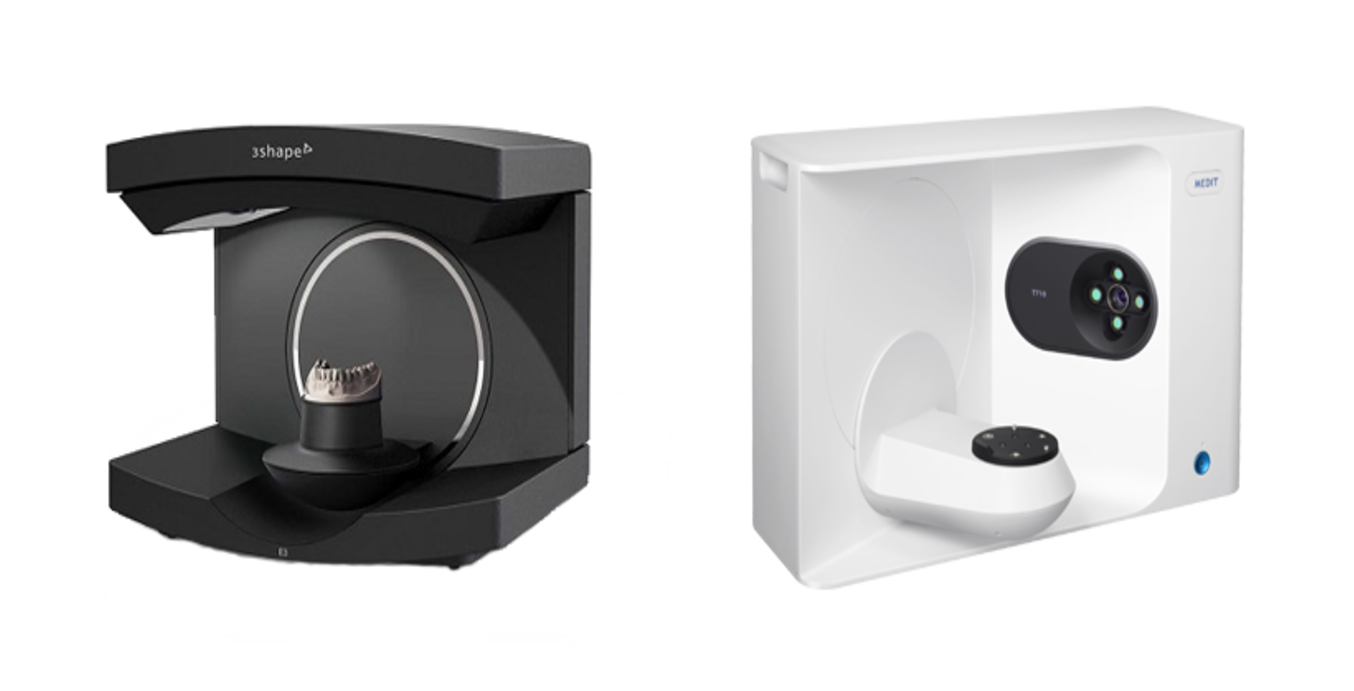
Indirect digital impressions are done by using a desktop scanner to convert a VPS impression or a model into a digital impression. Once the maxillary, mandibular, and bite scan files (digital impressions) are ready, export and save them in the highest resolution (if you have the option of choosing resolution) on your computer in STL format.
Pro Tips
- Primescan does not allow exporting bite-scan as a separate file. By default, Primescan users can only export 2 files: upper and lower. In case you need to export bite-scan as a separate file, you need to follow the steps from this link: Link to “How to export separate bite-scan file from Primescan”
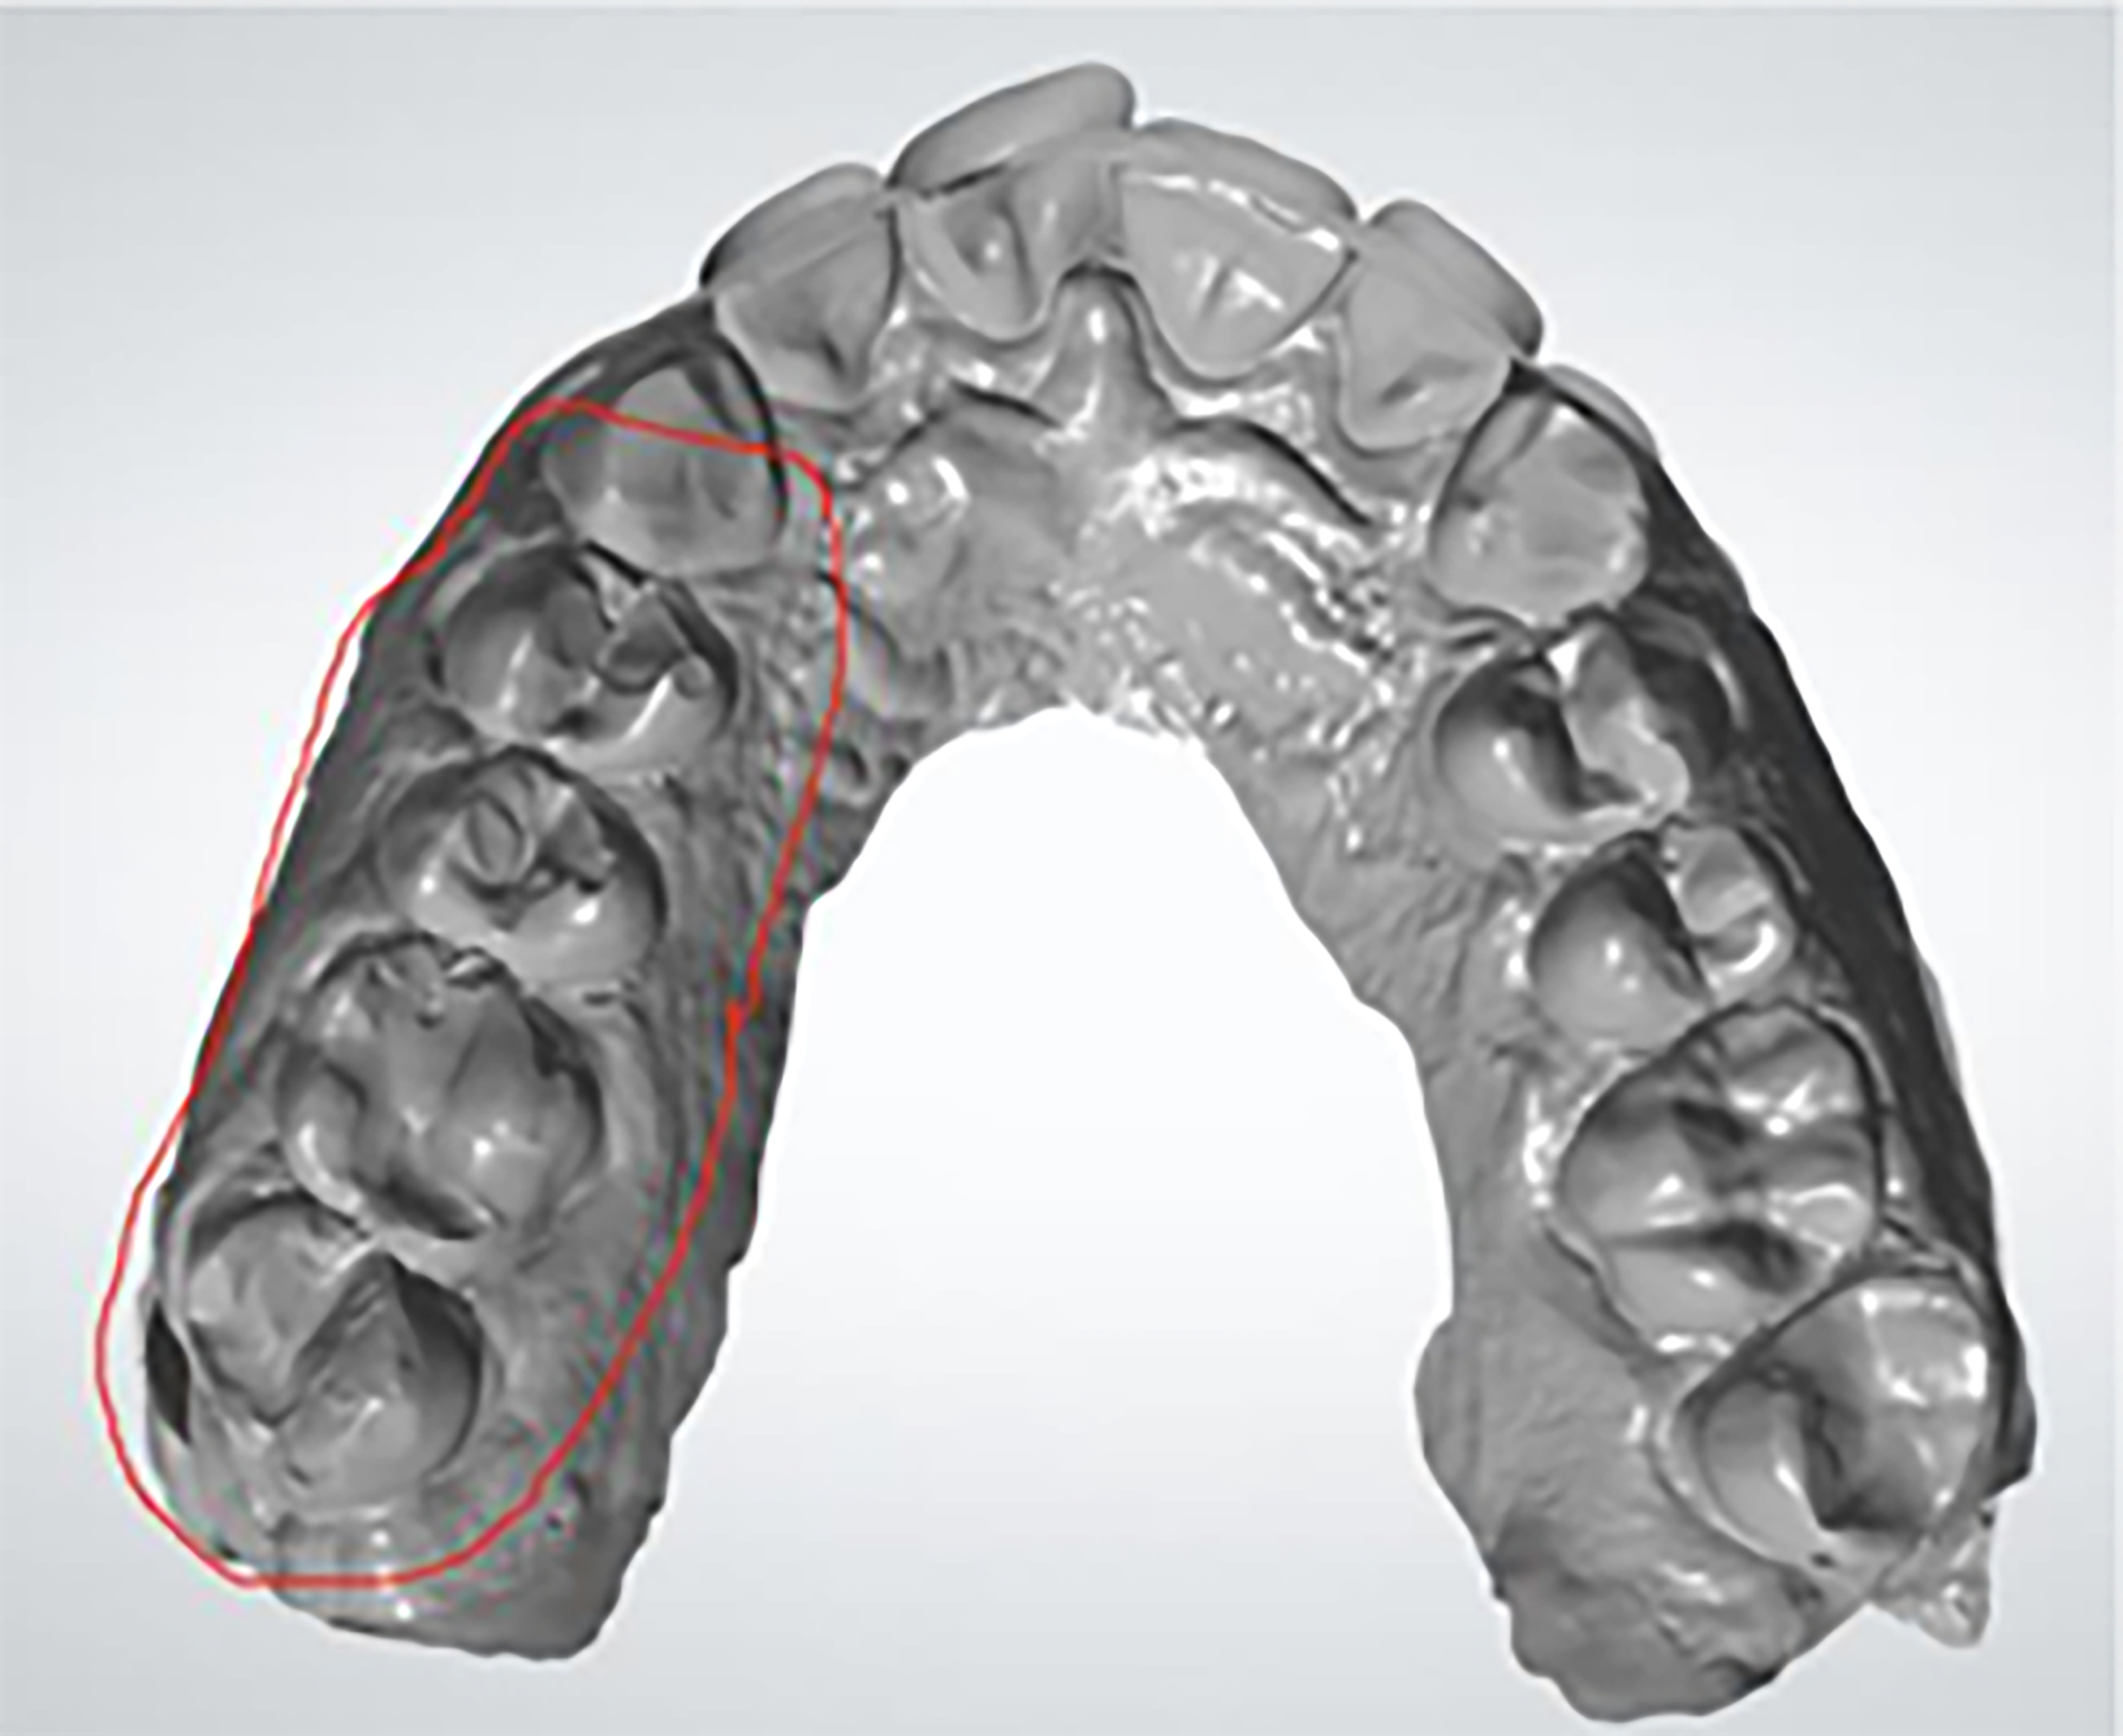
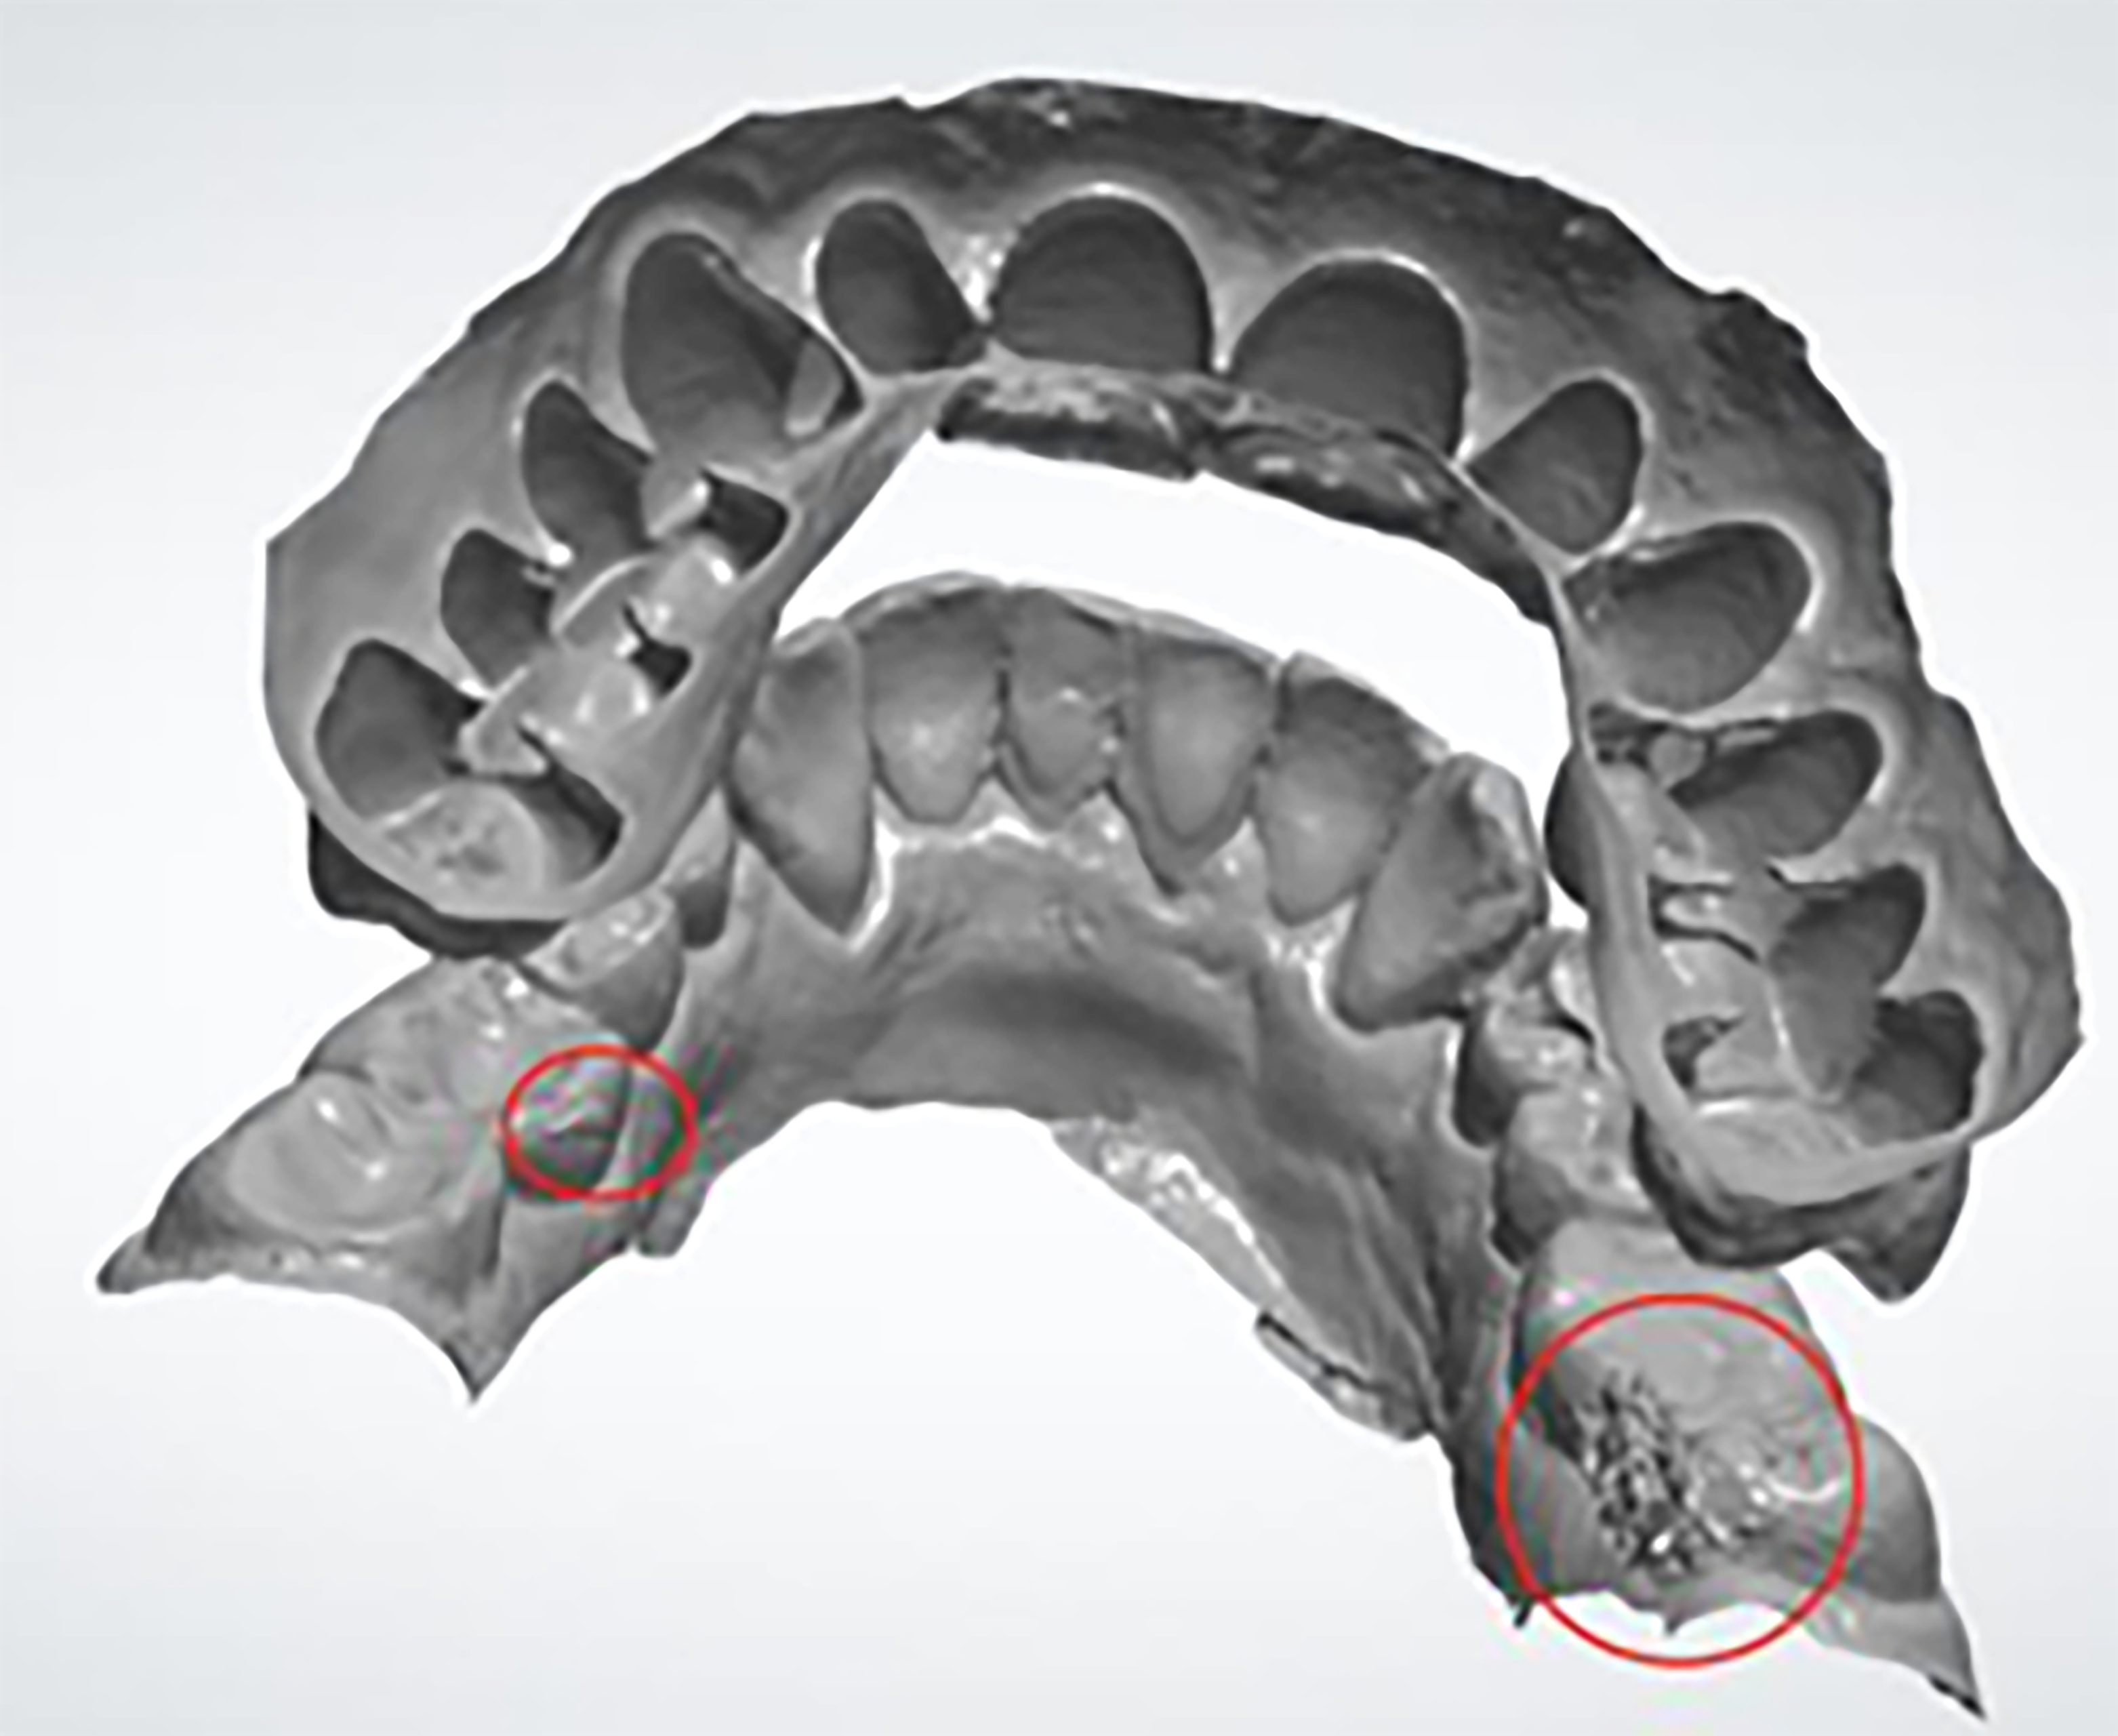
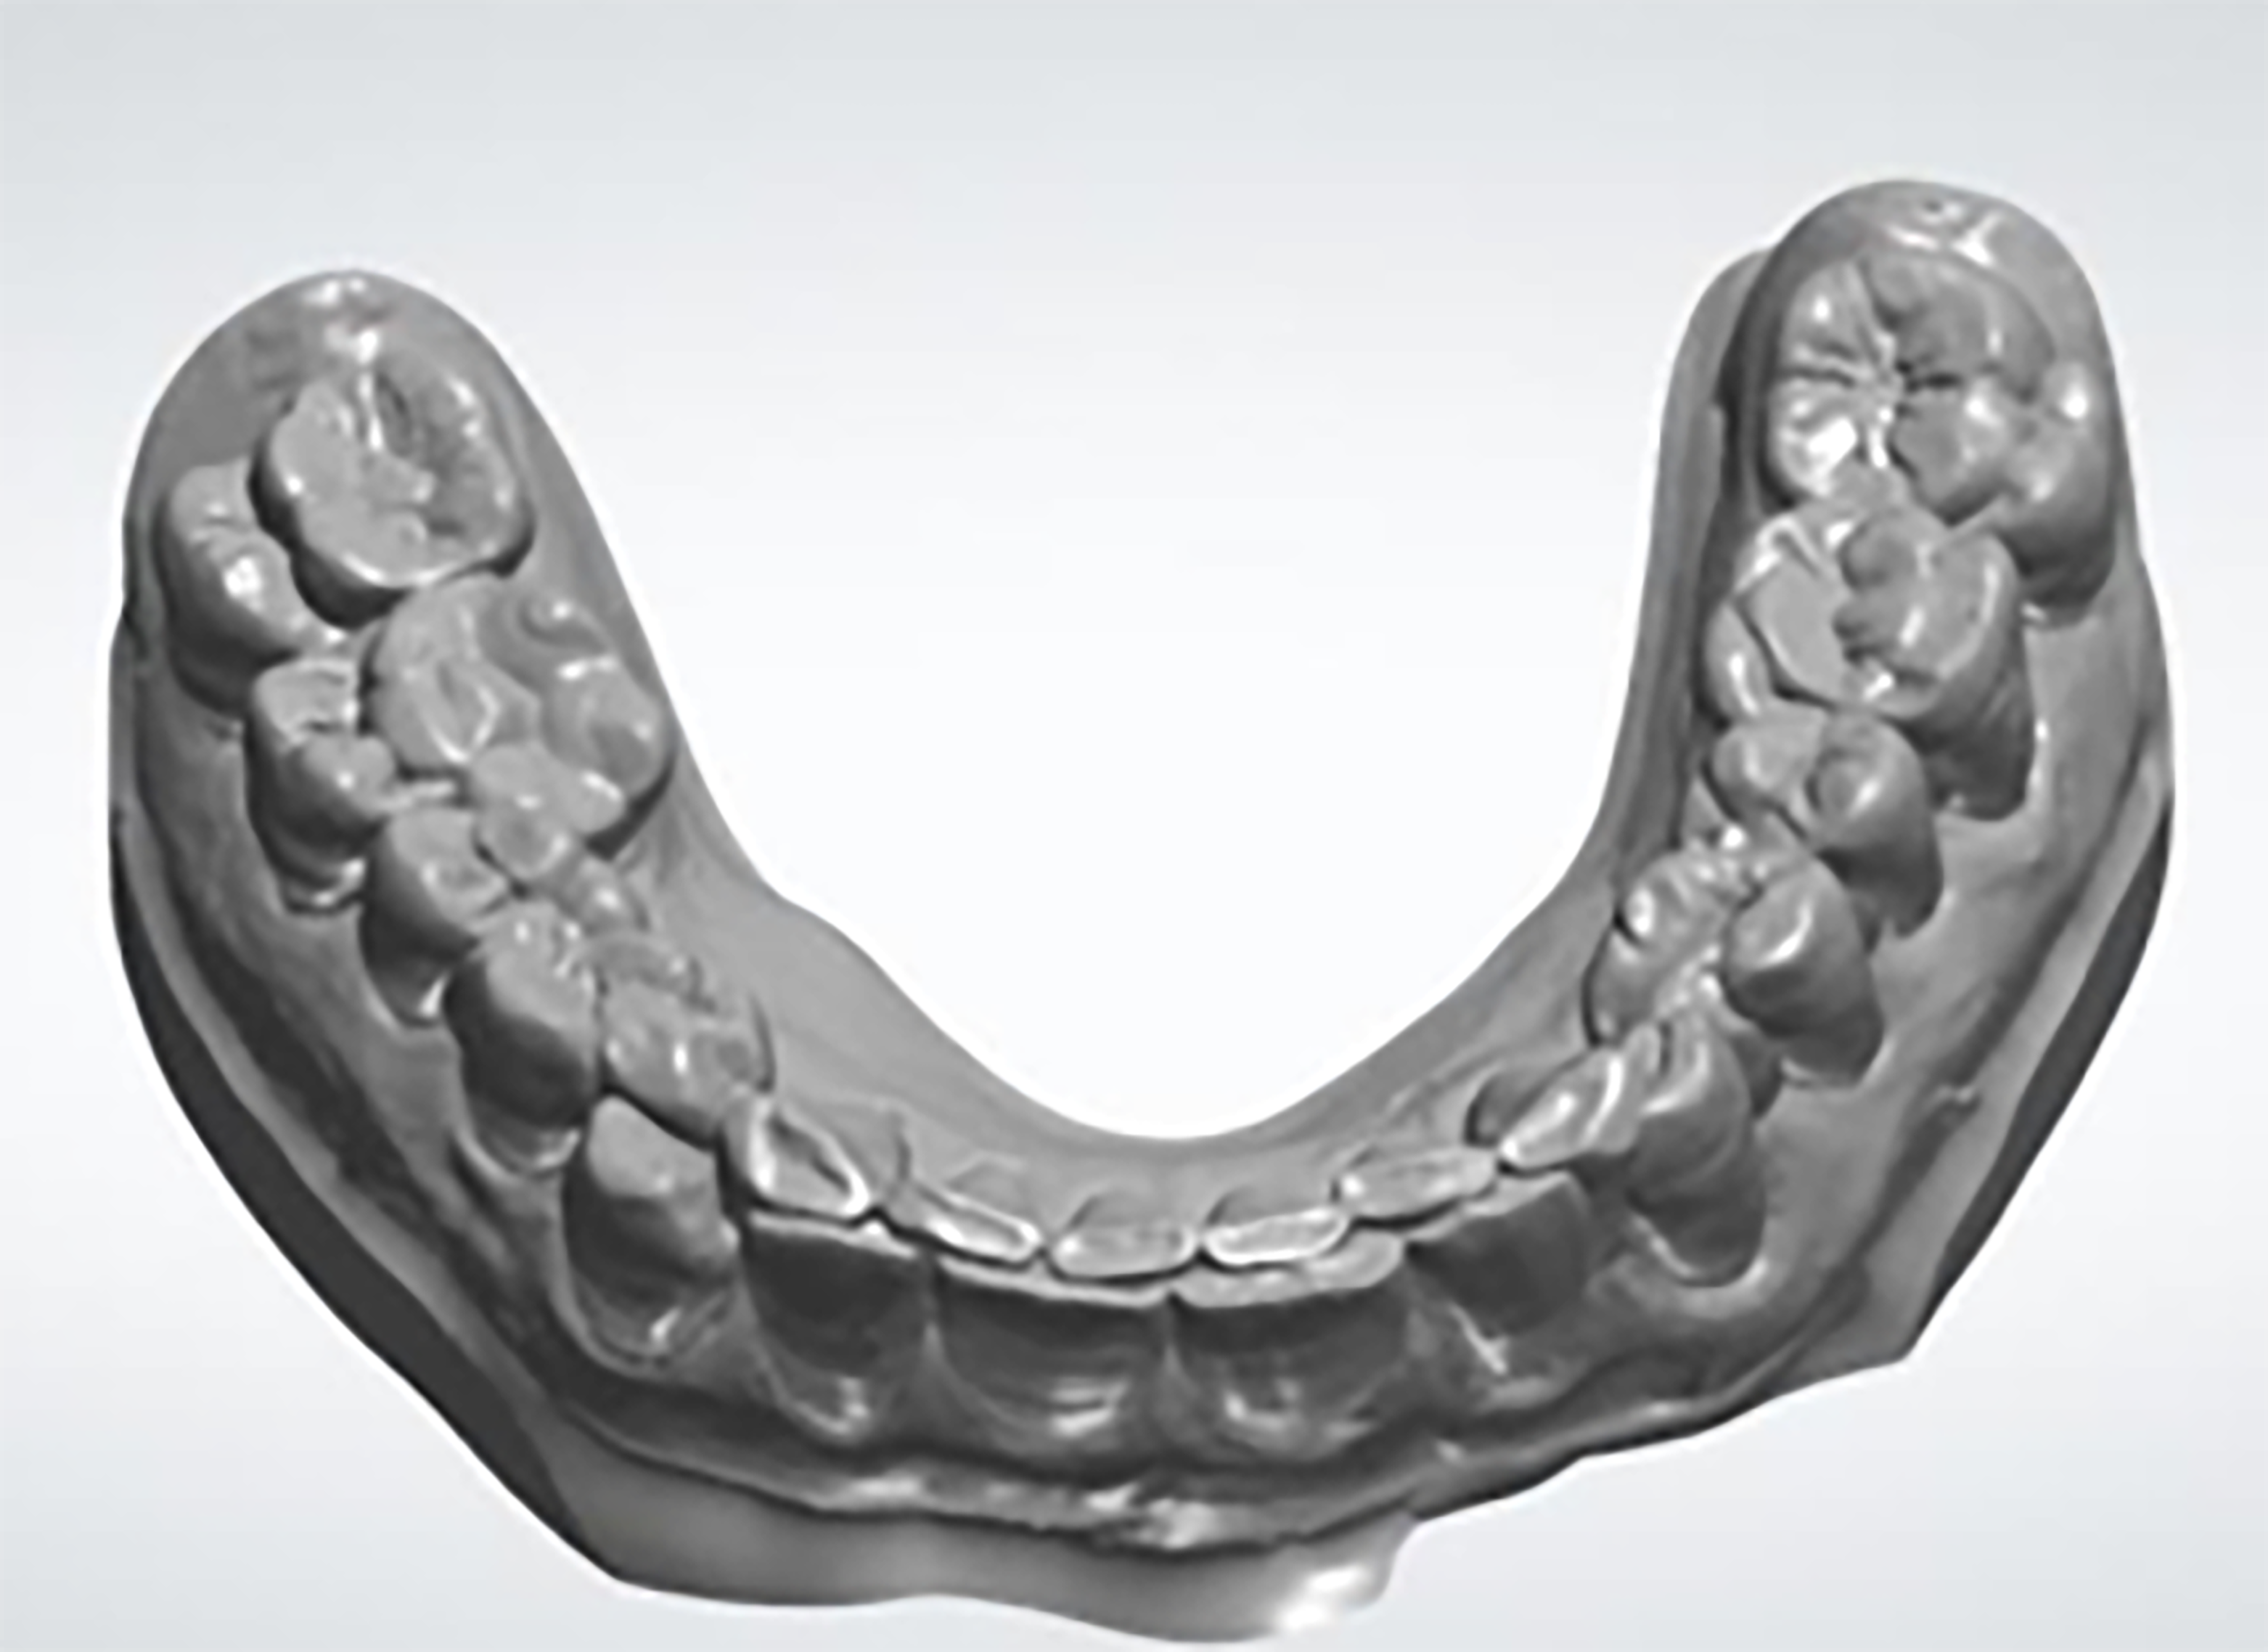
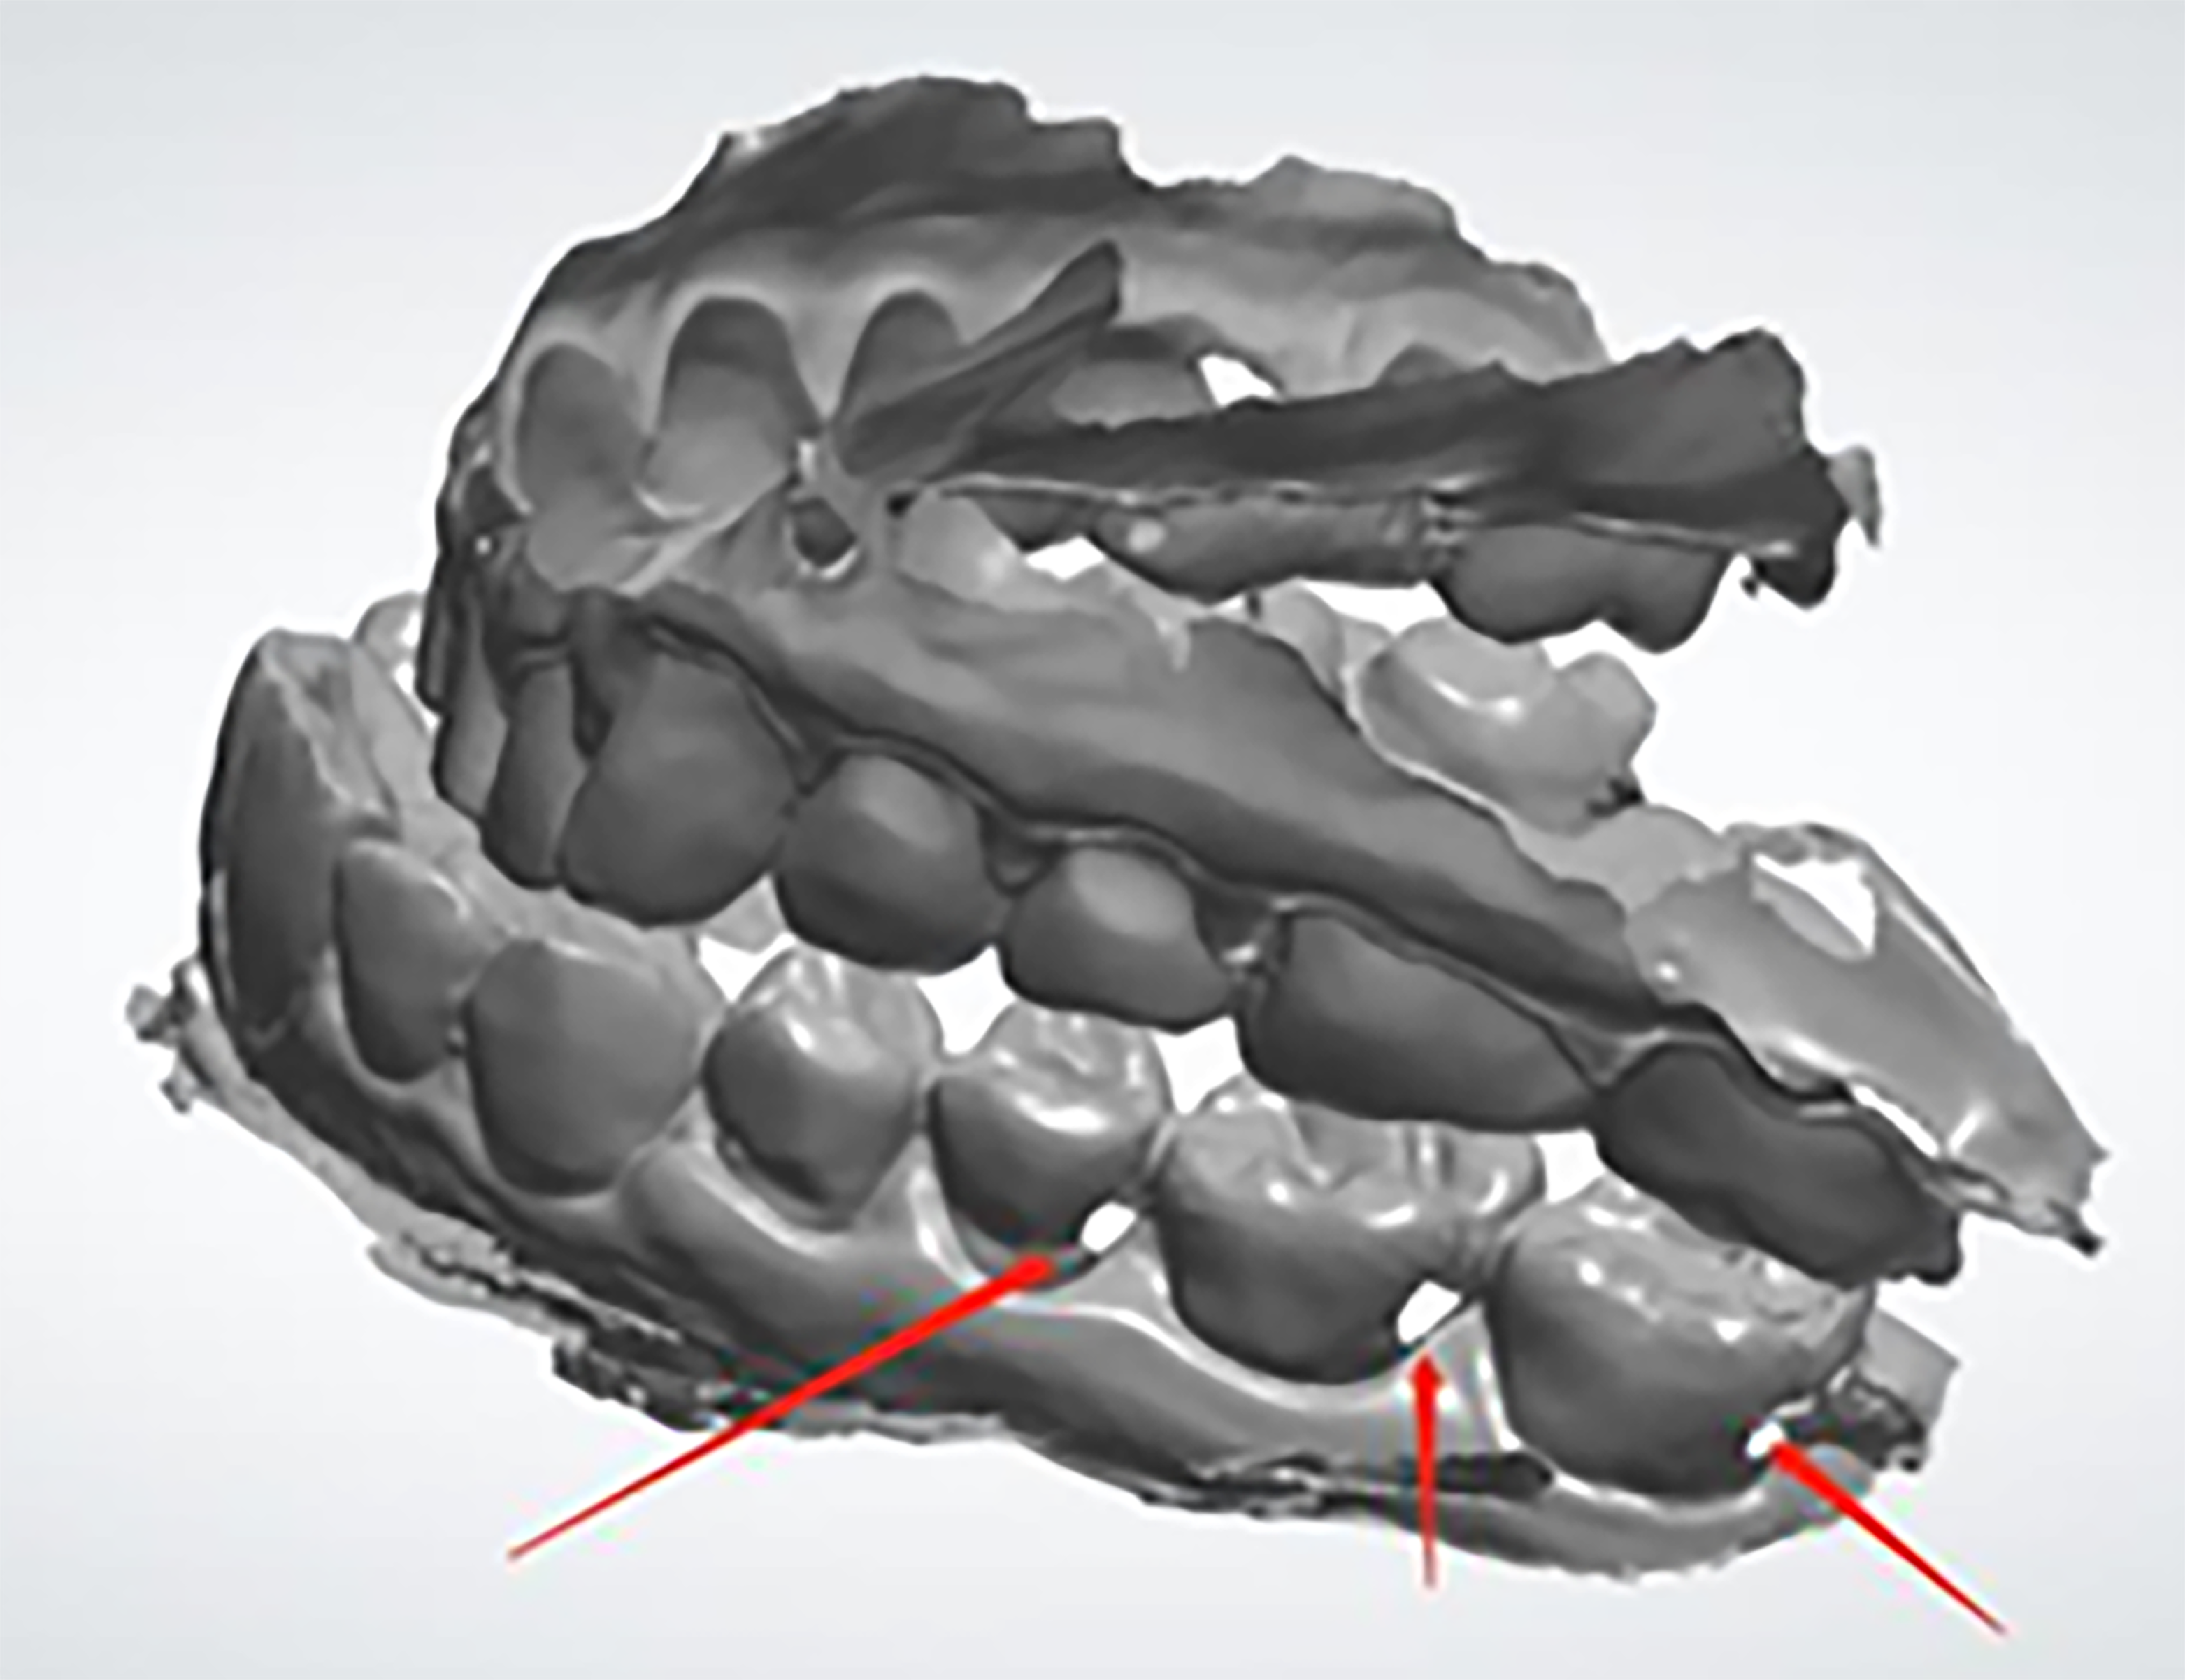
- To avoid rescanning and delays to the workflow, make sure all critical and required areas are scanned and captured. This will mitigate any delays in the treatment and discomfort to the patient. Here are some examples of problematic scans:
Occlusal Guard Design
Designing the Occlusal Guard is the second step in this workflow. Designing can be done either by using an outside provider, or it may be done in-house by a dentist.
Time required, if done in-office: 12-20 min.
2.1. Out of Office Occlusal Guard Design
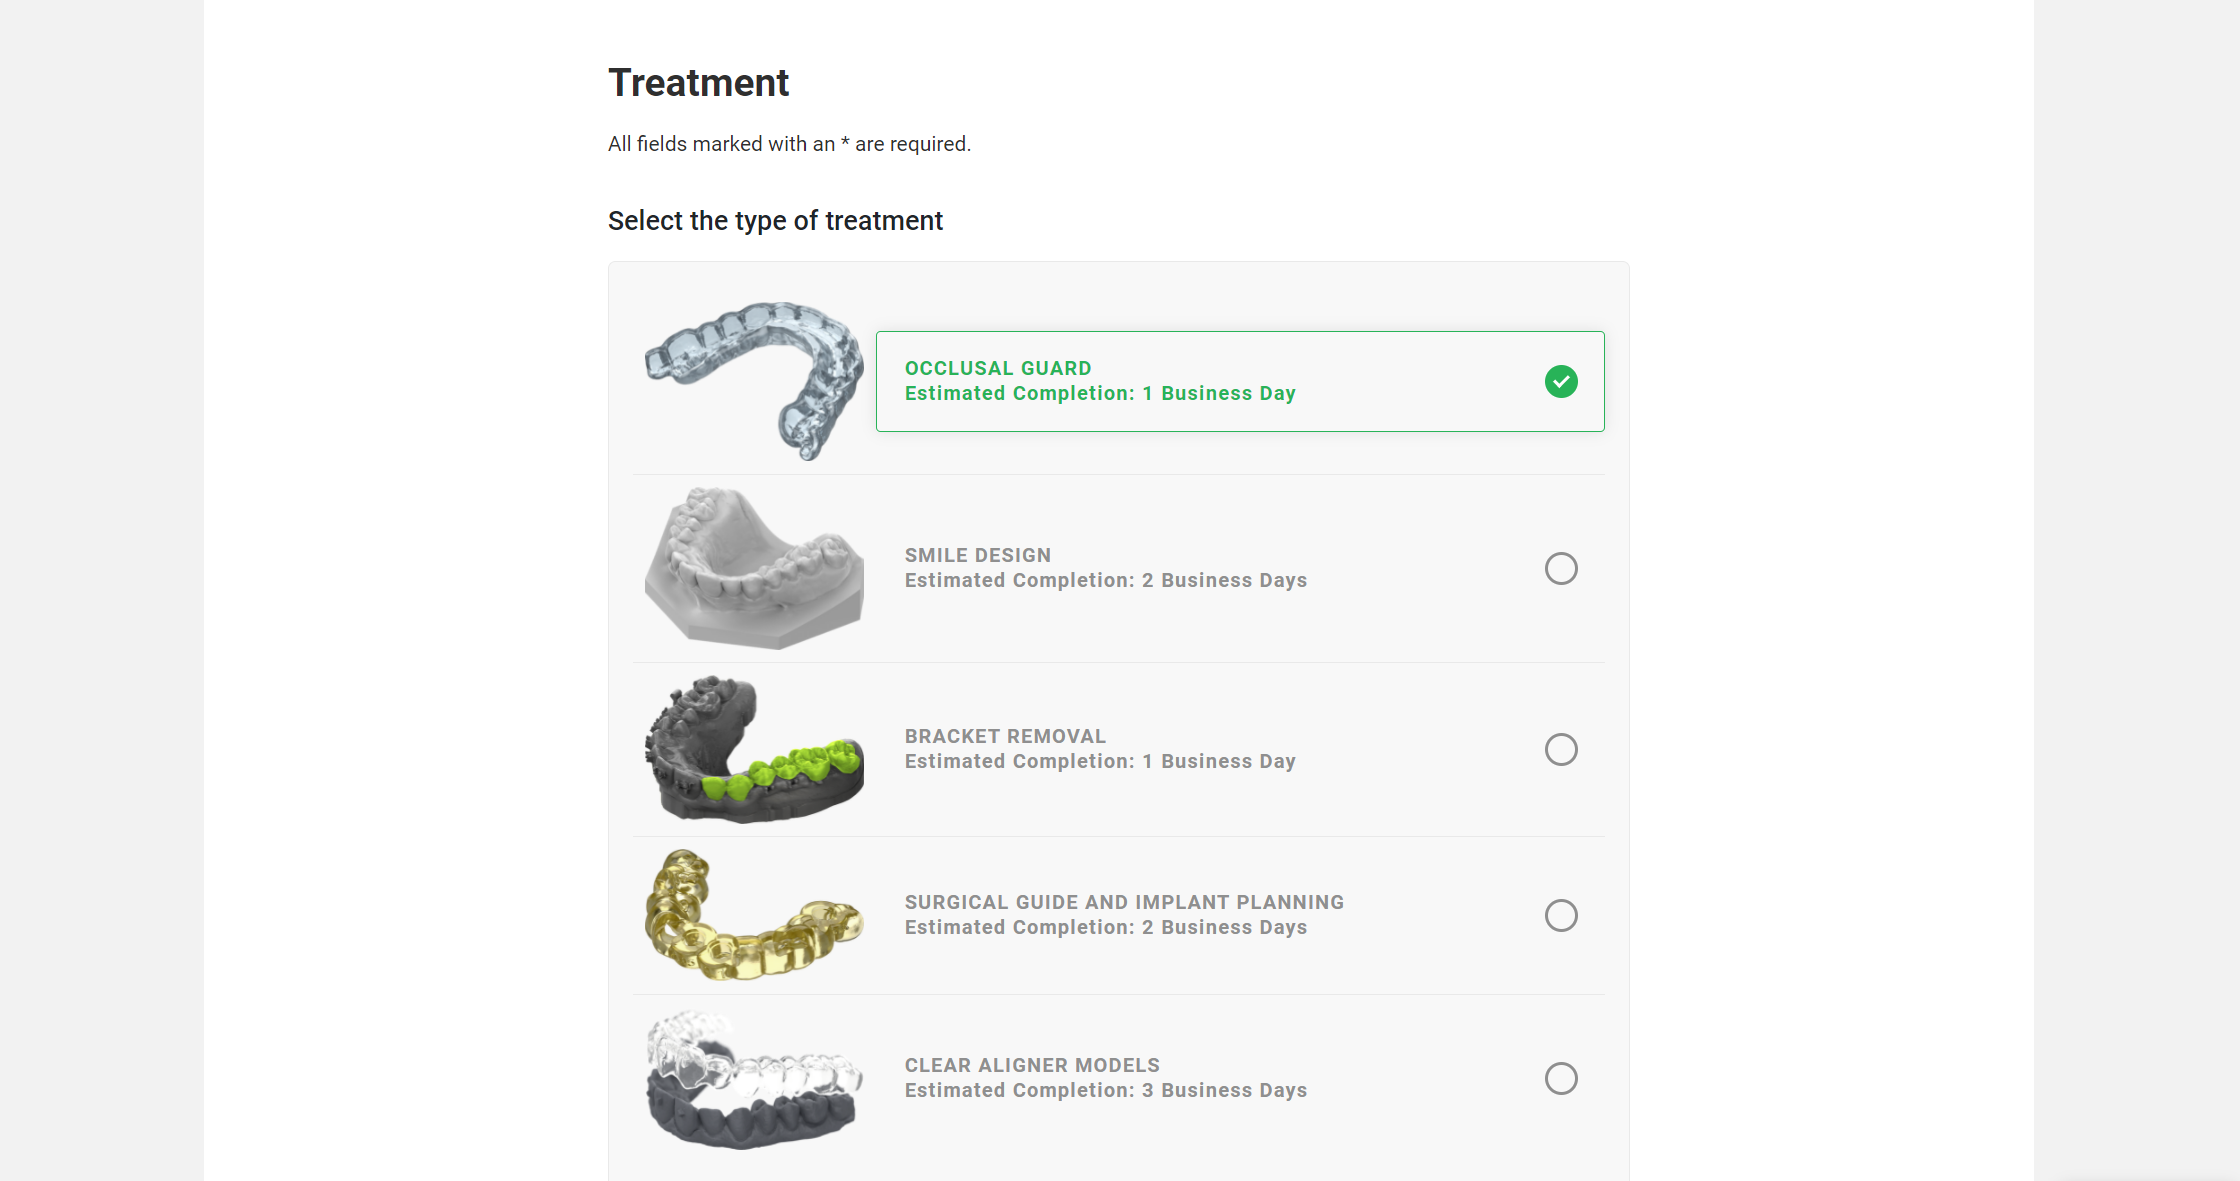
SprintRay Cloud Design helps and provides Occlusal Guard Design, where you can upload patient’s scan files and your prescription. Click here for more information on SprintRay Cloud Design services: SprintRay Cloud Design. Once you receive the STL file of the designed occlusal guard from SprintRay Cloud Design, you may go directly to step 3 (Fabricating Occlusal Guard).
2.2. In-Office Designing Occlusal Guard Design
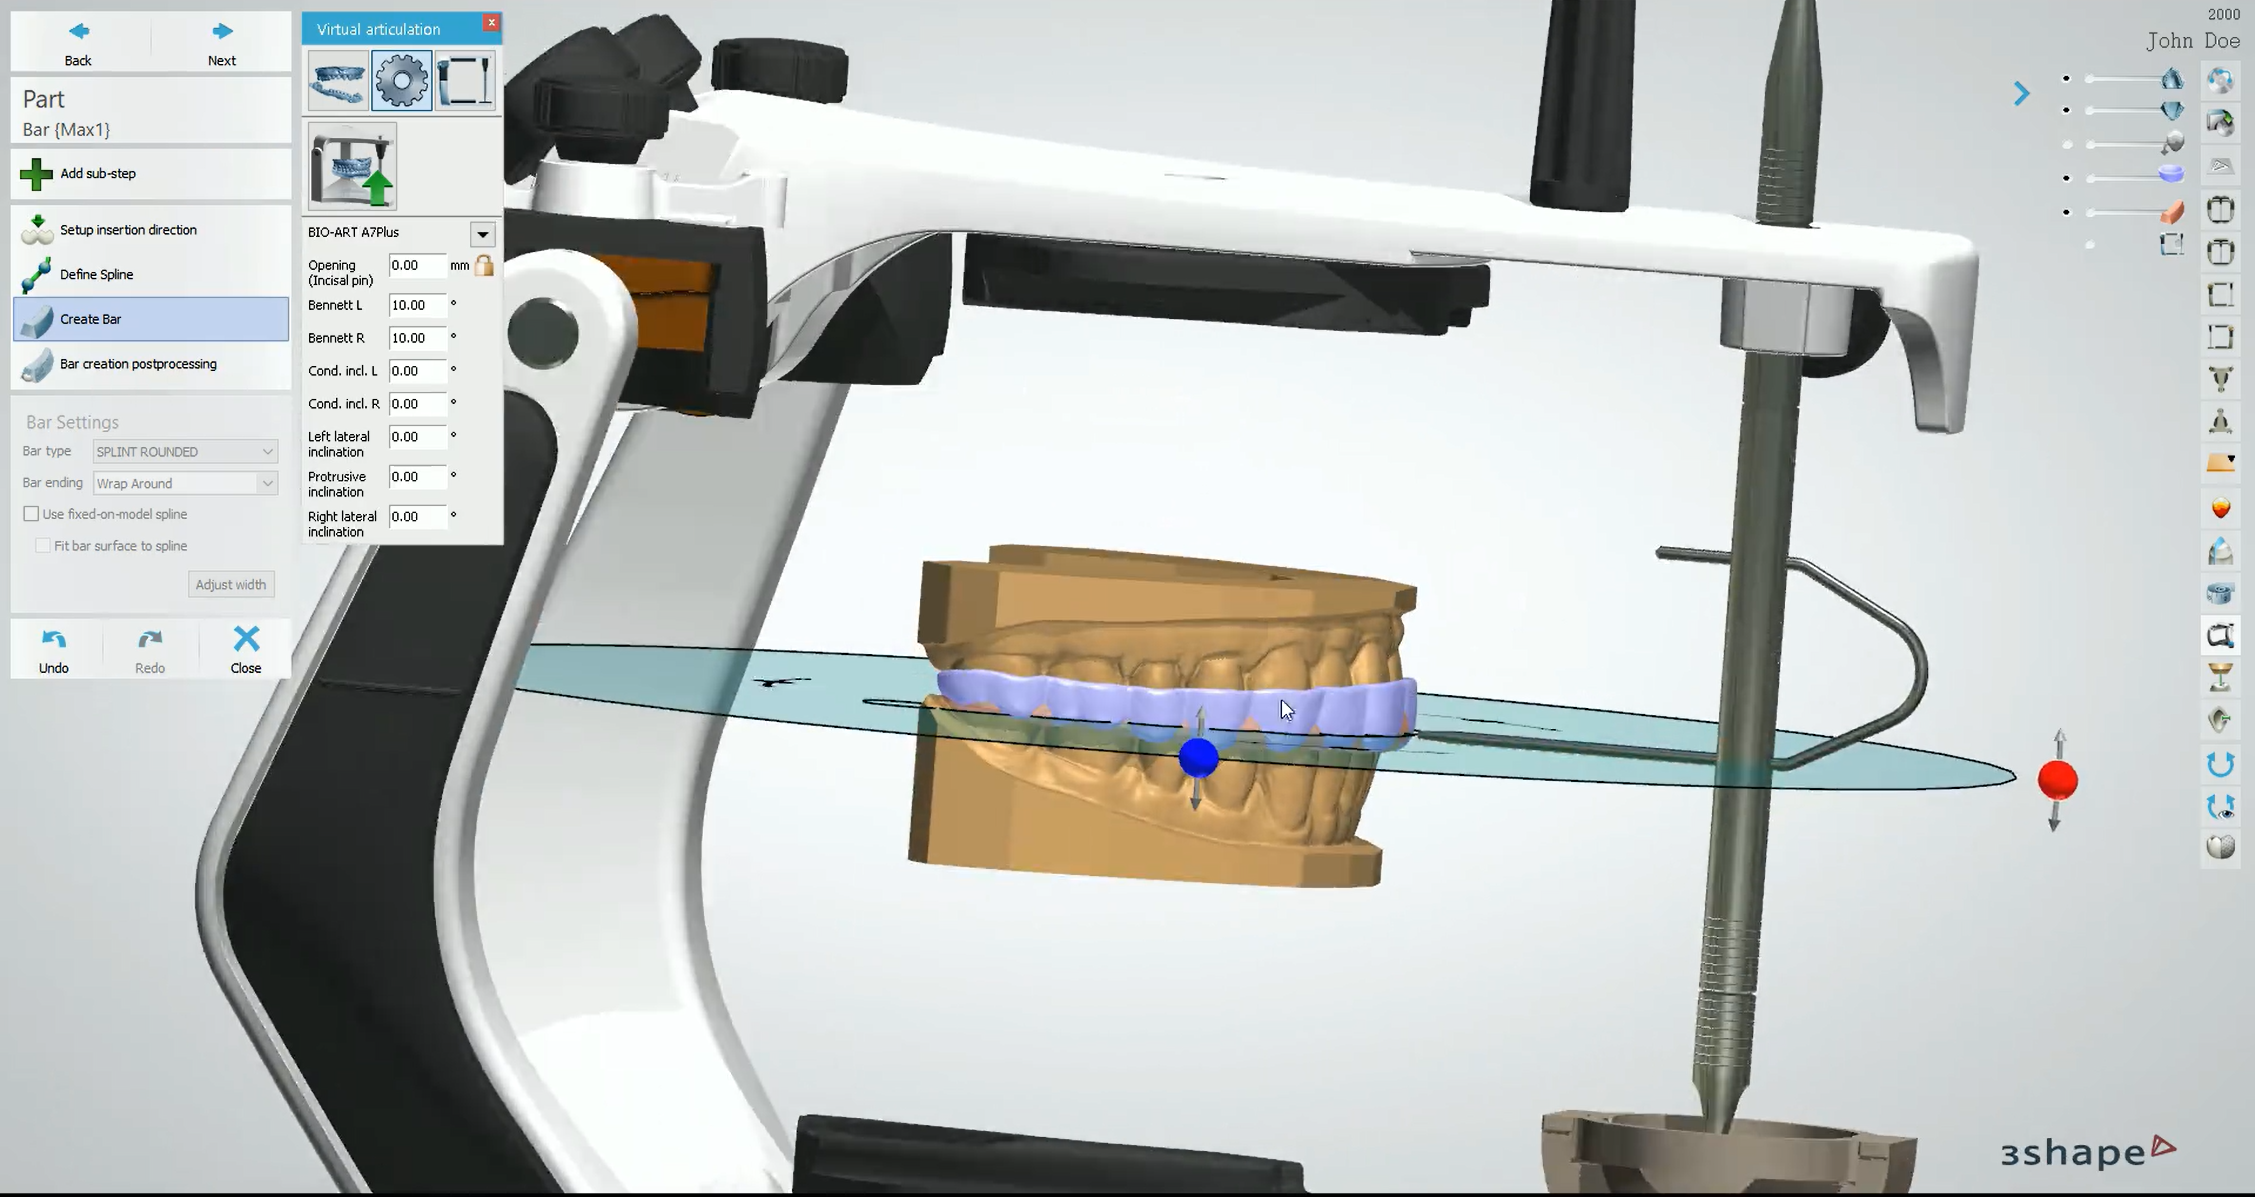
This is done in a Splint CAD software. SprintRay Software allows you to choose a splint software that best meets your clinical needs. Below is the list showing our recommended options, however, our software accepts any design file formatted in STL, which means you can use whichever software you are most comfortable with: 3Shape Splint Studio, Exocad, Magics, D3splint. Once the scans are imported to the design software:

2.2.1. Proper Software Settings Required
Follow the instructions for SprintRay Splint material and choose/provide proper settings in the software. Continue to complete the occlusal guard design. An embossed annotation on the model can help to keep track of your prints/patients.
2.2.2. Export Designs as STL
Once designing the occlusal guard is done, the designed appliance should be exported and saved in STL format.
Occlusal Guard Fabrication
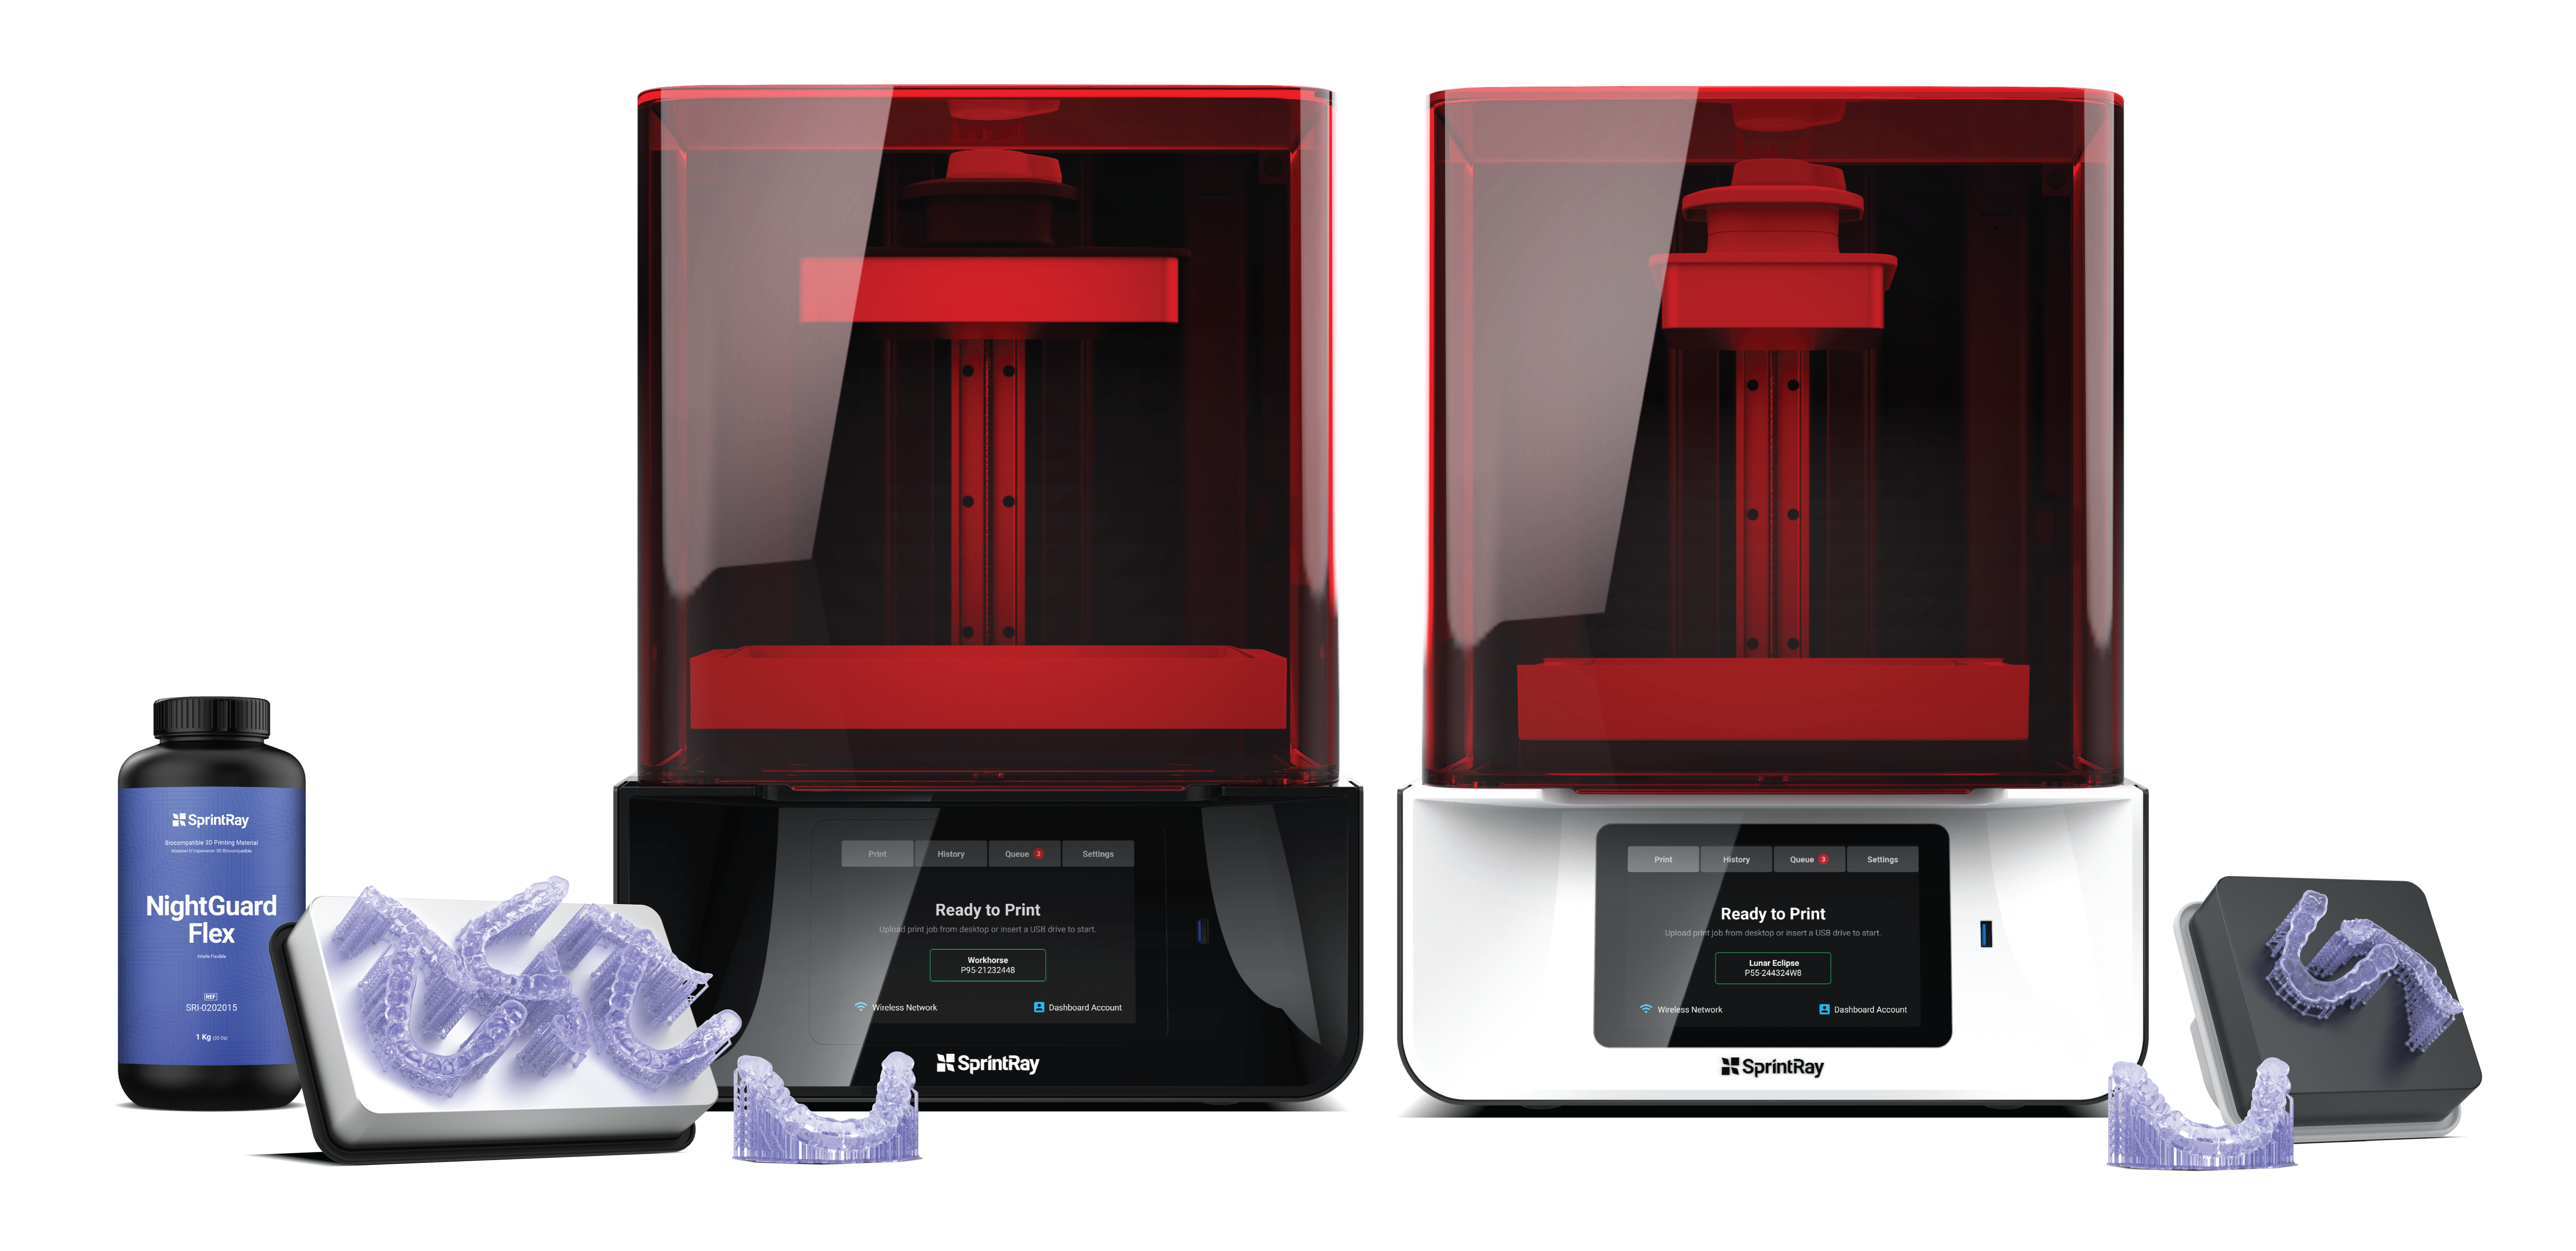
Fabricating the occlusal guard is the third step in this workflow. Once the design of the appliance is ready, you may start printing it with a SprintRay Pro printer, either directly from SprintRay Cloud Design or by using RayWare software.
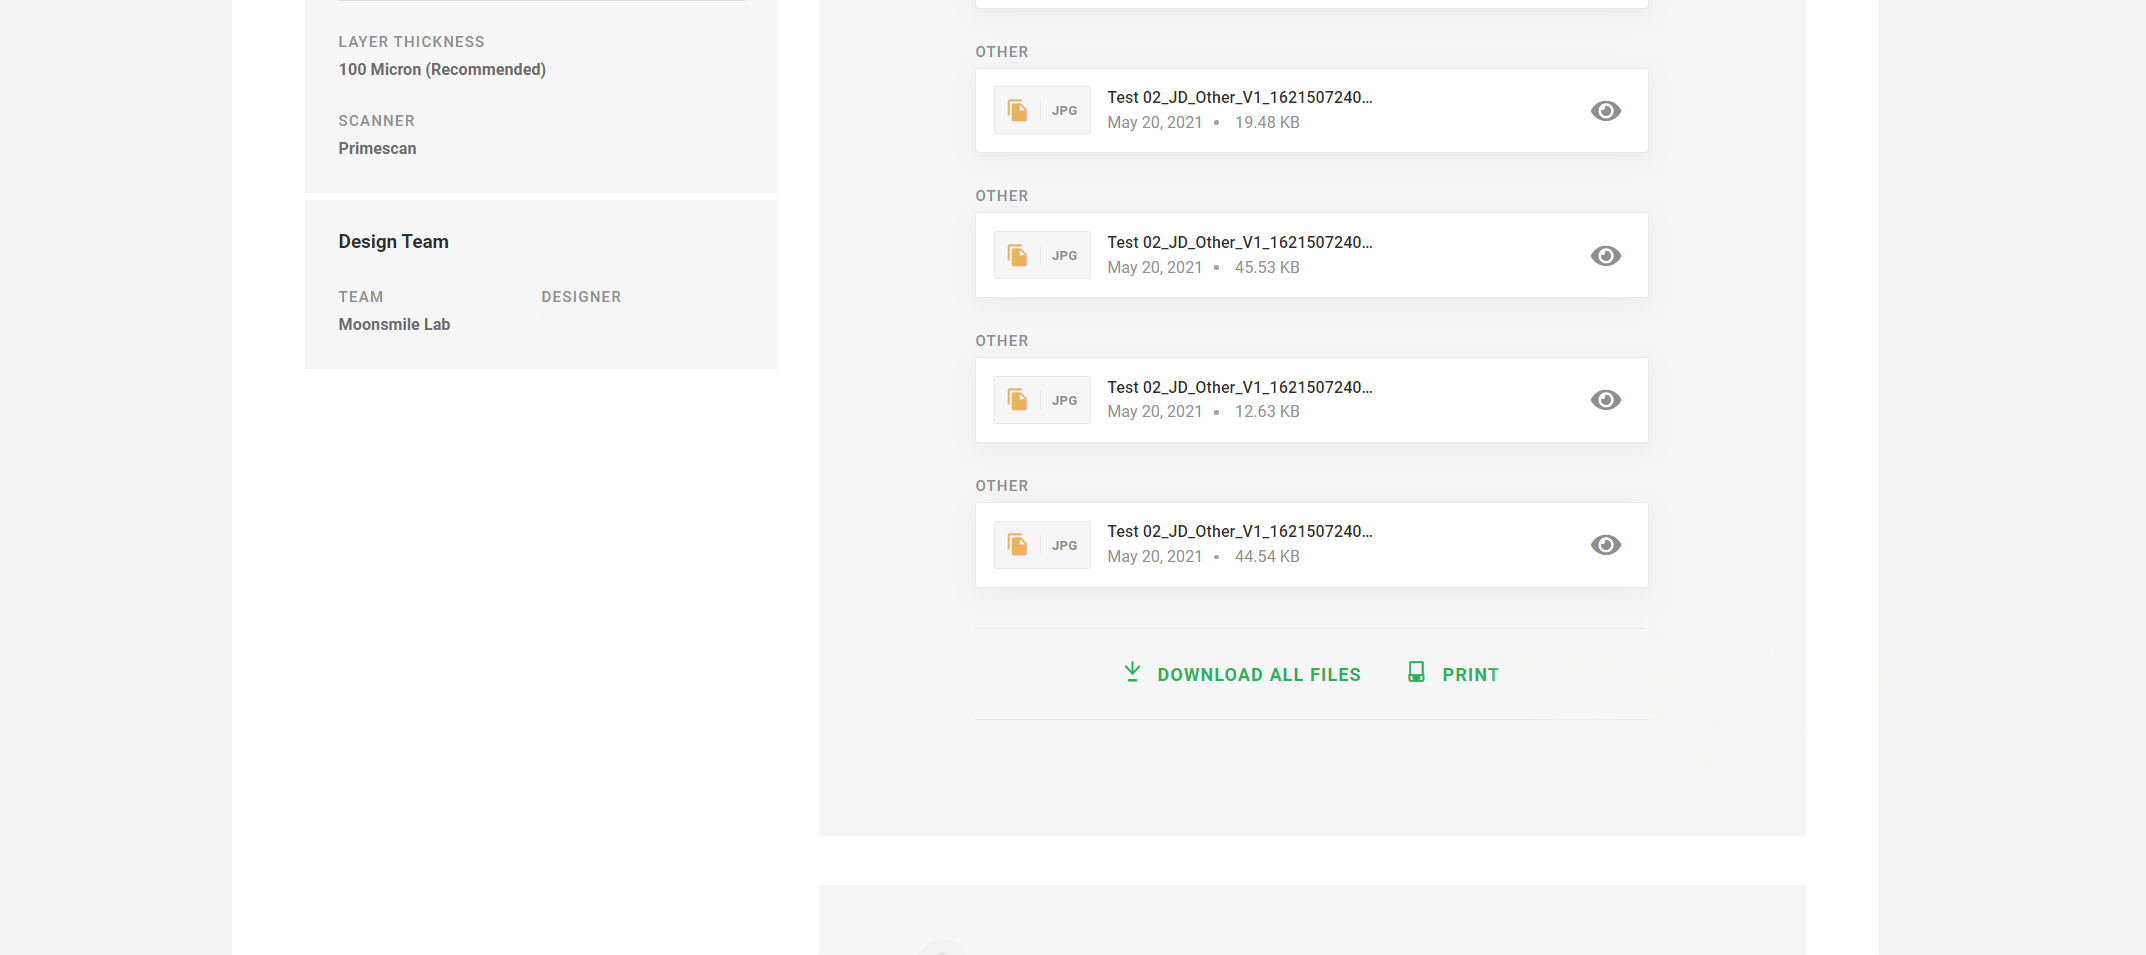
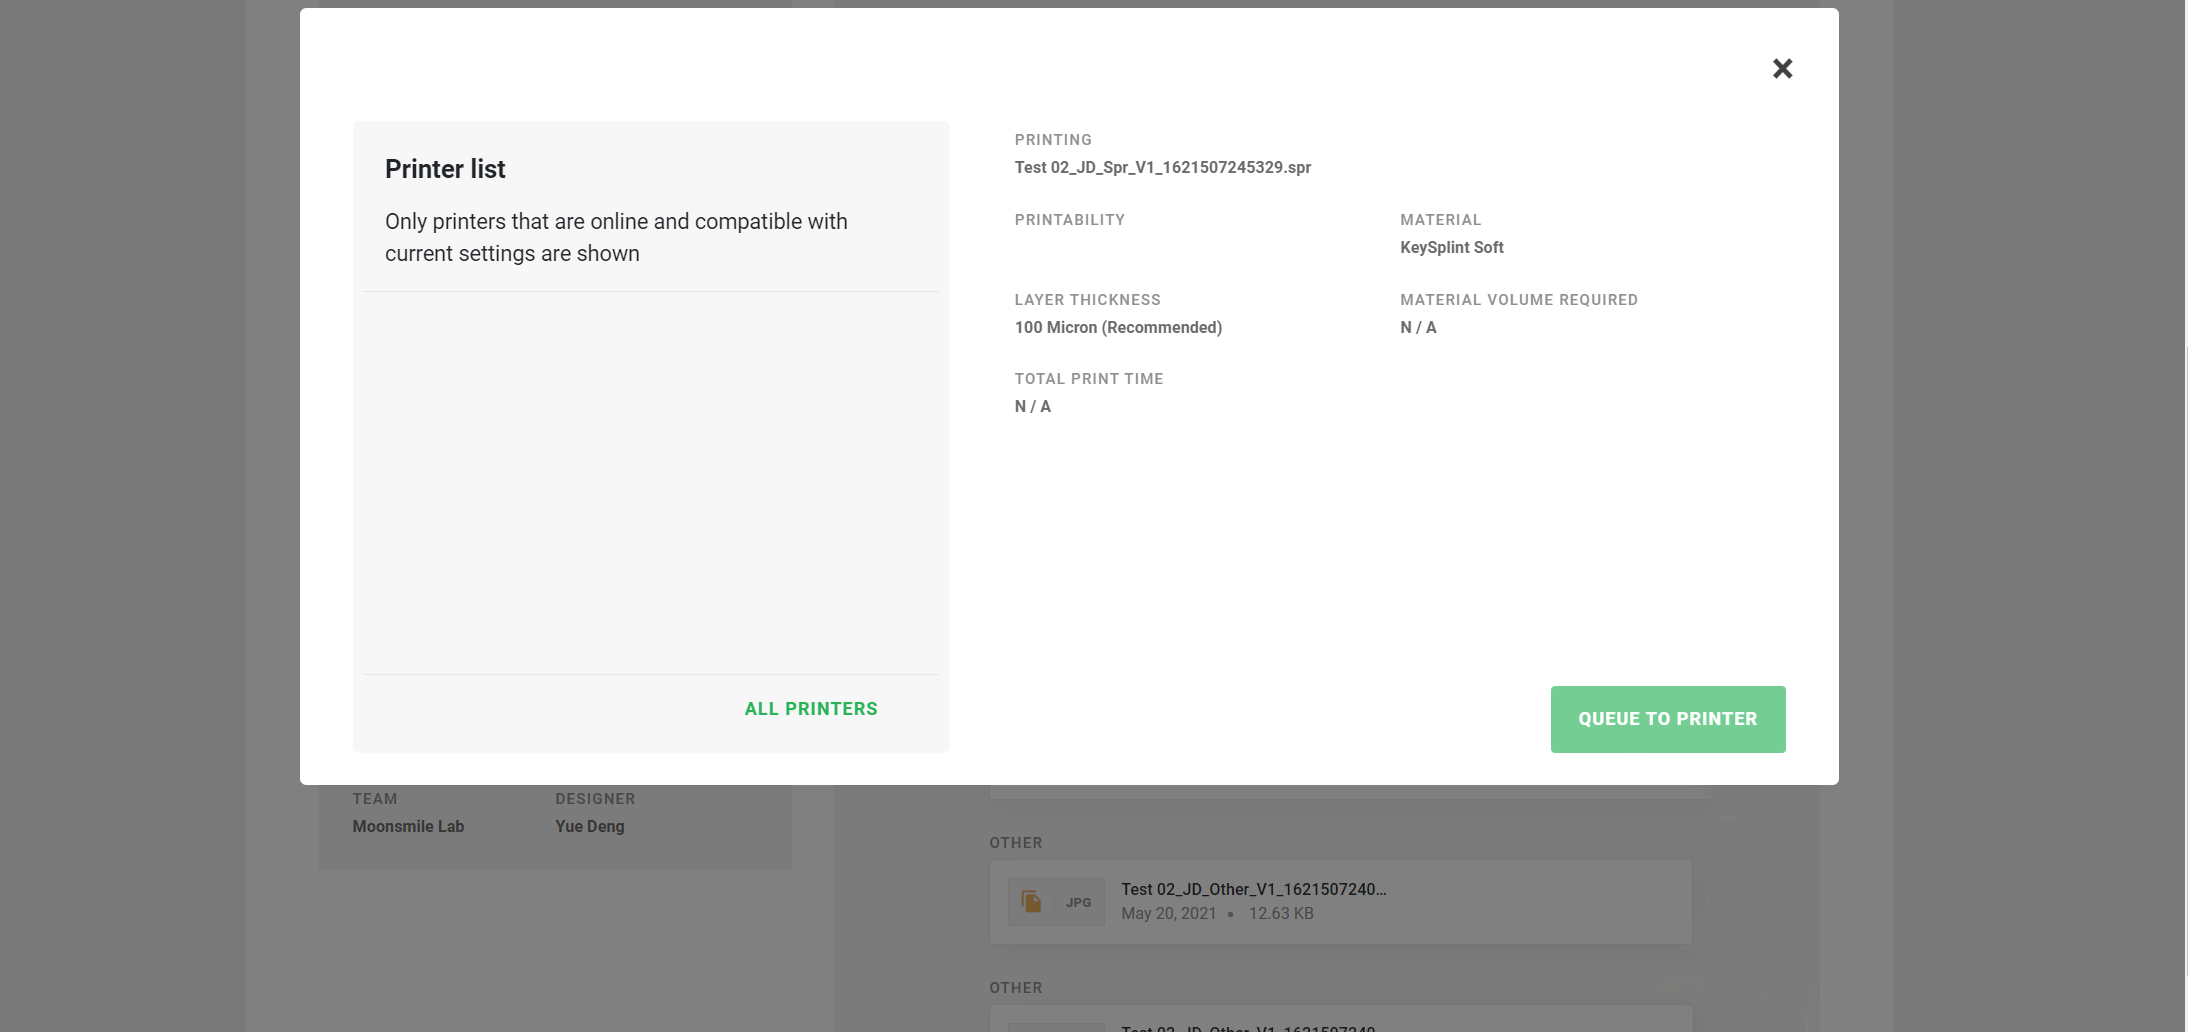
To use the direct print option from SprintRay Cloud Design services, click on the “PRINT” button on the communication page, double check printer and resin settings before clicking on “QUEUE TO PRINTER,” which sends the design directly to the printer. If you use the direct print option you may jump to step 3.5, otherwise continue to step 3.1.
Time required: 2-2.5 hours.
3.1. Initial Preparation
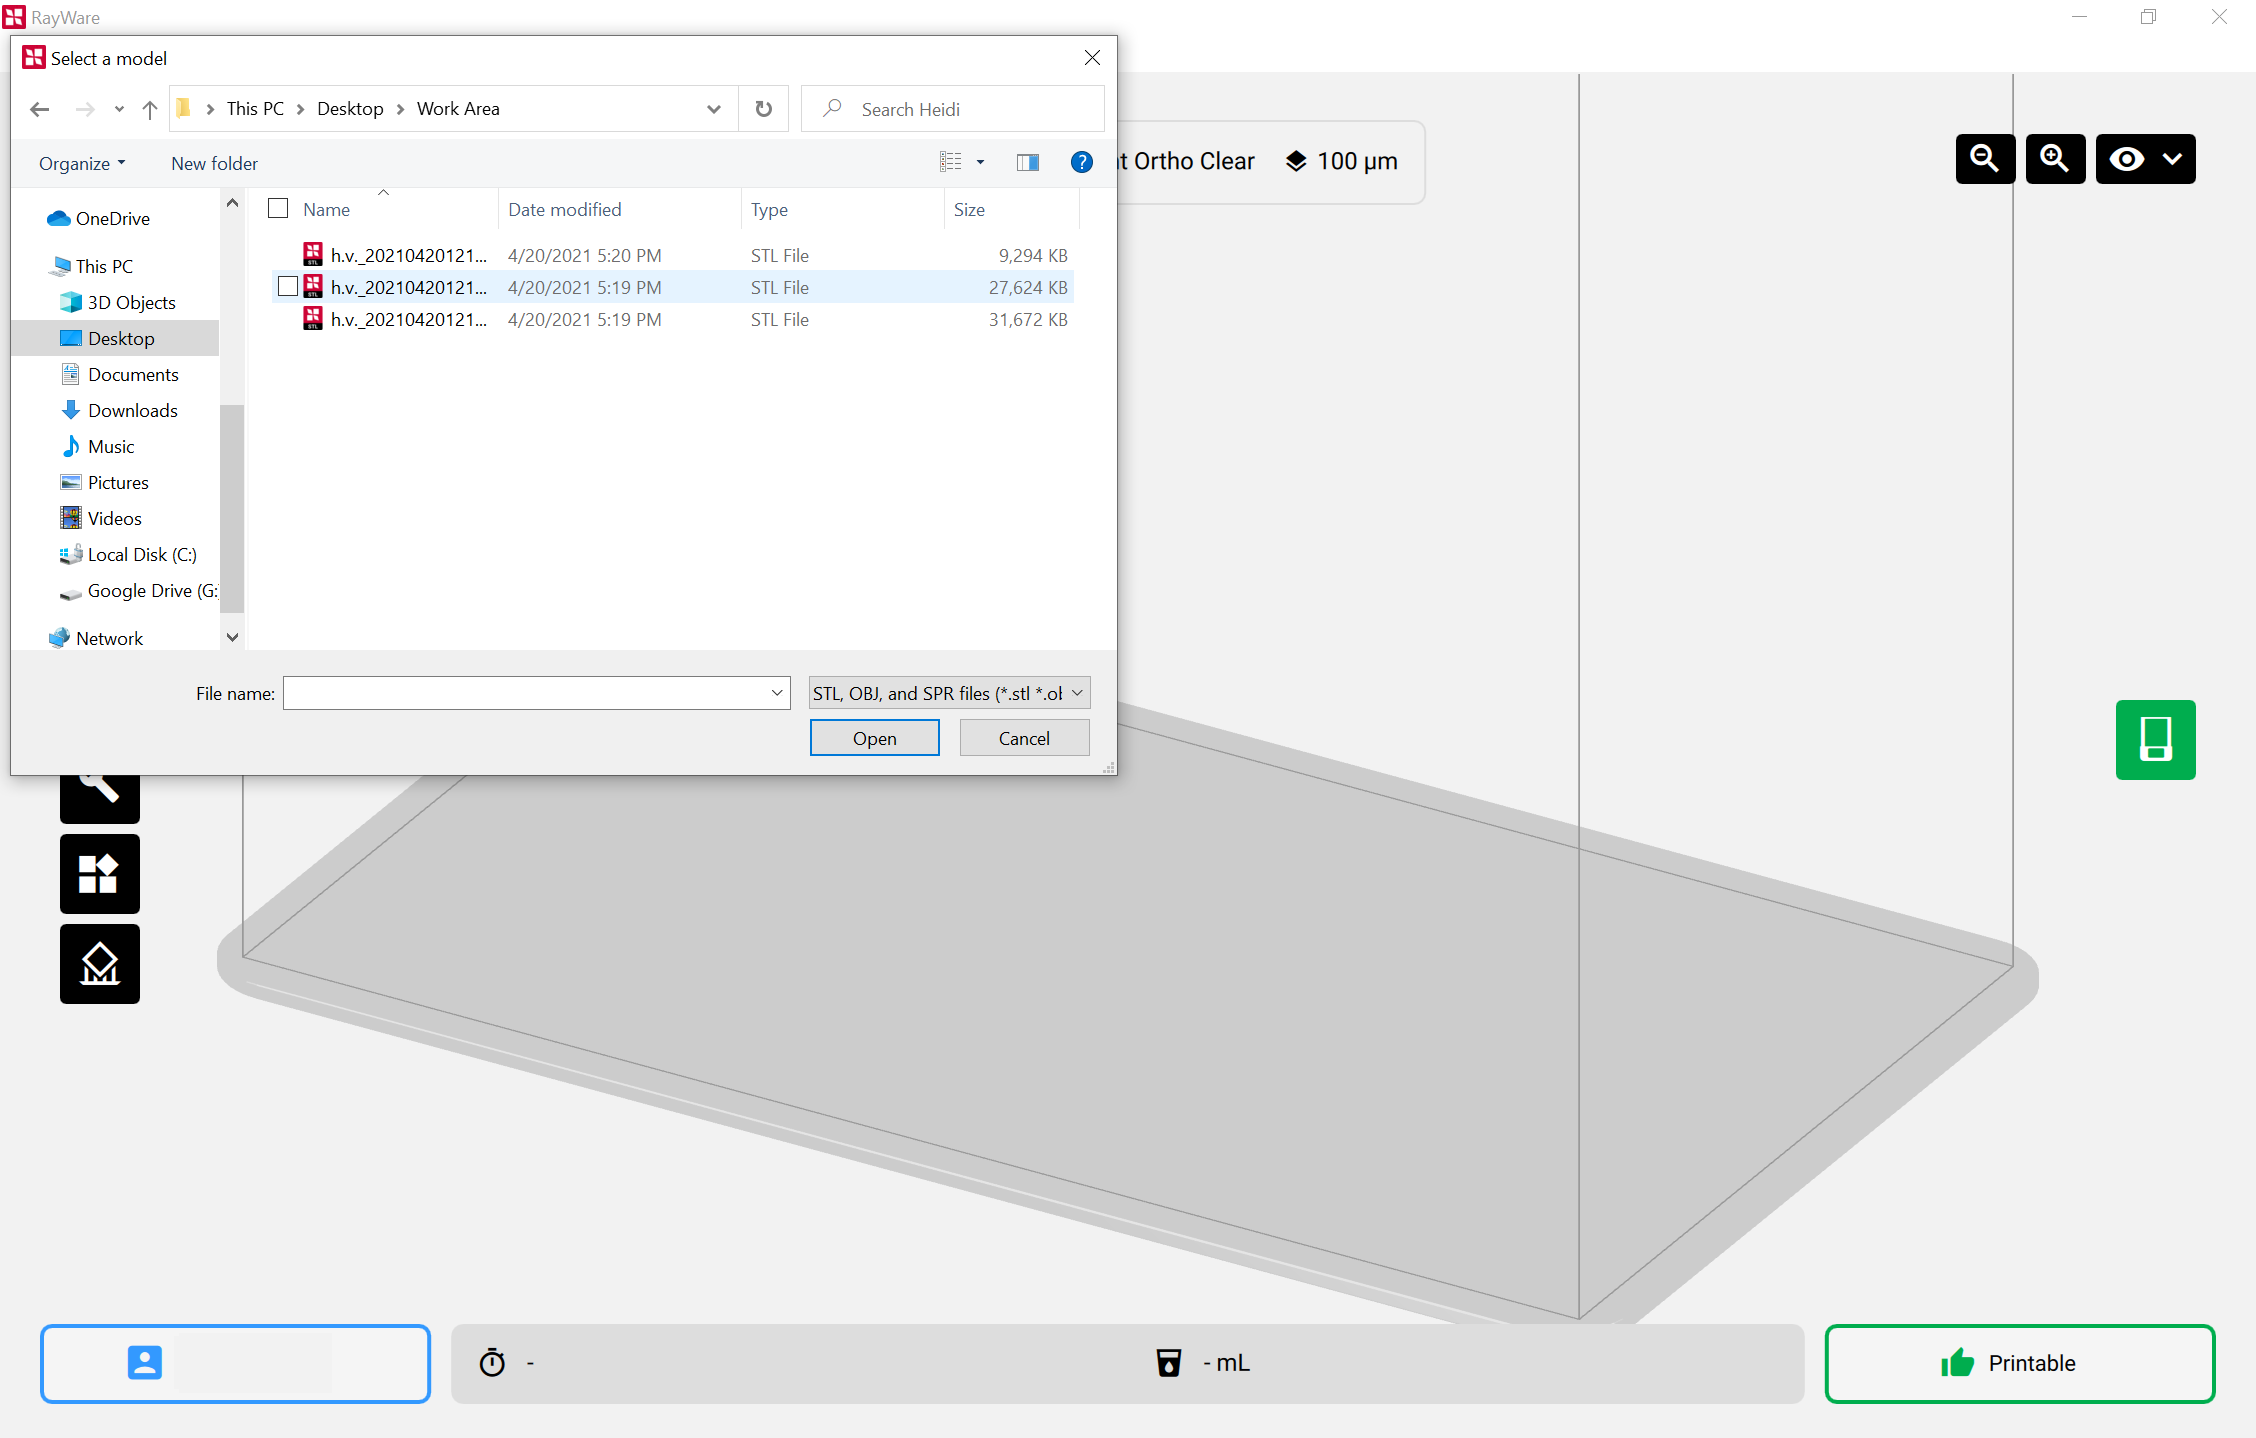
To prepare the appliance design for printing, import it to RayWare in STL format.
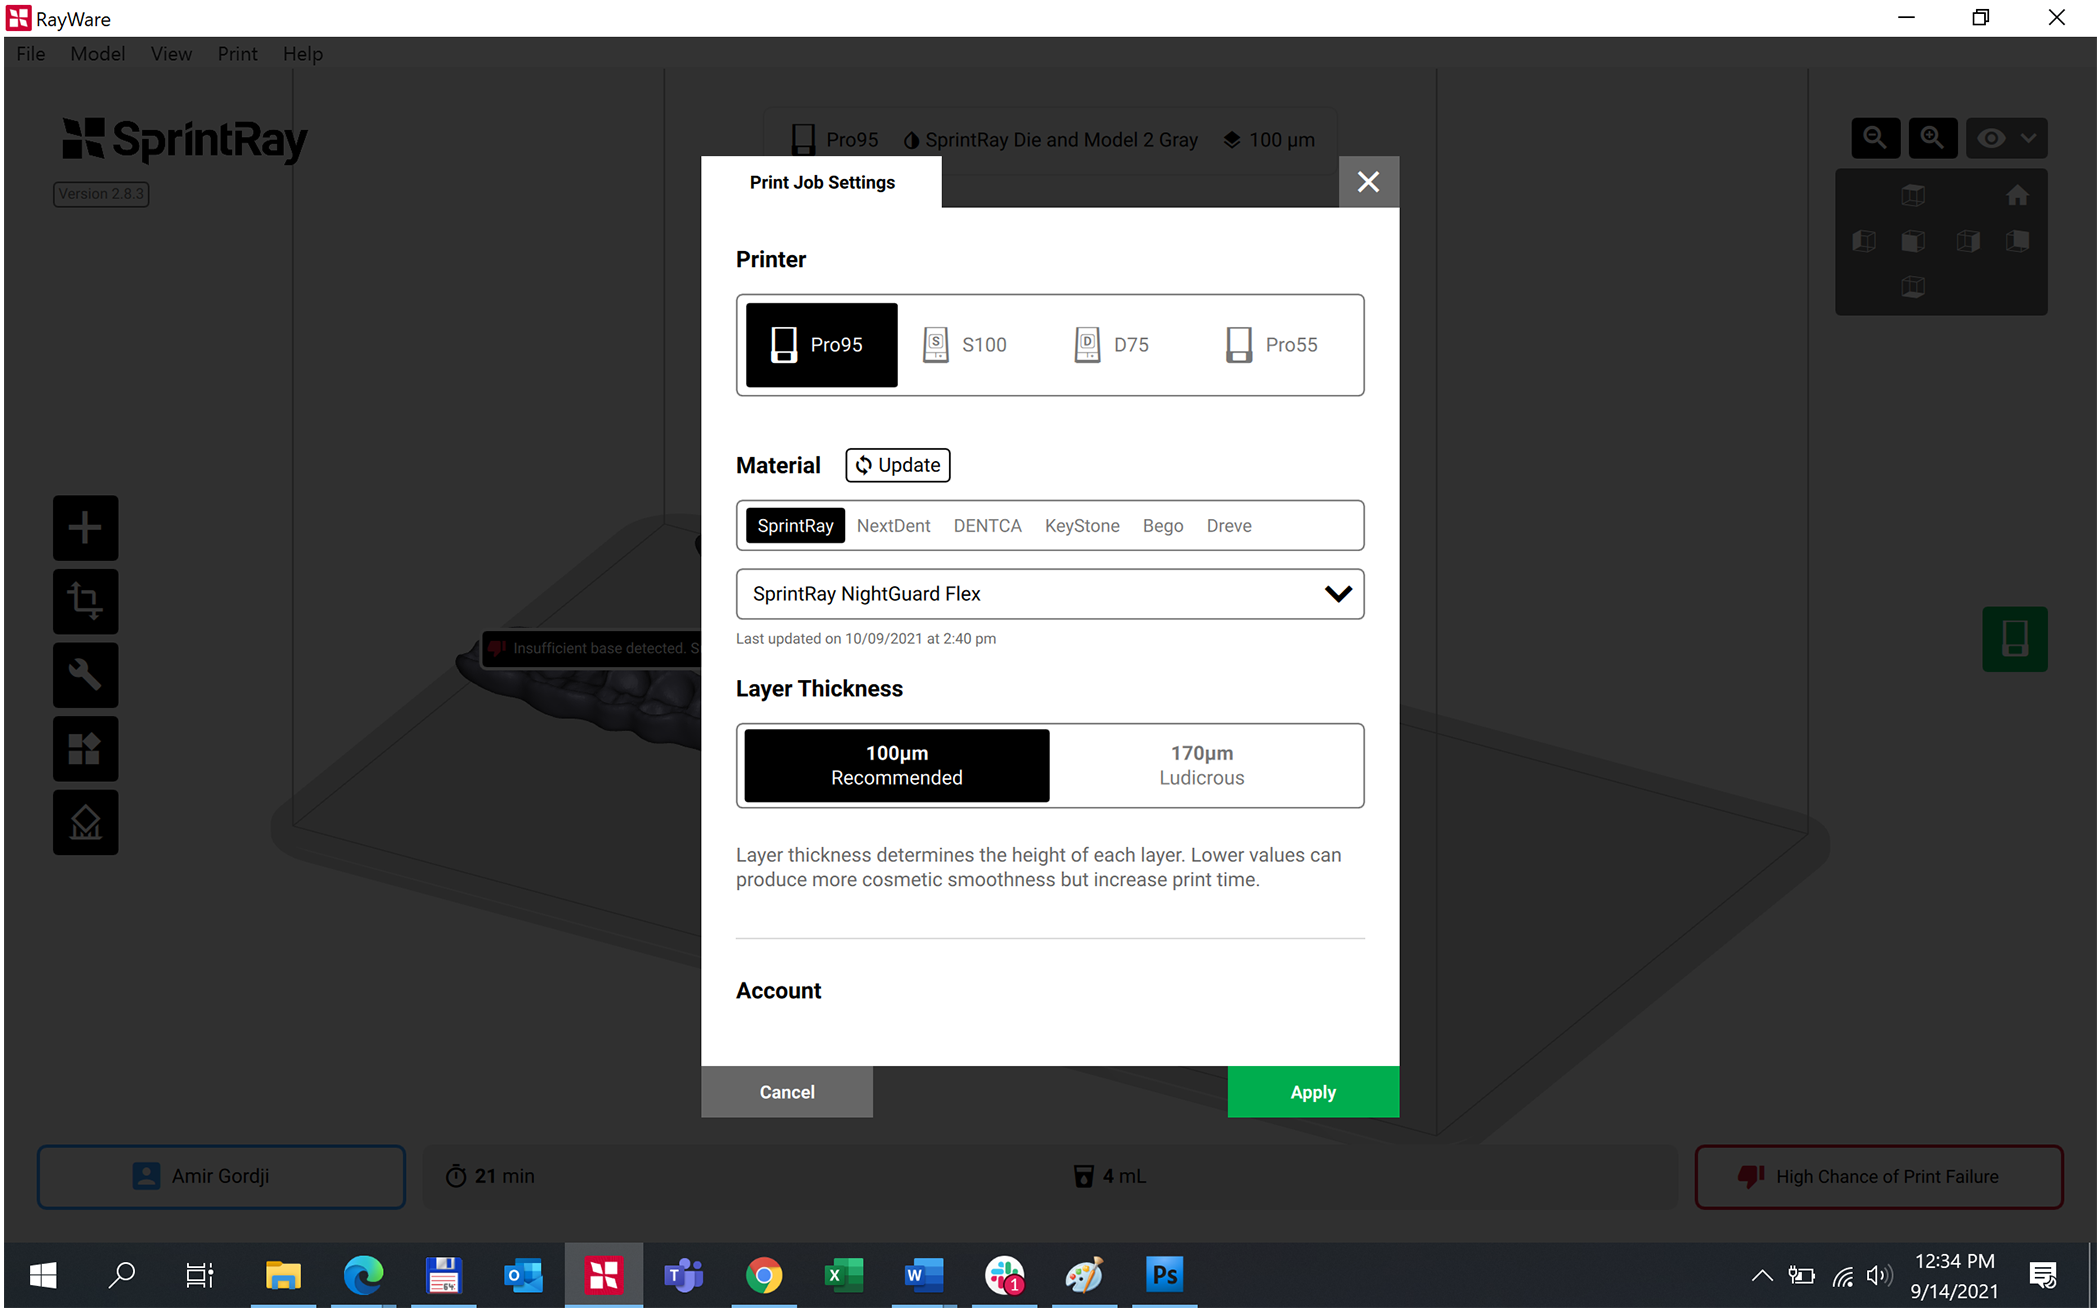
3.2. Print Settings and Configuration
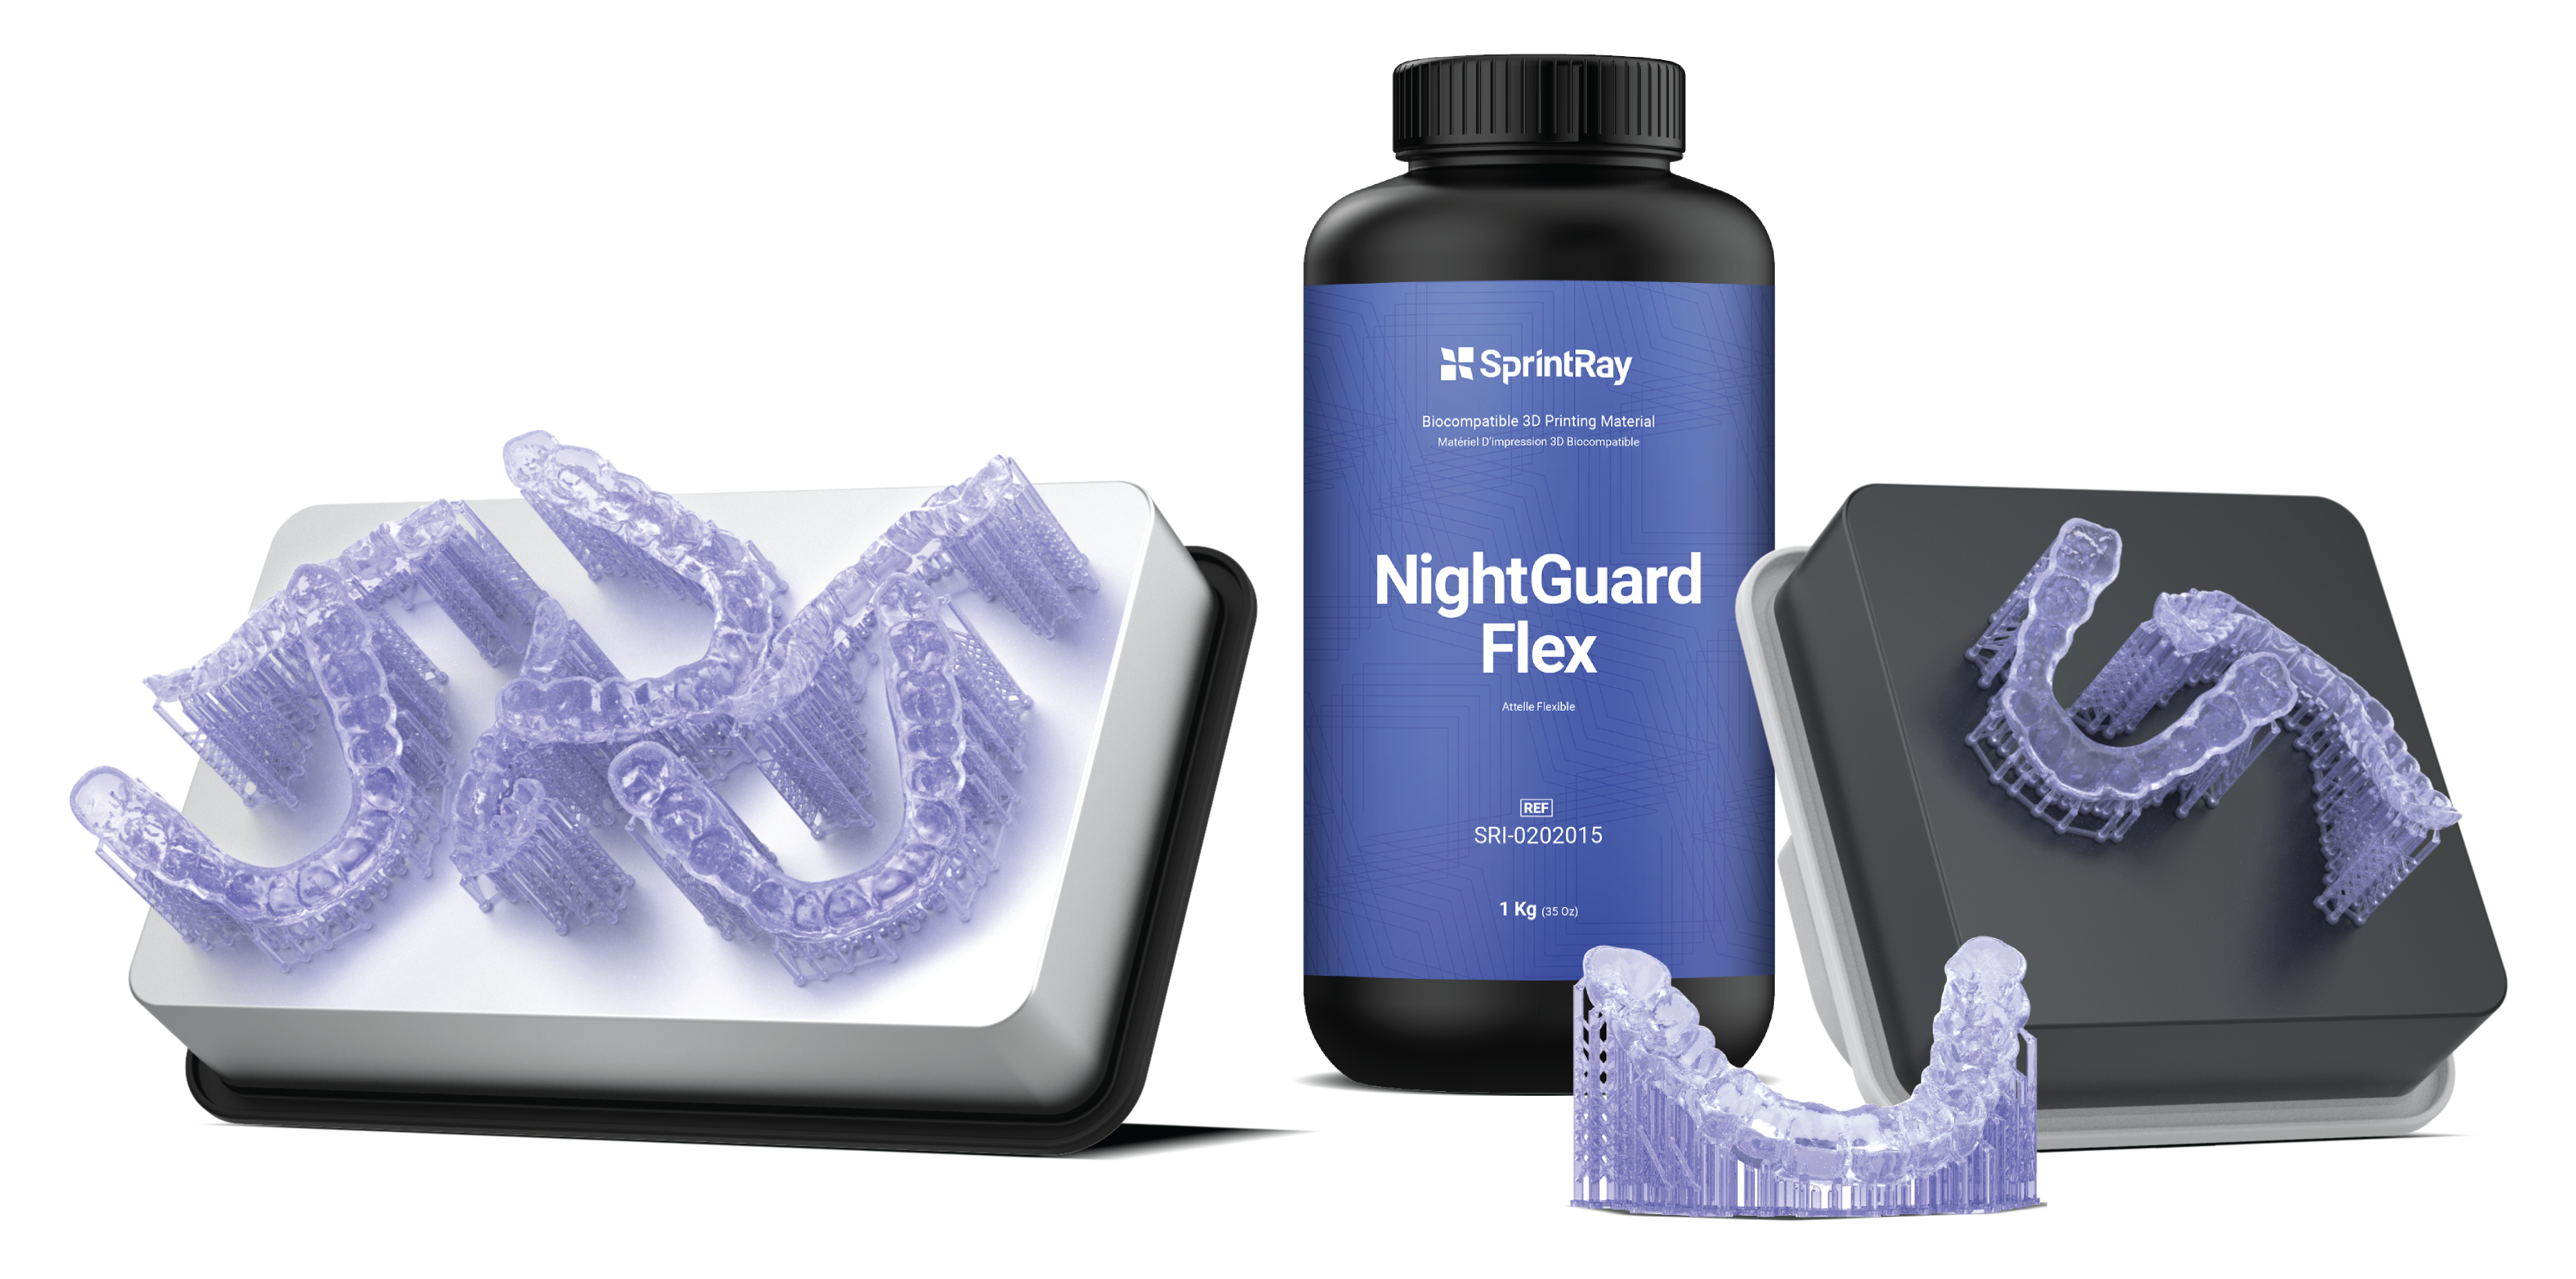
The recommended resin for printing occlusal guards is SprintRay NightGuard Flex. The recommended thickness is 100 microns. This thickness will provide great accuracy for occlusal guard fabrication.
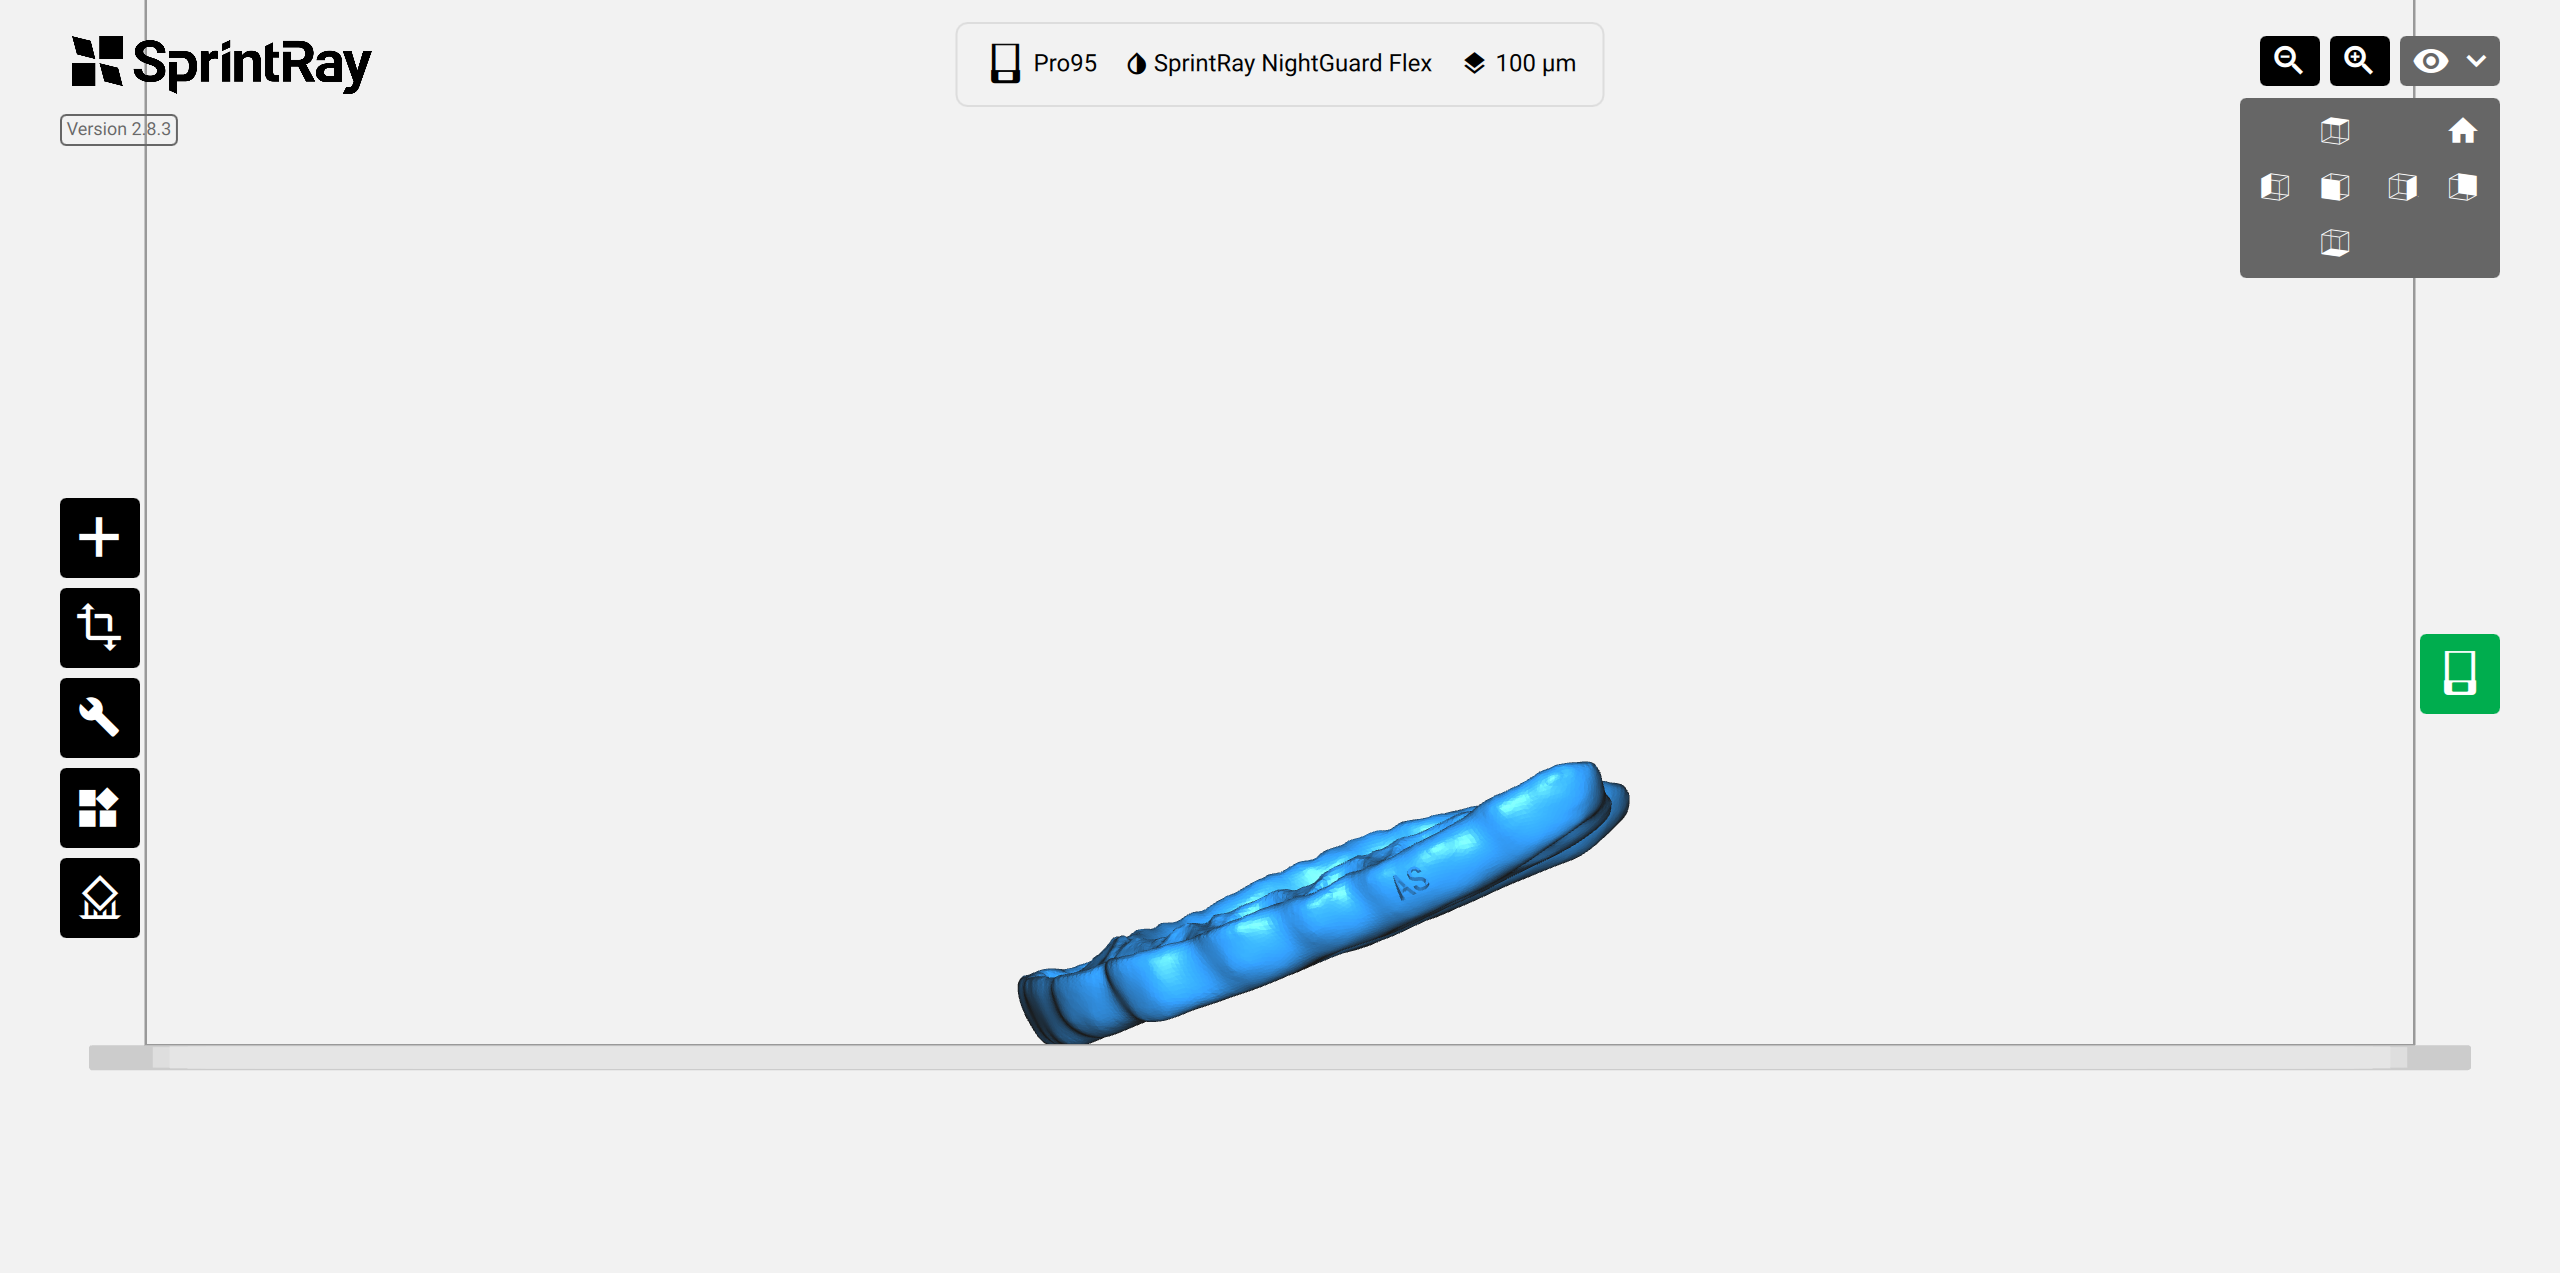
3.3. Print Orientation
The print orientation/angulation is an important printing factor. We recommend the following for best results:
- The intaglio surface should be facing up.
- The occlusal plane should be at an angle of 20-30 degrees to the print platform.
- The anterior part of the design should be closer to the print platform than the posterior.
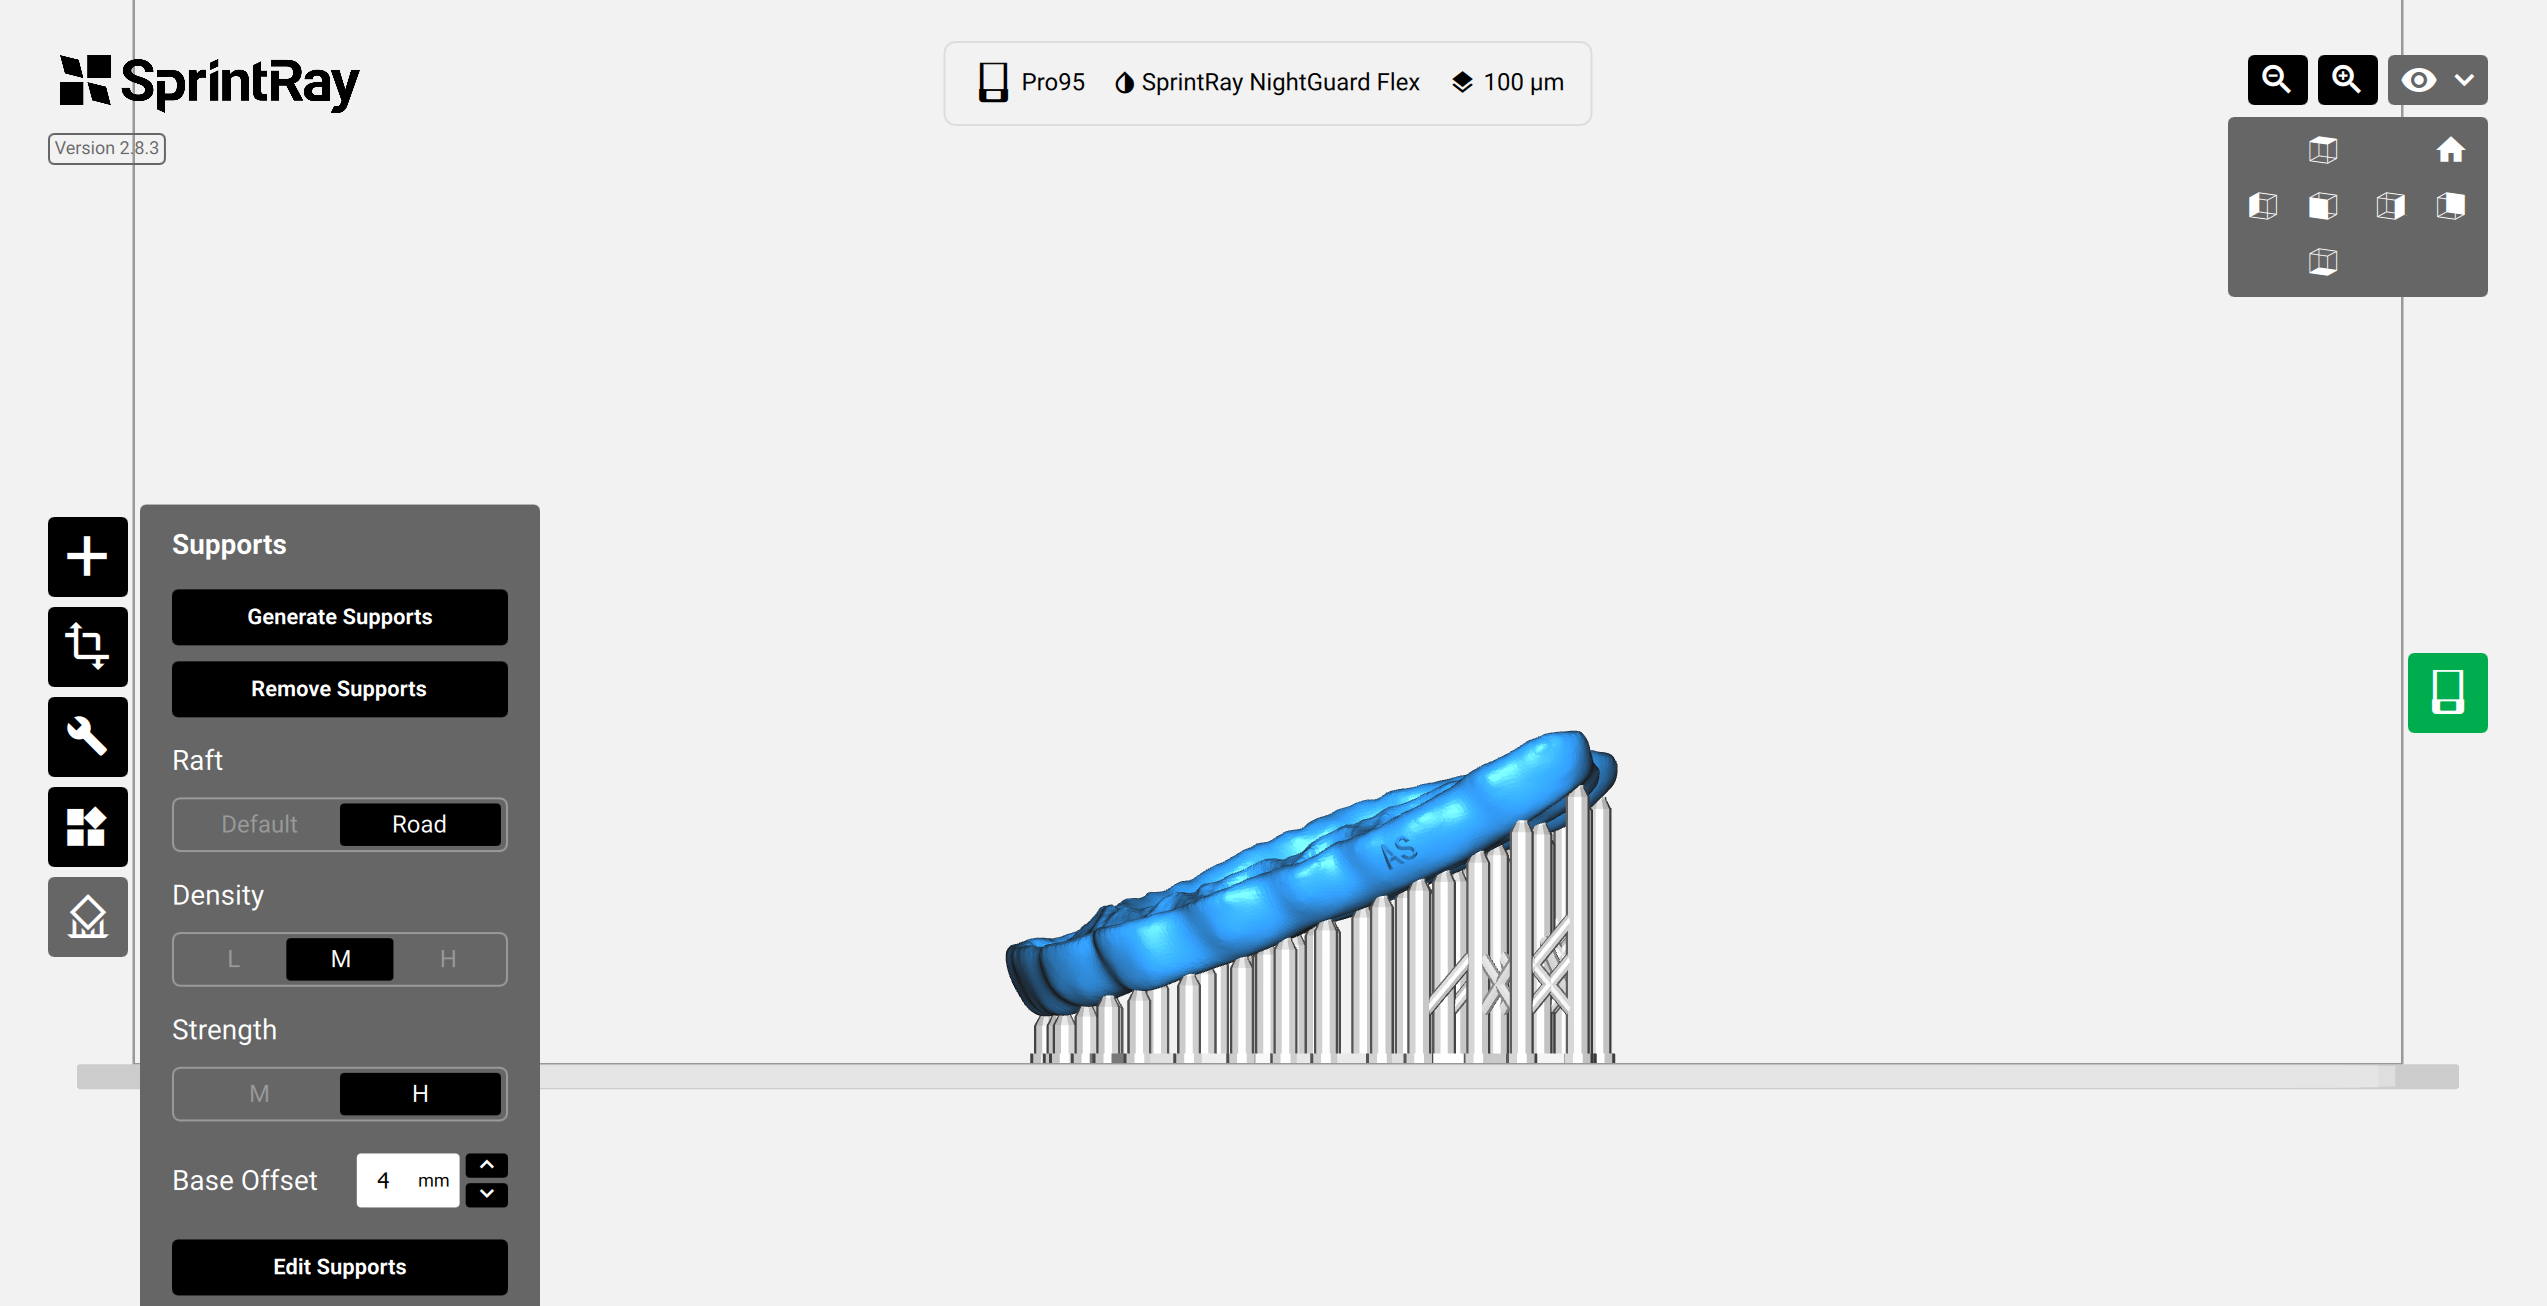
3.4. Adding Supports
Once correct orientation is achieved, supports should be added to the design using the “Supports” button on the left side of the screen. We highly recommend printing the design with full supports to avoid any inaccuracies in the final product. Using supports only in the anterior region may lead to a lack of fitment.

3.5. Prepare 3D printer and set print settings
Once settings are complete, check the resin level in the resin tank. It should stand between the minimum and maximum lines. If there is leftover resin in the tank from the previous print, use the provided resin wiper to stir the resin before printing. This ensures that the resin is properly mixed and clean. Make sure the resin tank is fully secured in place.
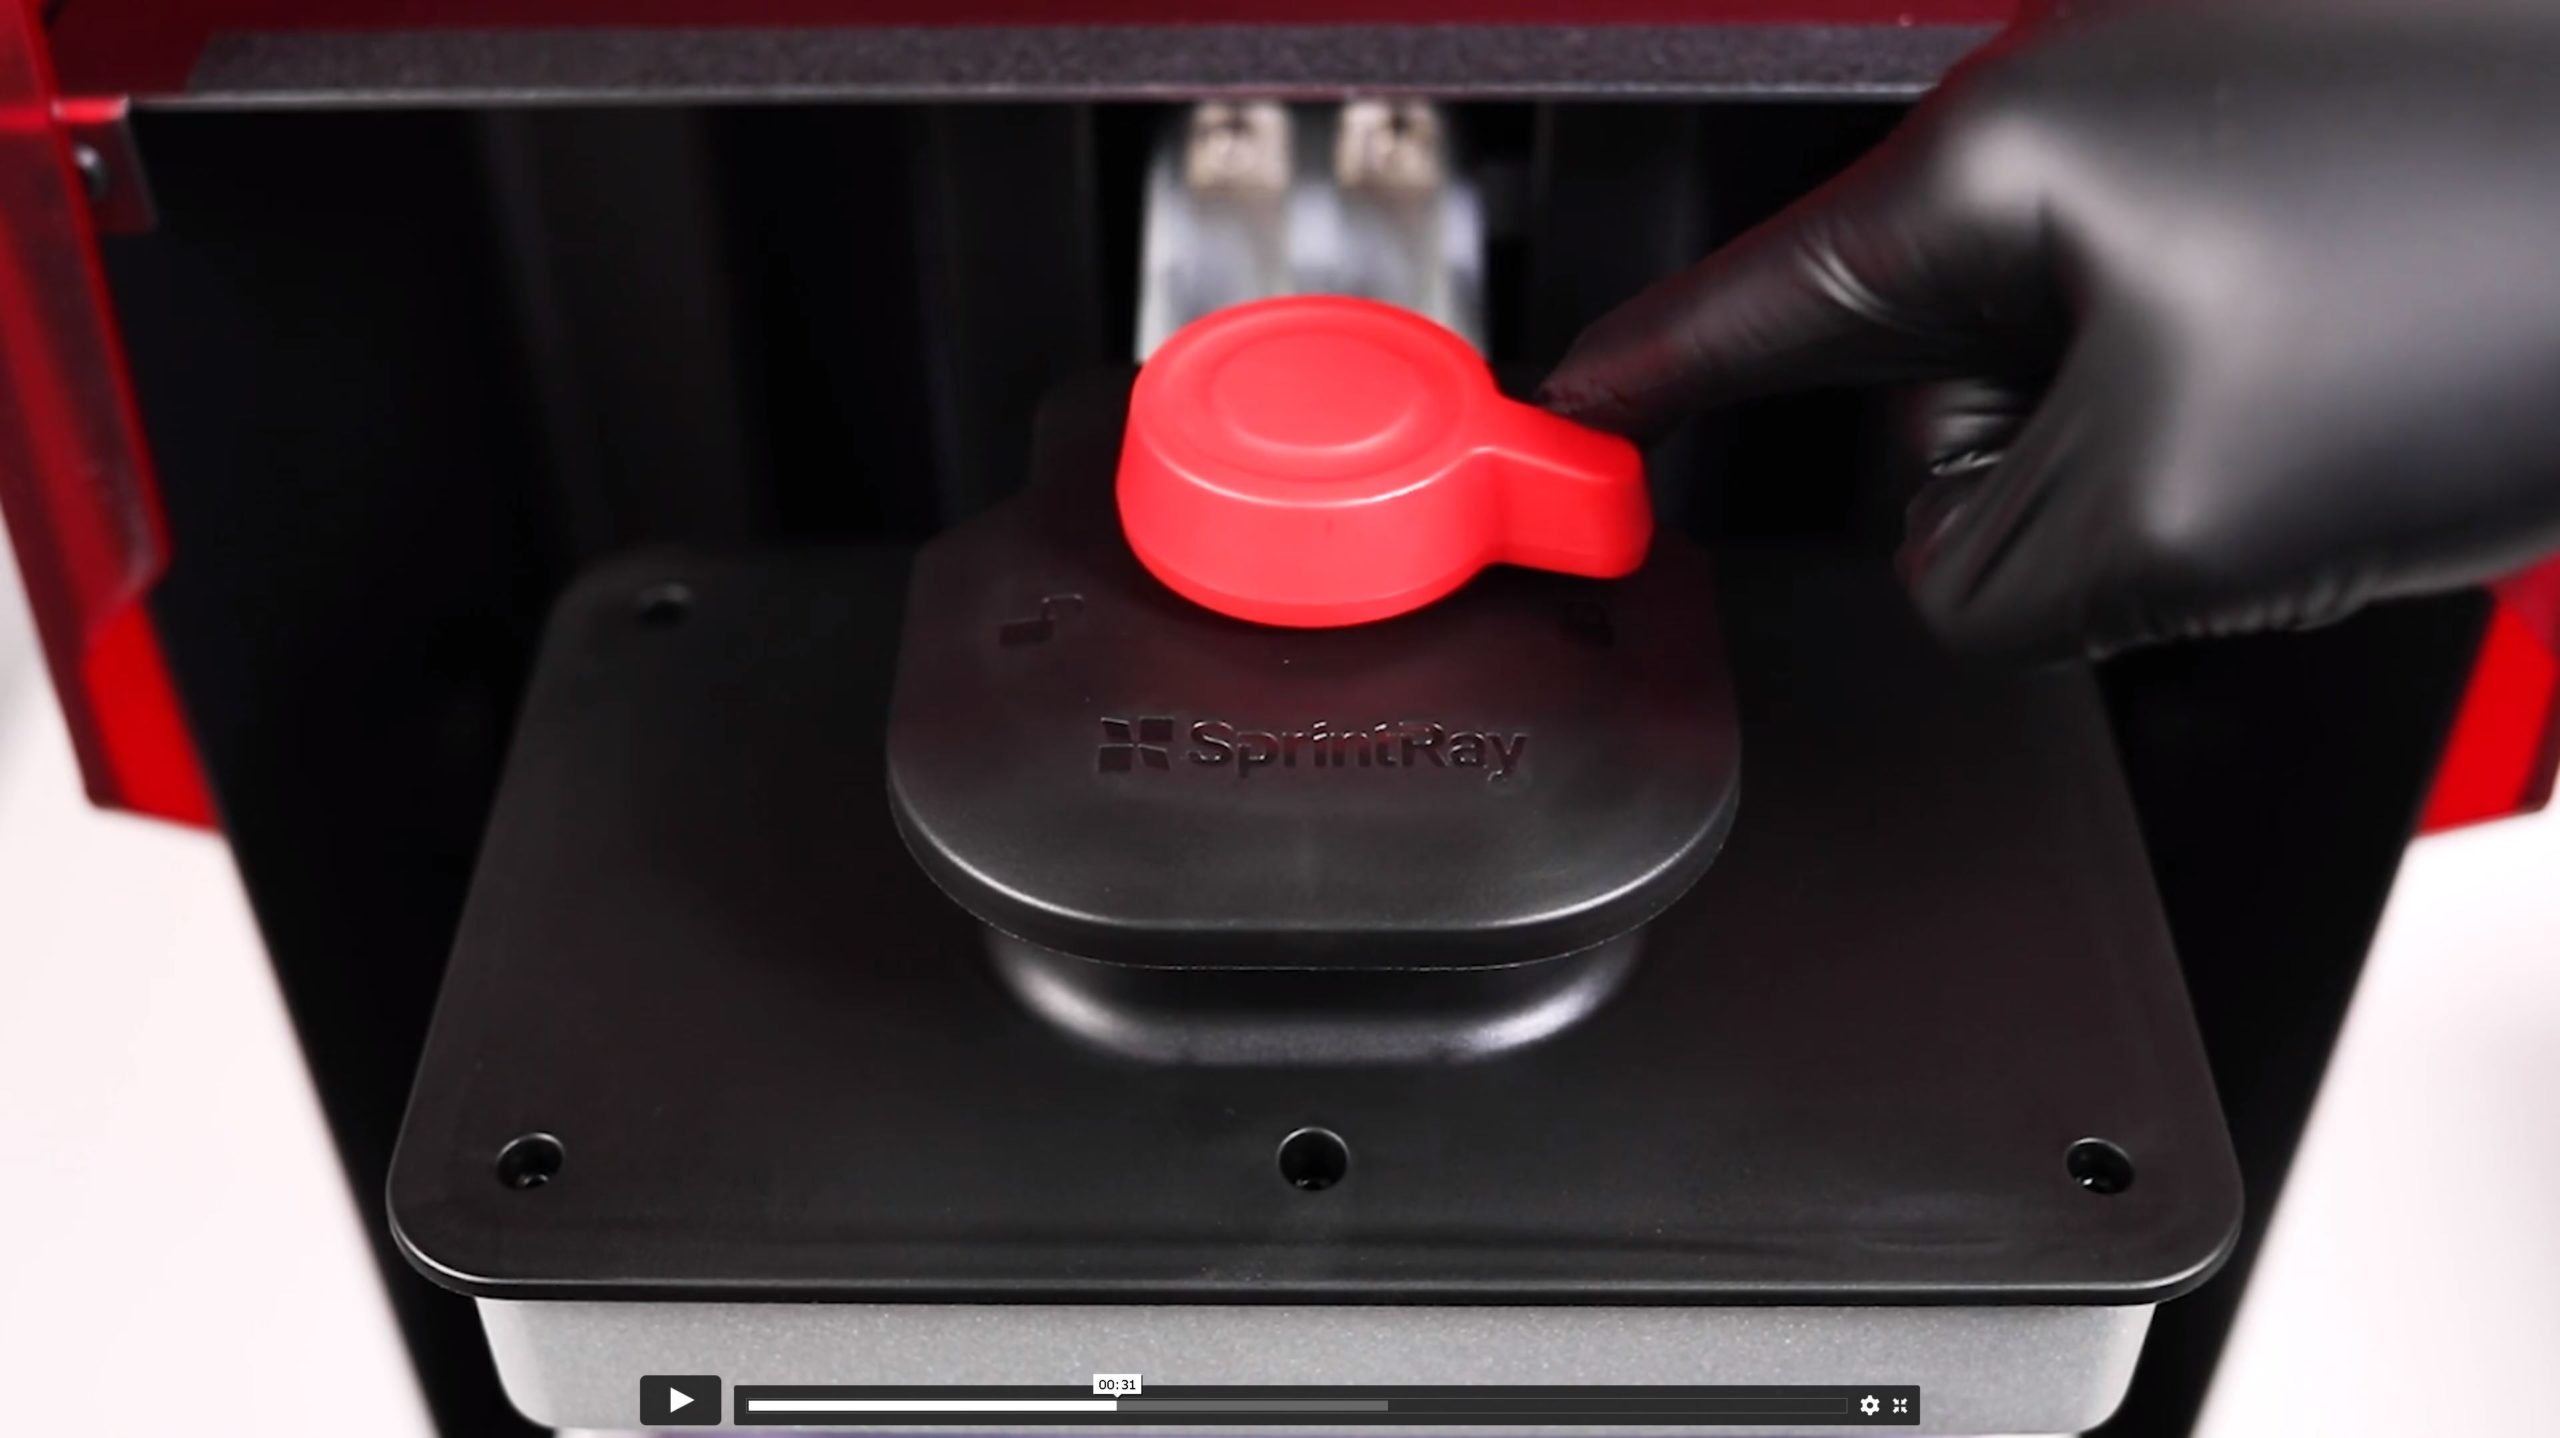
3.5.1. Platform check
Make sure the print platform is clean, dry, and securely placed, and locked on the platform-arm.
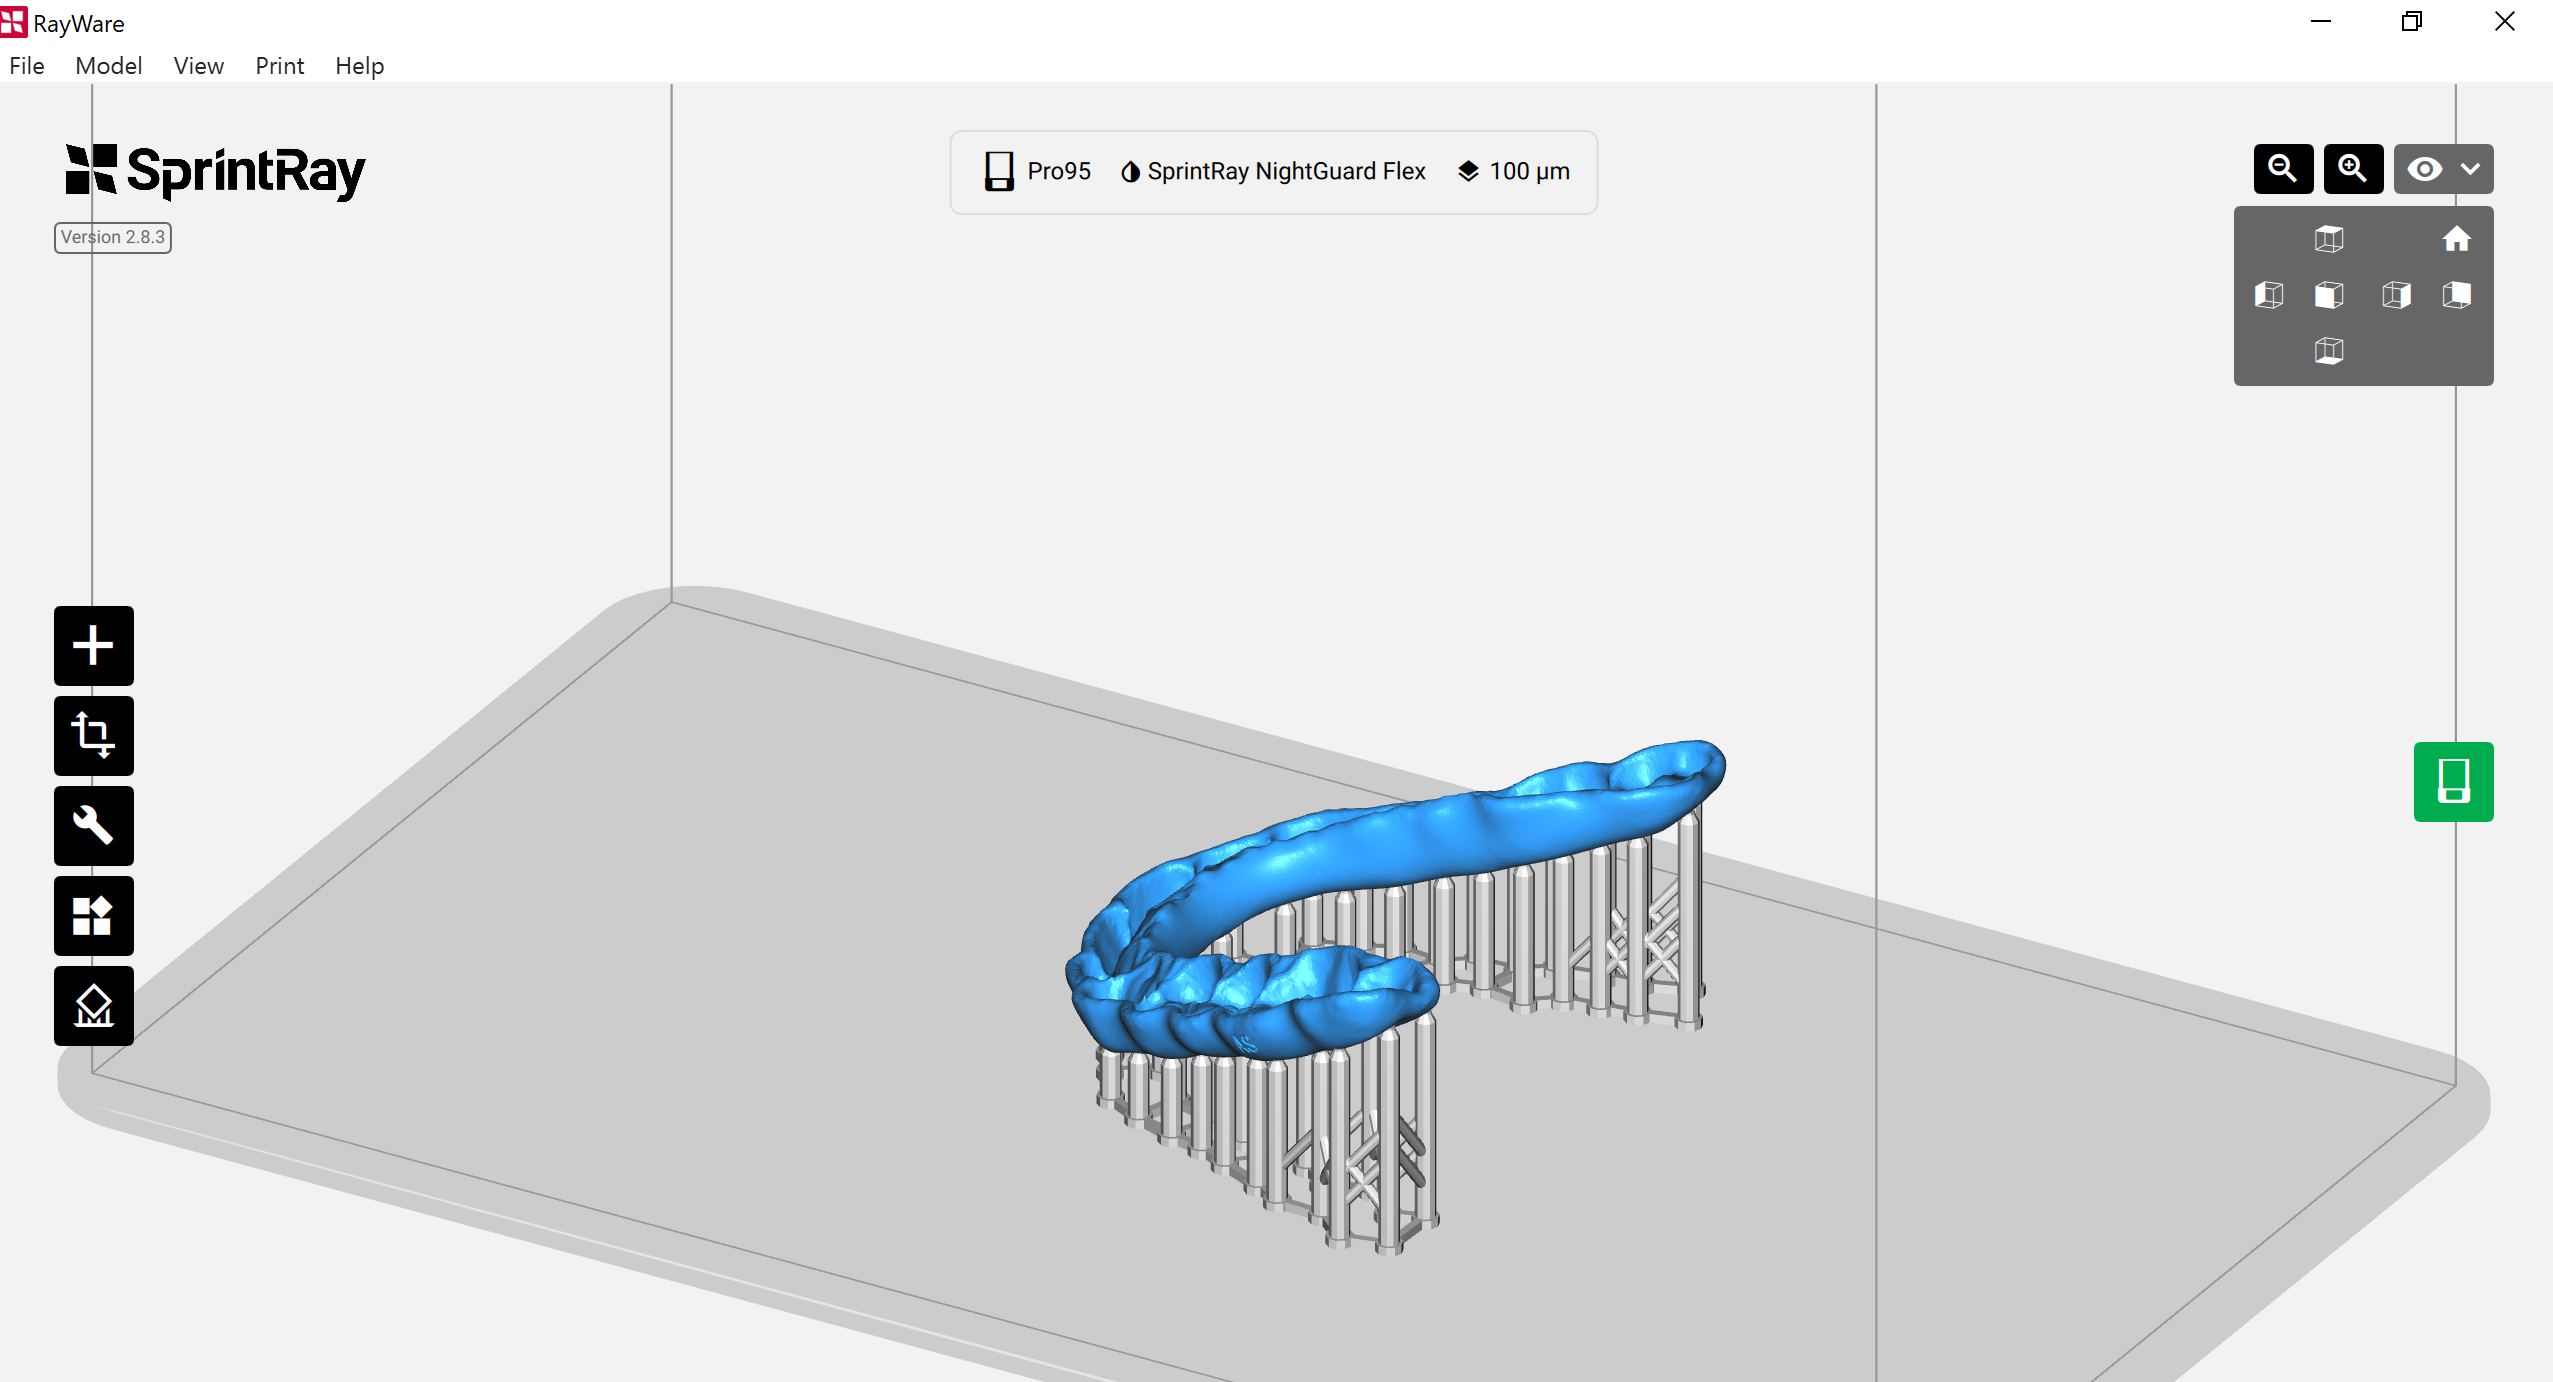
3.5.2. Print Button
In RayWare, click on the “Print” button to send the design to the printer for printing or place it in the queue to print later.
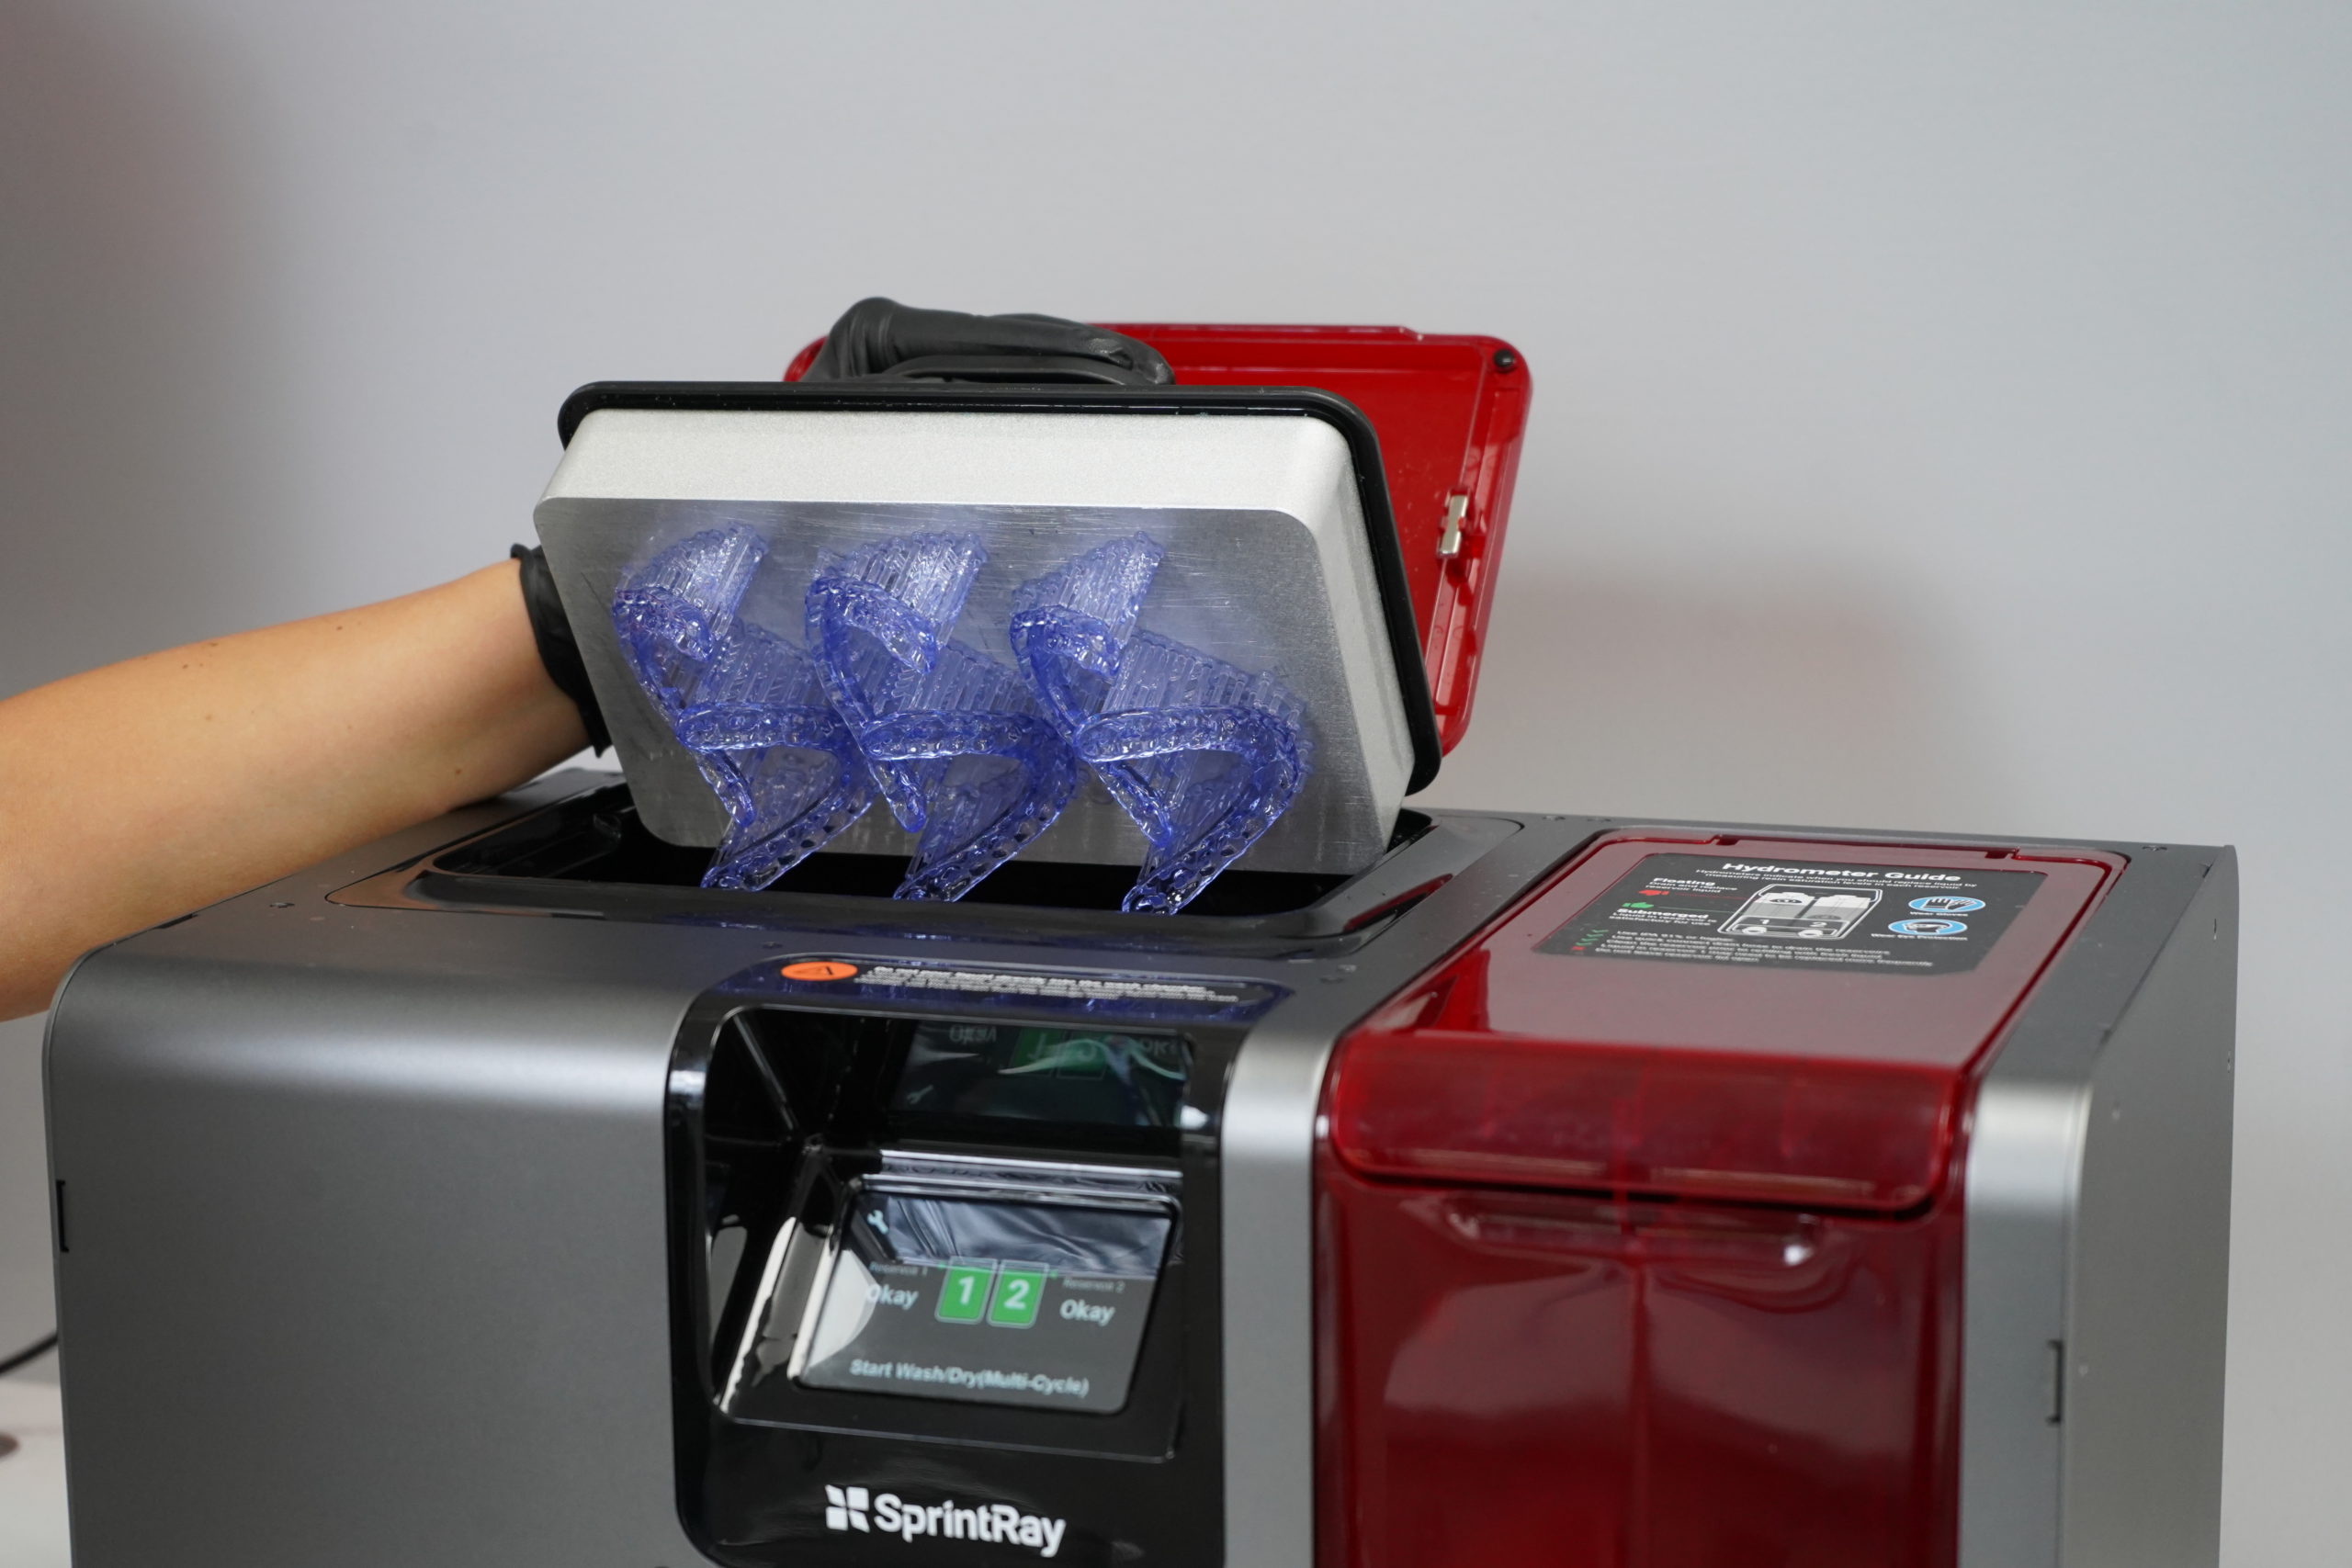
3.6. Cleaning the Occlusal Guard
Once the printing is done, the occlusal guard needs to be cleaned to remove the remaining liquid resin and then dried. Pro Wash/Dry(TM) is designed to provide the best cleaning experience in the shortest time, with the lowest IPA usage.
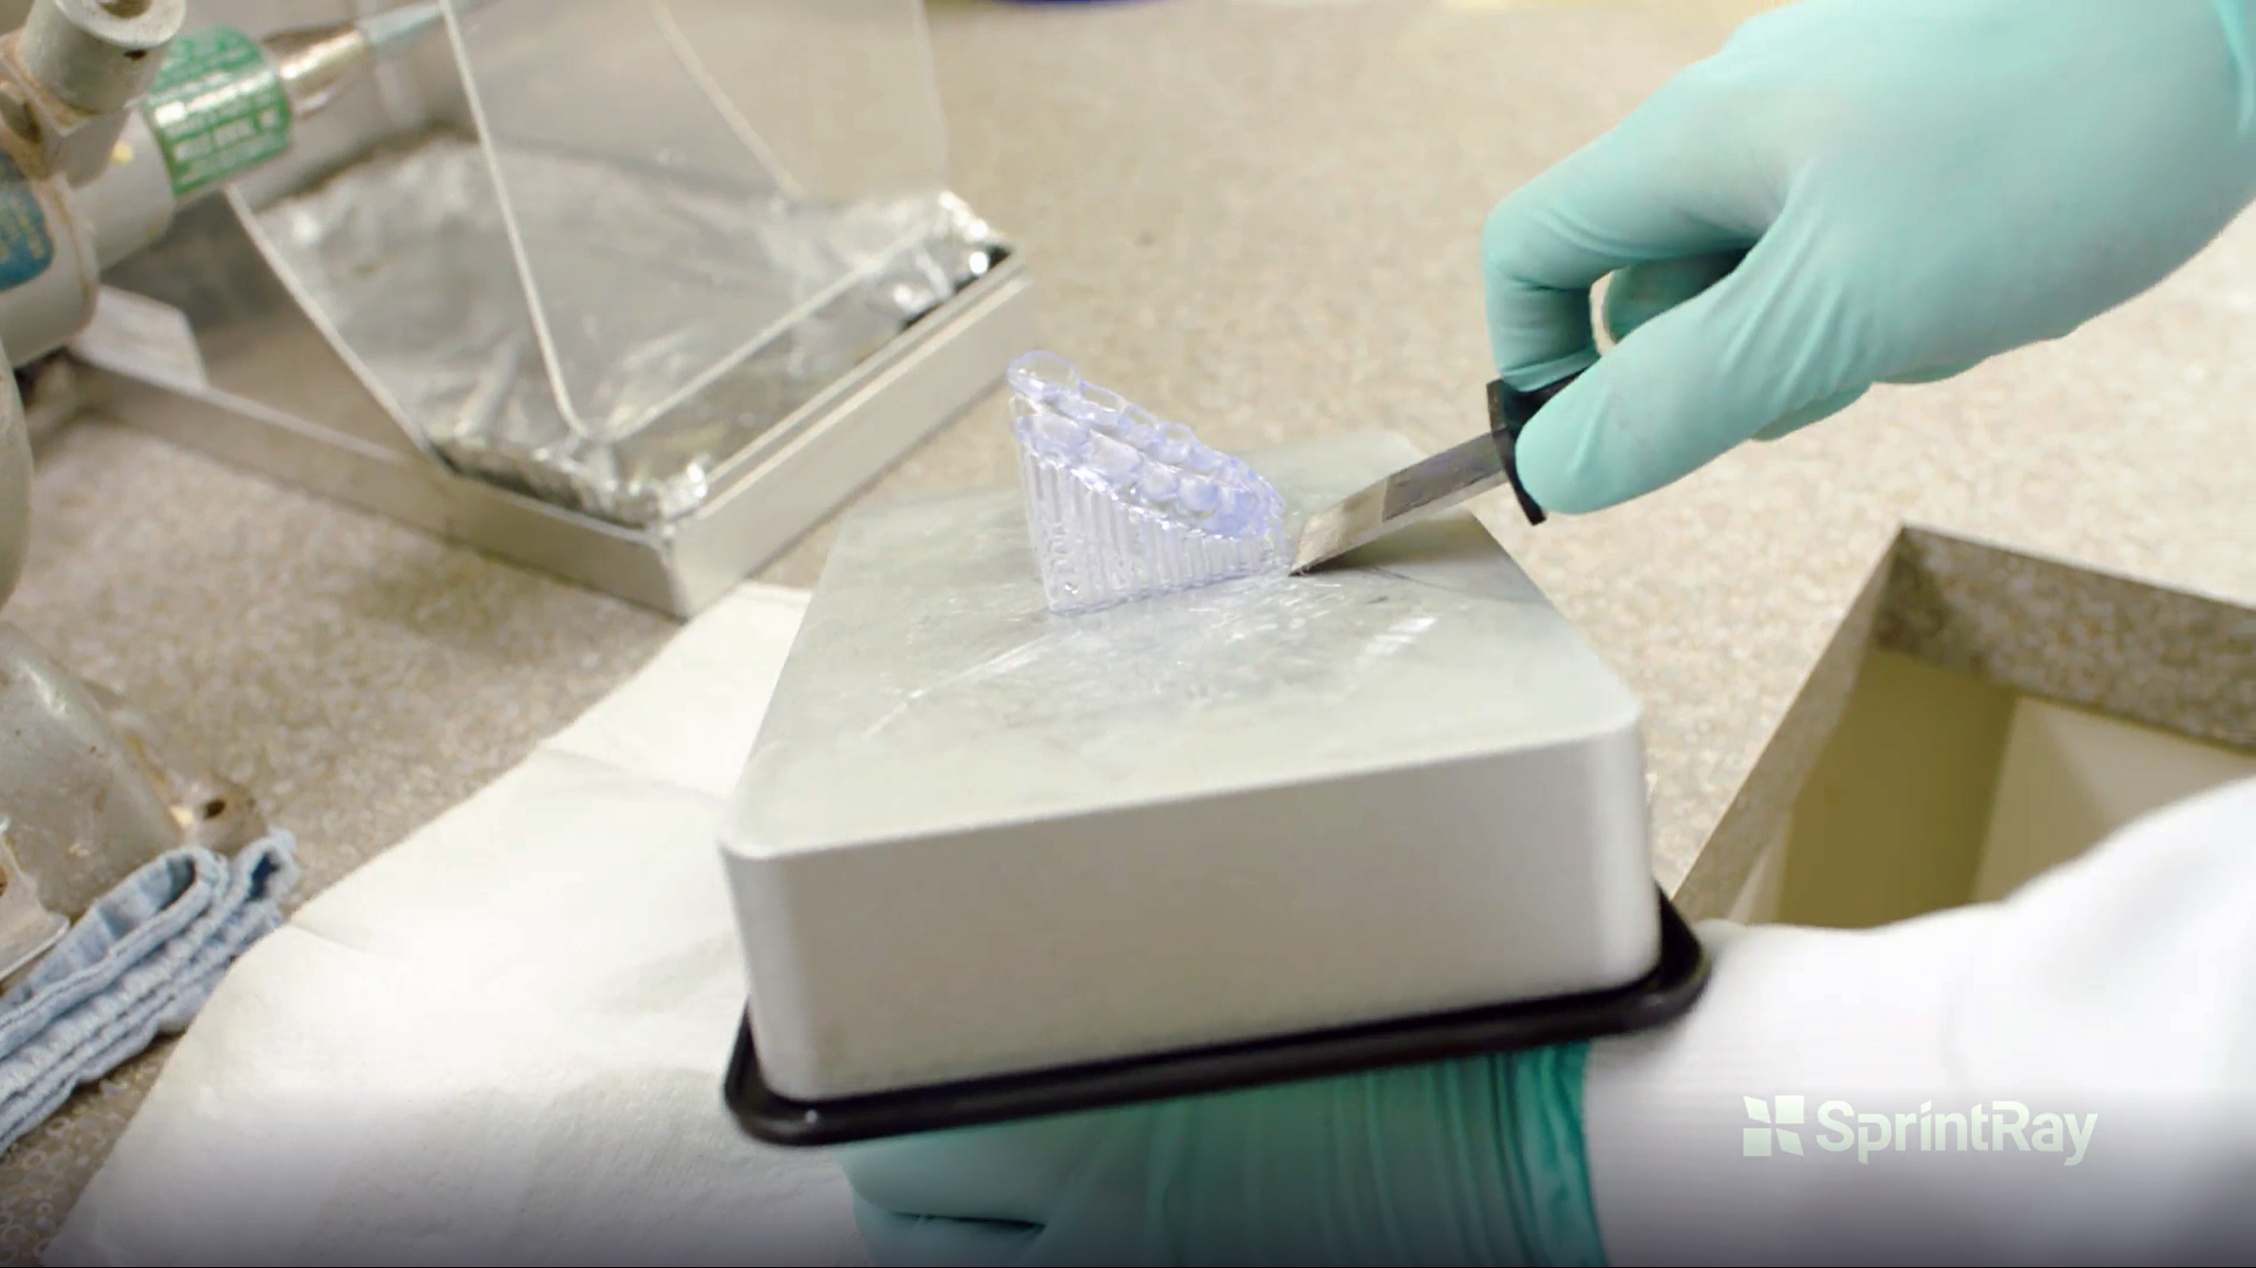
3.7. Removing Occlusal Guard
Once the 3D printed occlusal guard is cleaned and dried, remove it from the print platform using the Part Removal Tool by pressing it firmly underneath the supports, and gently twisting it from side to side, while pushing forward. Before attempting to remove the printed occlusal guard, make sure the platform is rested on a flat surface (table/countertop).
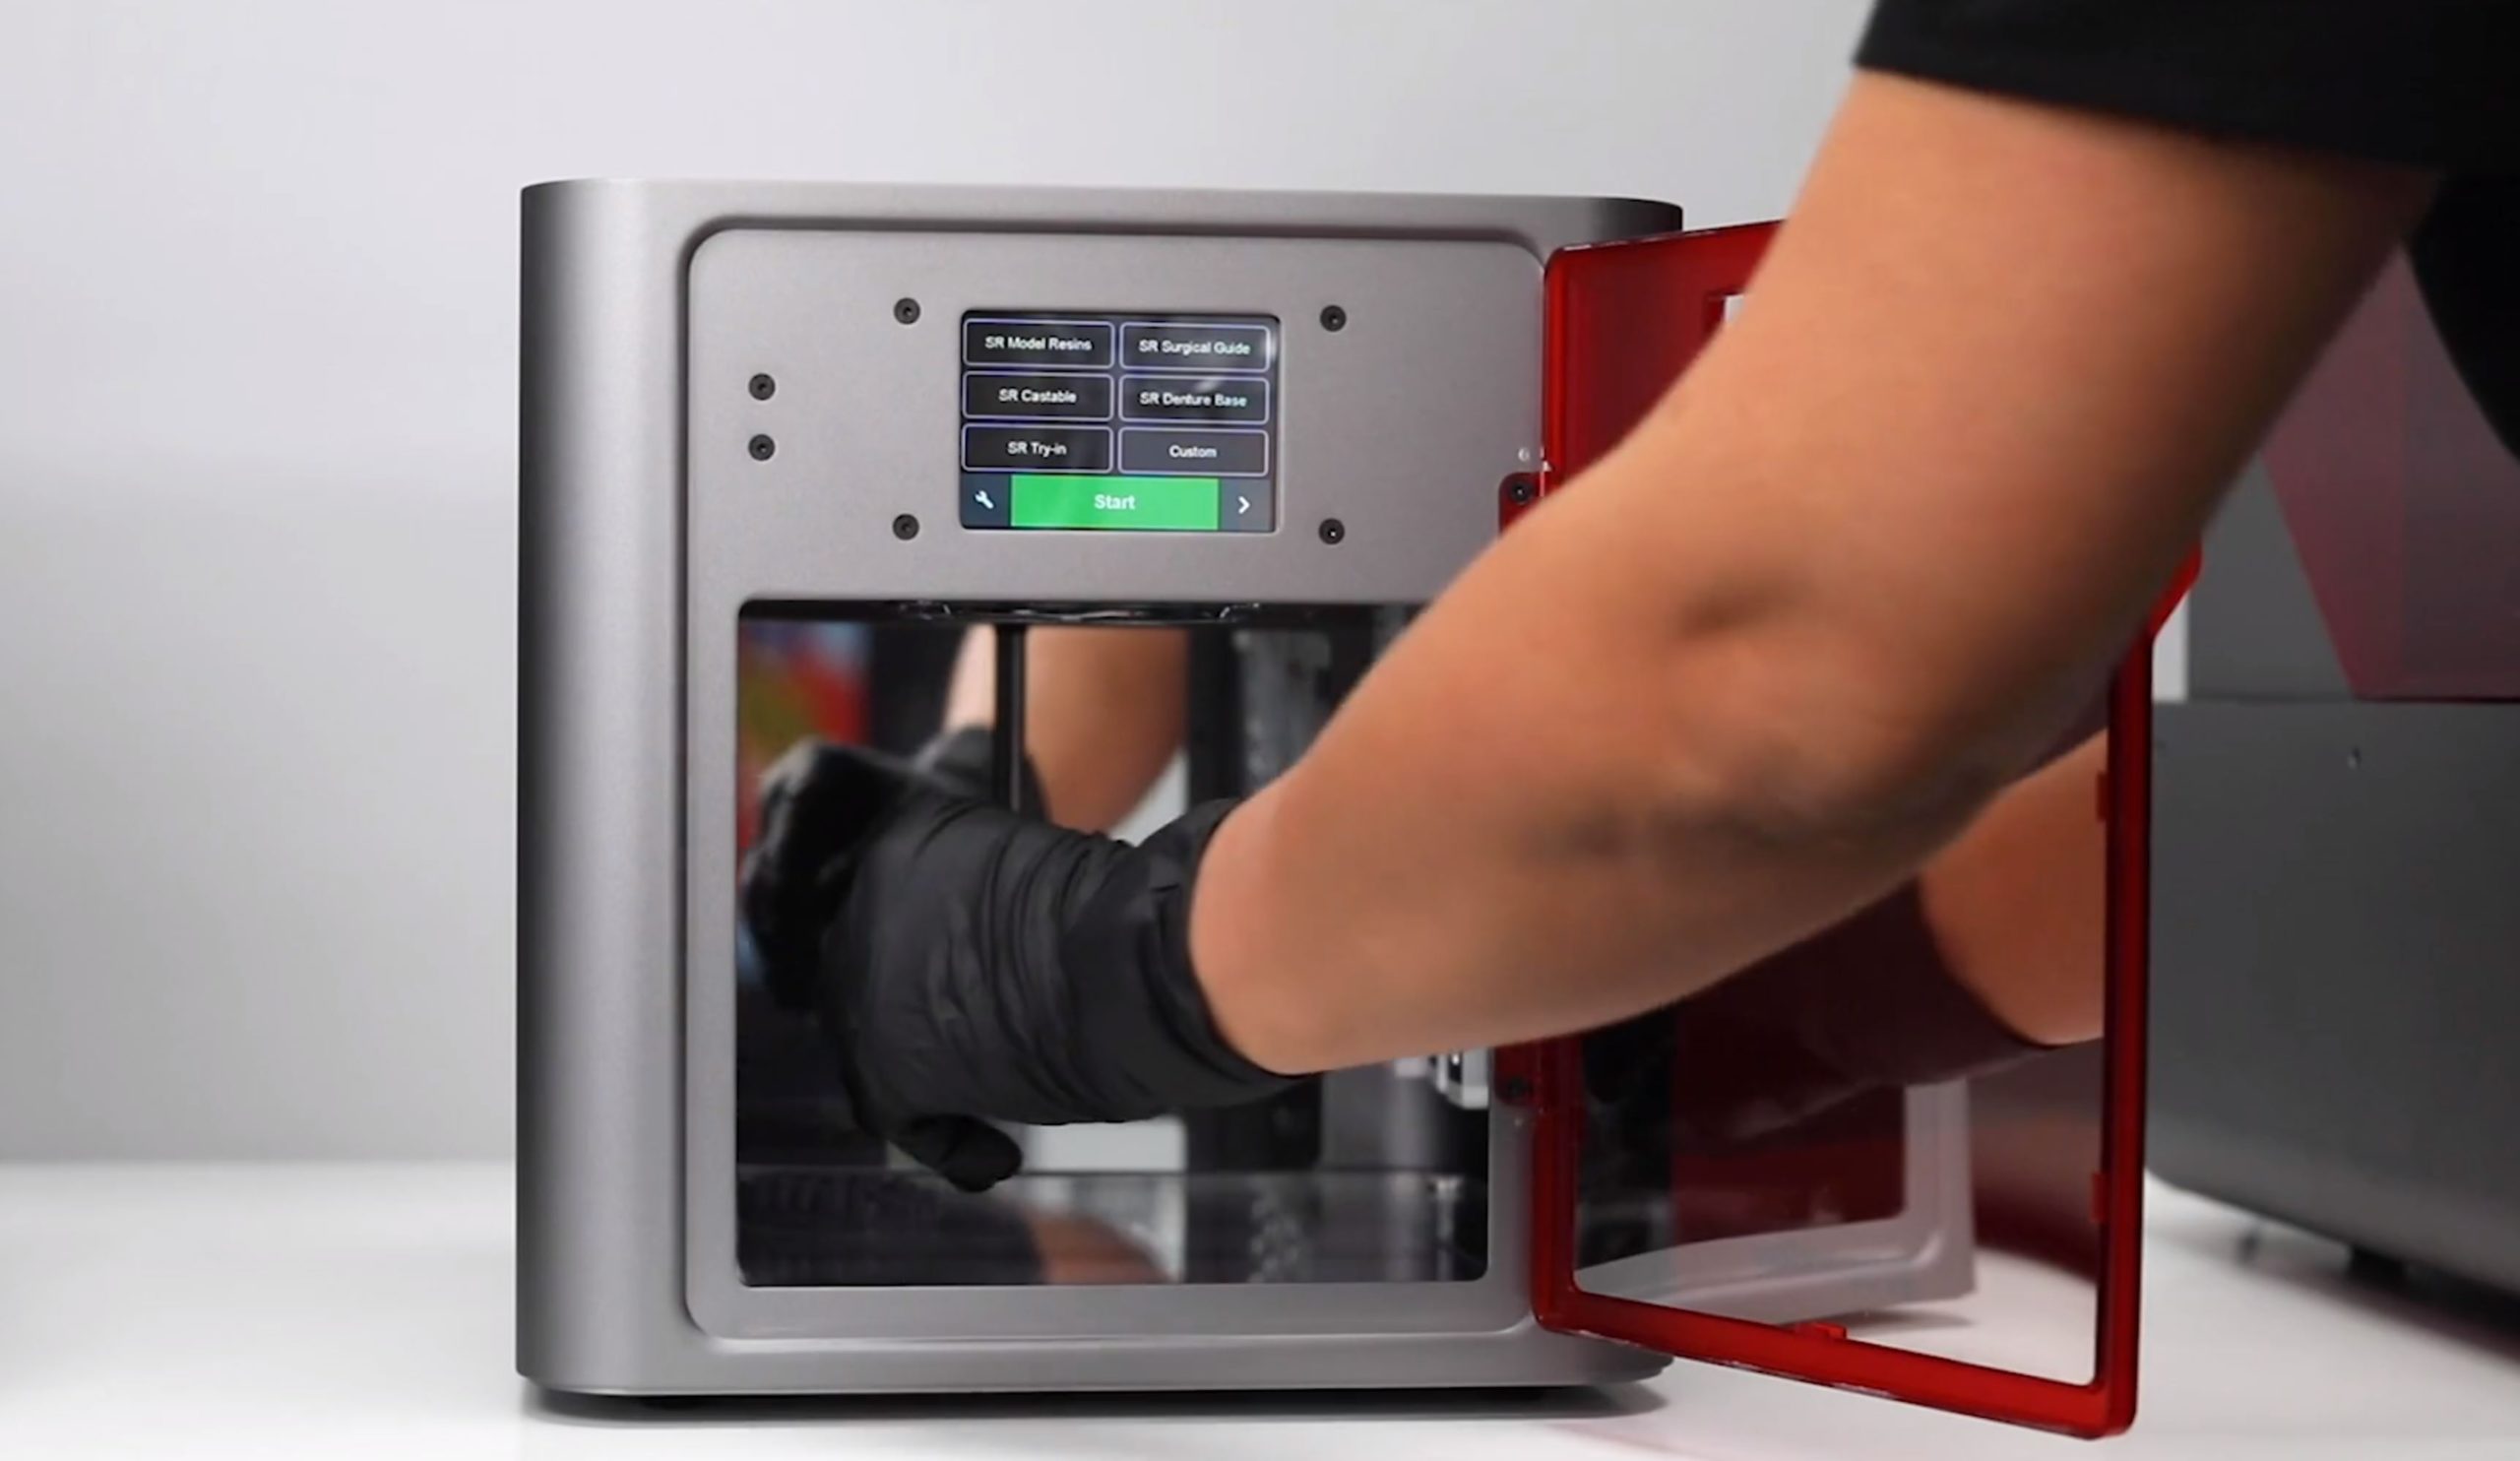
3.8. Post-Curing the Printed Occlusal Guard
The 3D printed occlusal guard must be properly post-cured to the resin manufacturer’s specifications before use. This will help to obtain complete stability and the best mechanical properties and accuracy. Since this is a very important step, ProCure is highly recommended, which is preset with all the settings according to resin manufacturer’s specifications regarding time and temperature.
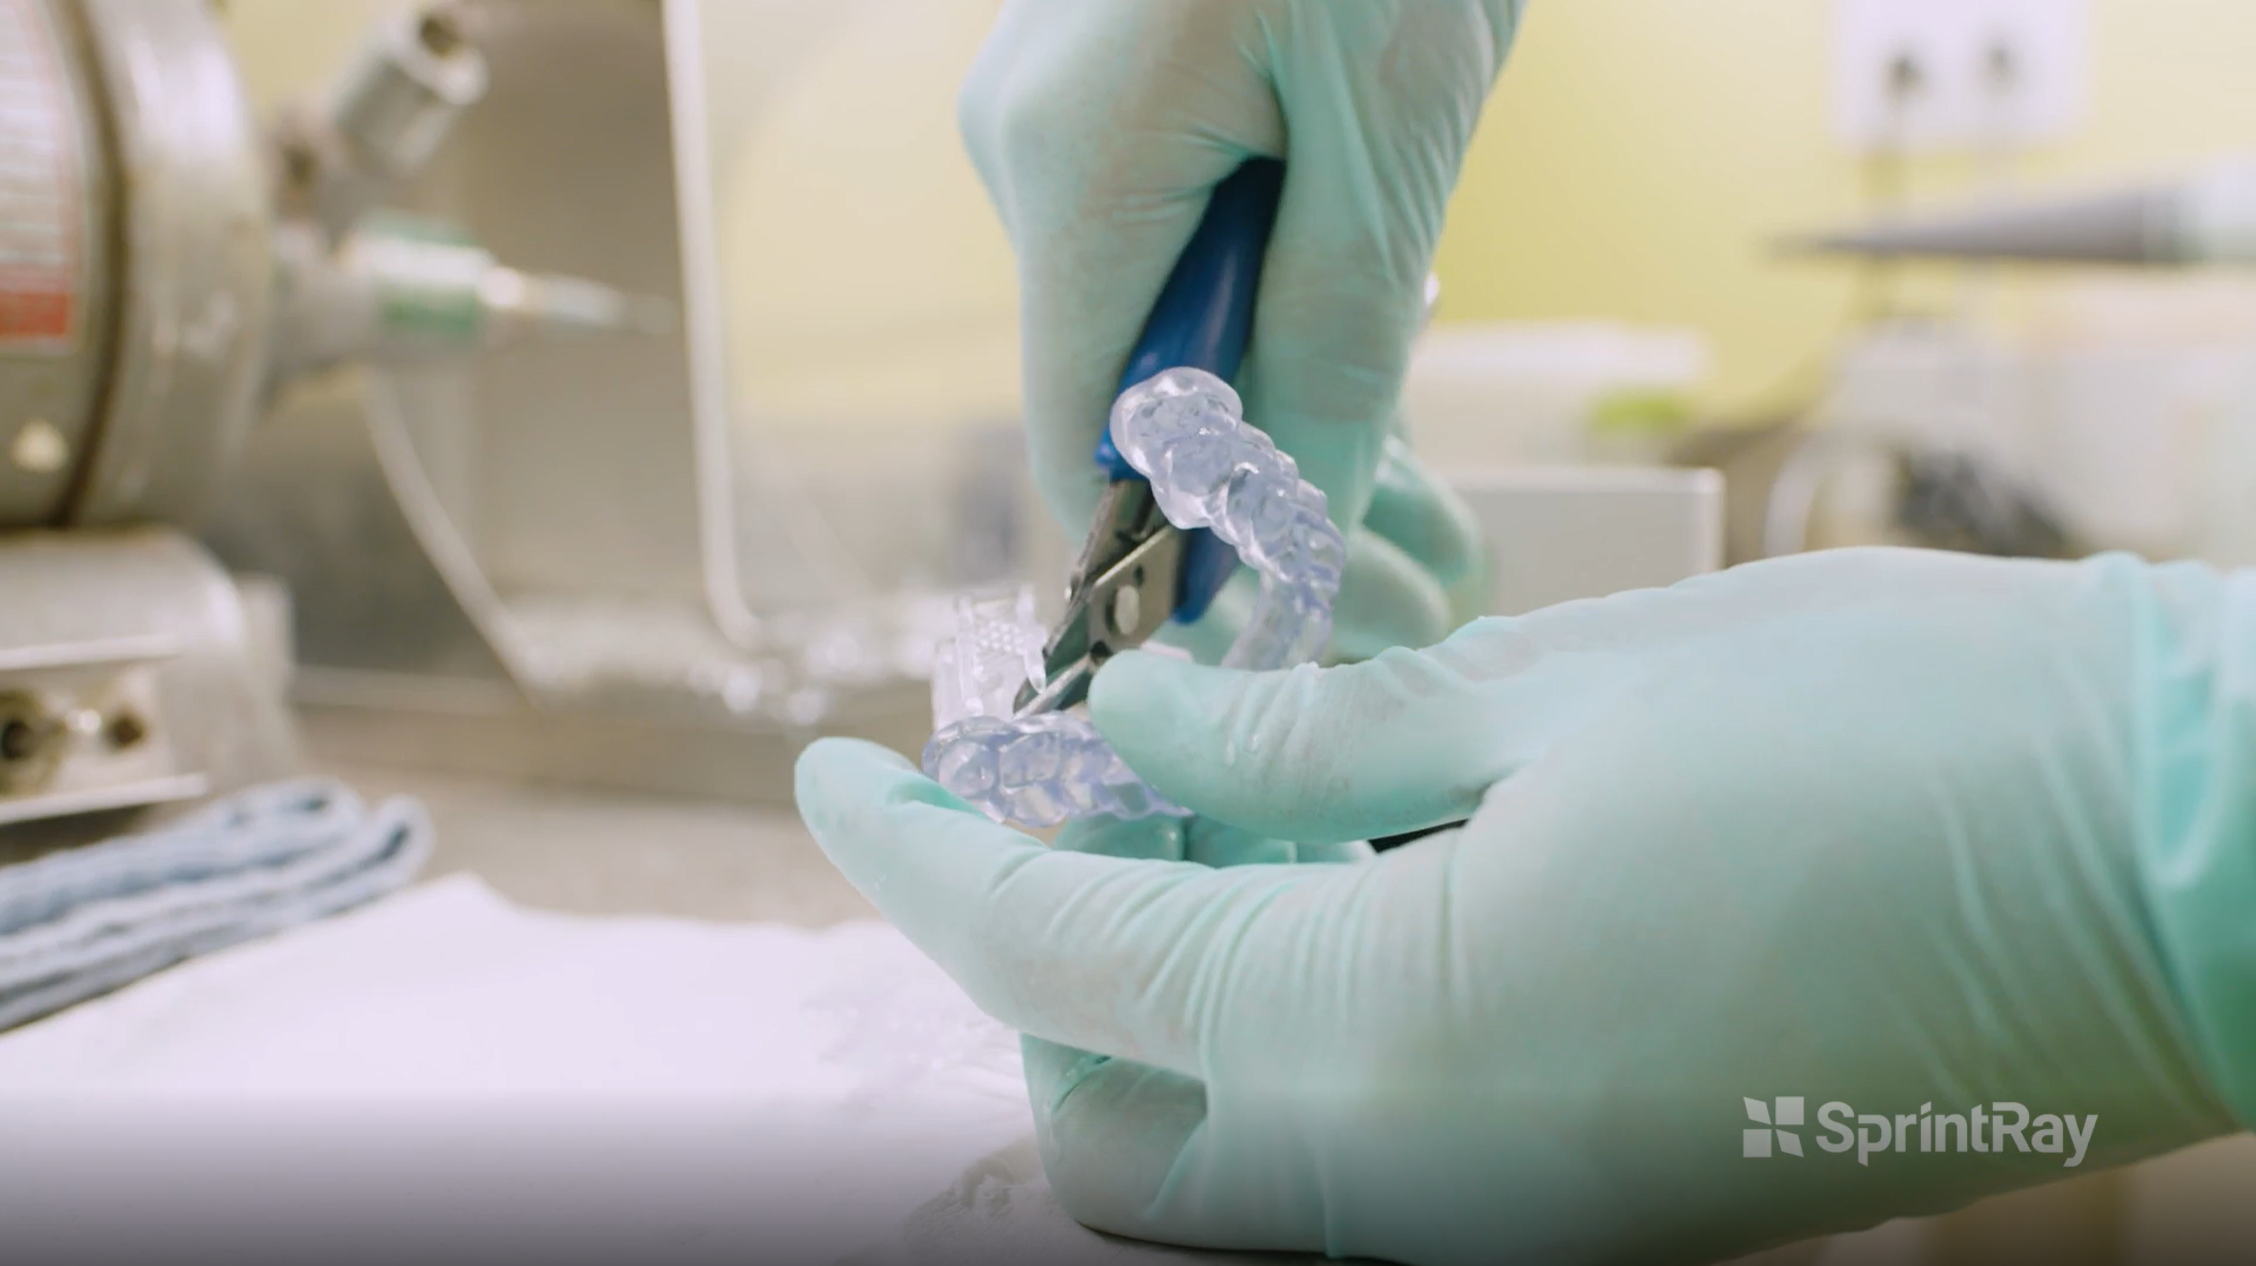
3.9. Support Removal
Once the post curing is completed, remove all the supports by using a flush cutter. Cut as close as possible to the appliance surface to minimize the smoothing and polishing procedure.
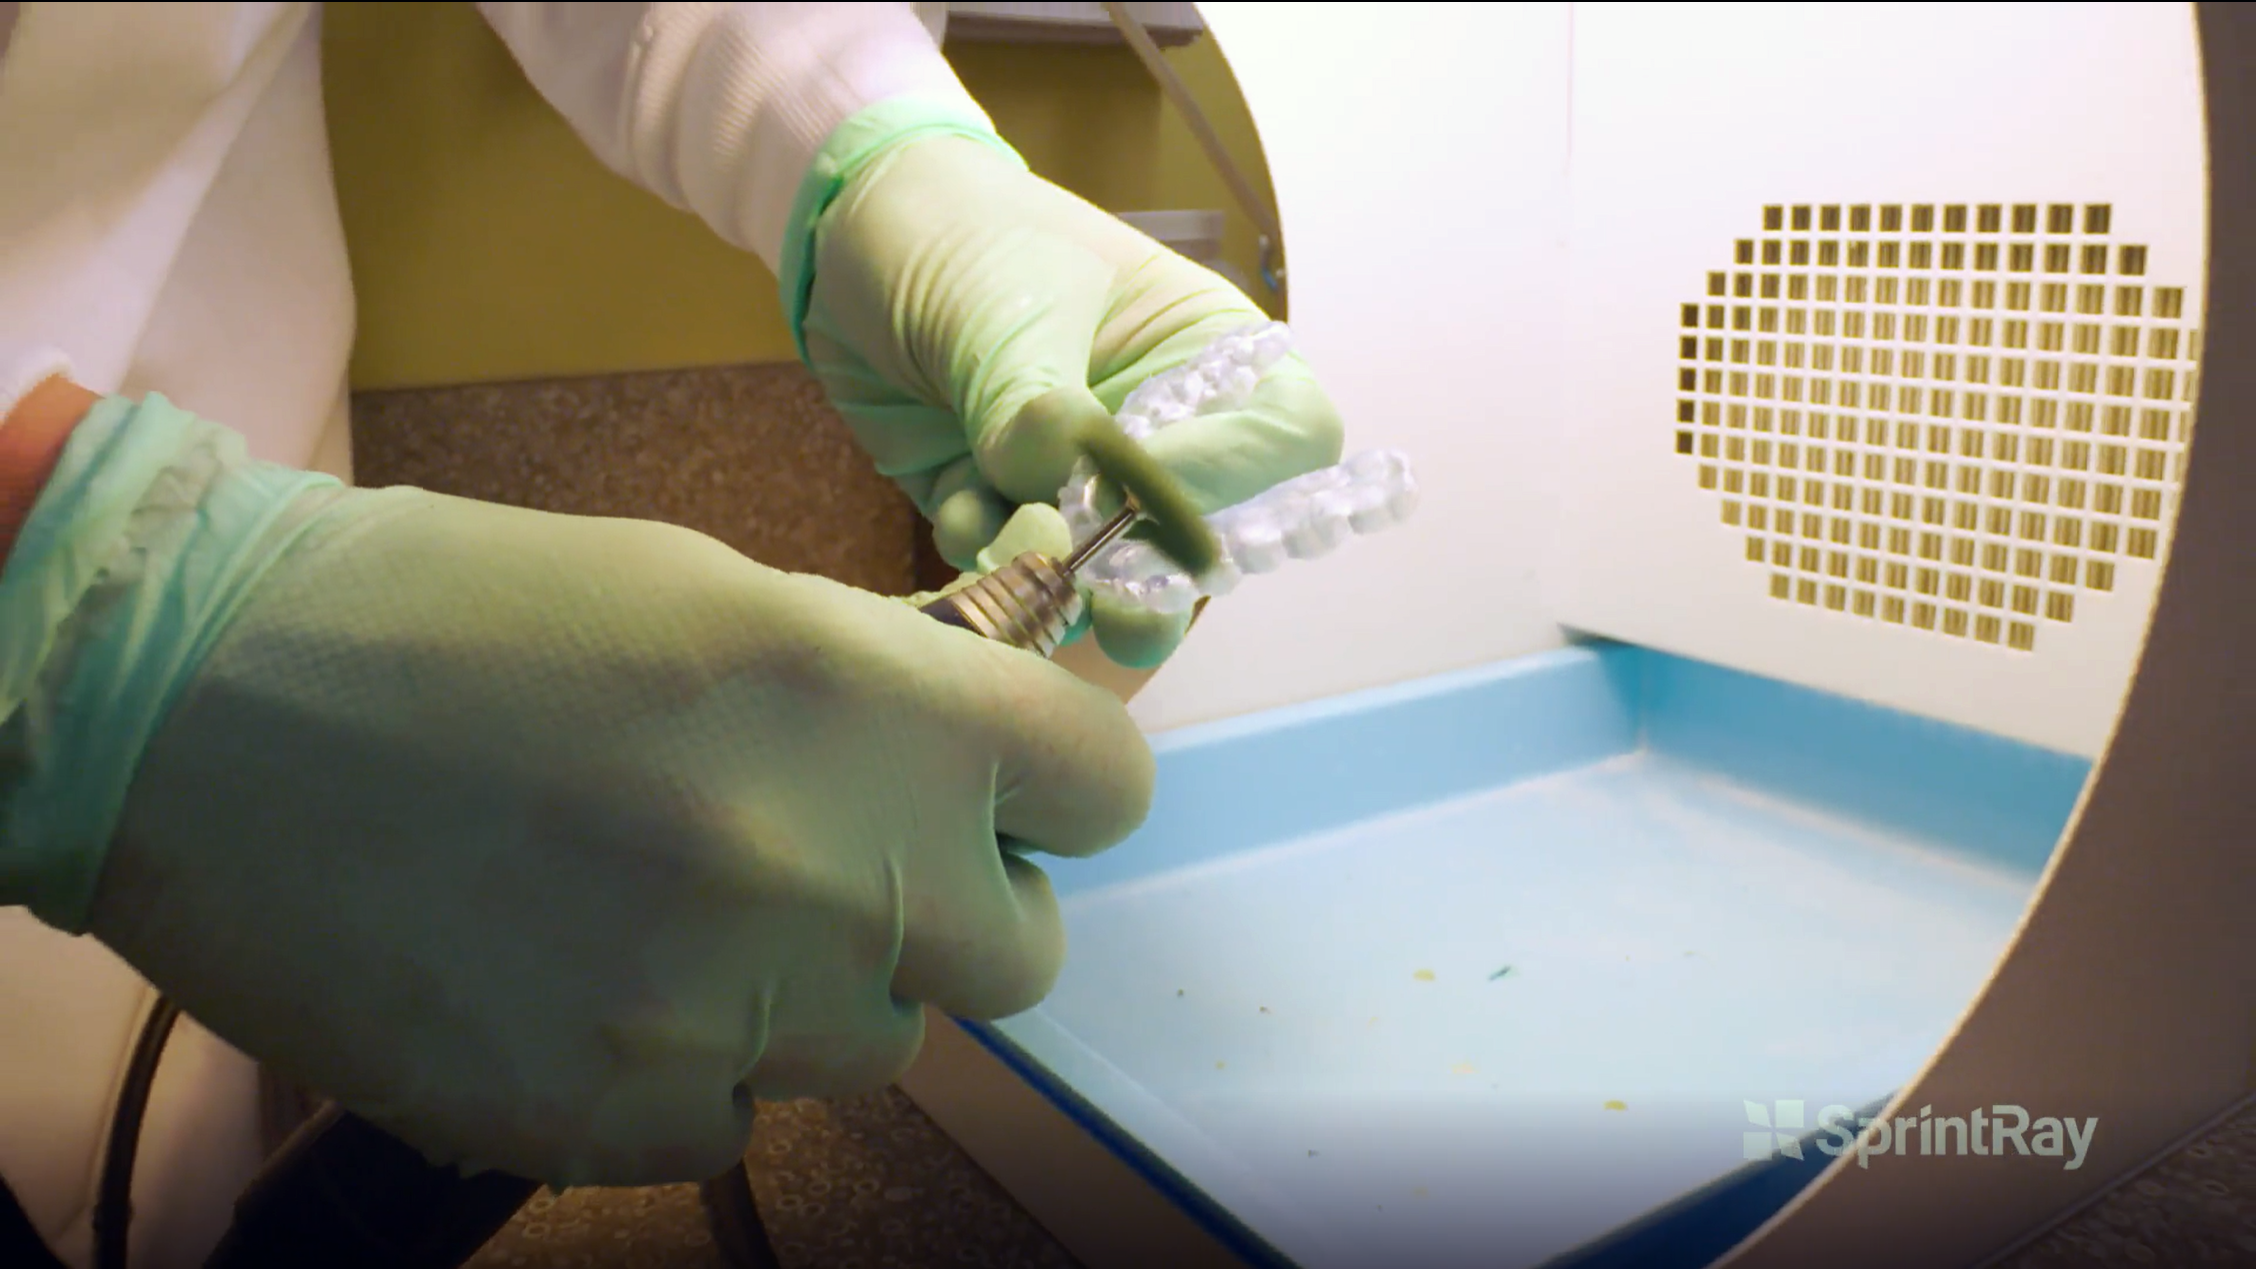
3.10. Smooth the Occlusal Guard
At this step, we use a fine Scotch-Brite(TM)/ Fuzzies(TM) polishing wheel to grind down the remaining knobs from the support-removal step (3.9) and smooth out the surface of the appliance. The polishing wheels are used at a low speed (about 10,000 to 12,000 rpm).
Pro Tips
- Use protective eyewear and nitrile gloves at all times to avoid eye/skin contact with uncured resin.
- Always keep the printer door closed to avoid premature curing of the resin.
- You may use a lab pearl-shaped carbide bur to smooth out the knobs if any of them fall in a depth/antagonist intersection.
- Always shake the resin bottle well before pouring into the resin tank.
- Always remove the print platform before removing the resin tank to avoid excess resin dripping inside your printer.
- ProCure may need to warm up for a few minutes before the UV lights start to shine.
- Visit https://sprintray.com/software/ to download the latest version of RayWare.
Patient Delivery
The last step in this workflow is delivering the occlusal guard to the patient. During this step, make sure the appliance is seated completely on the teeth with proper retention, and that it is completely polished before delivery to the patient.
Time required: 9-17 min.
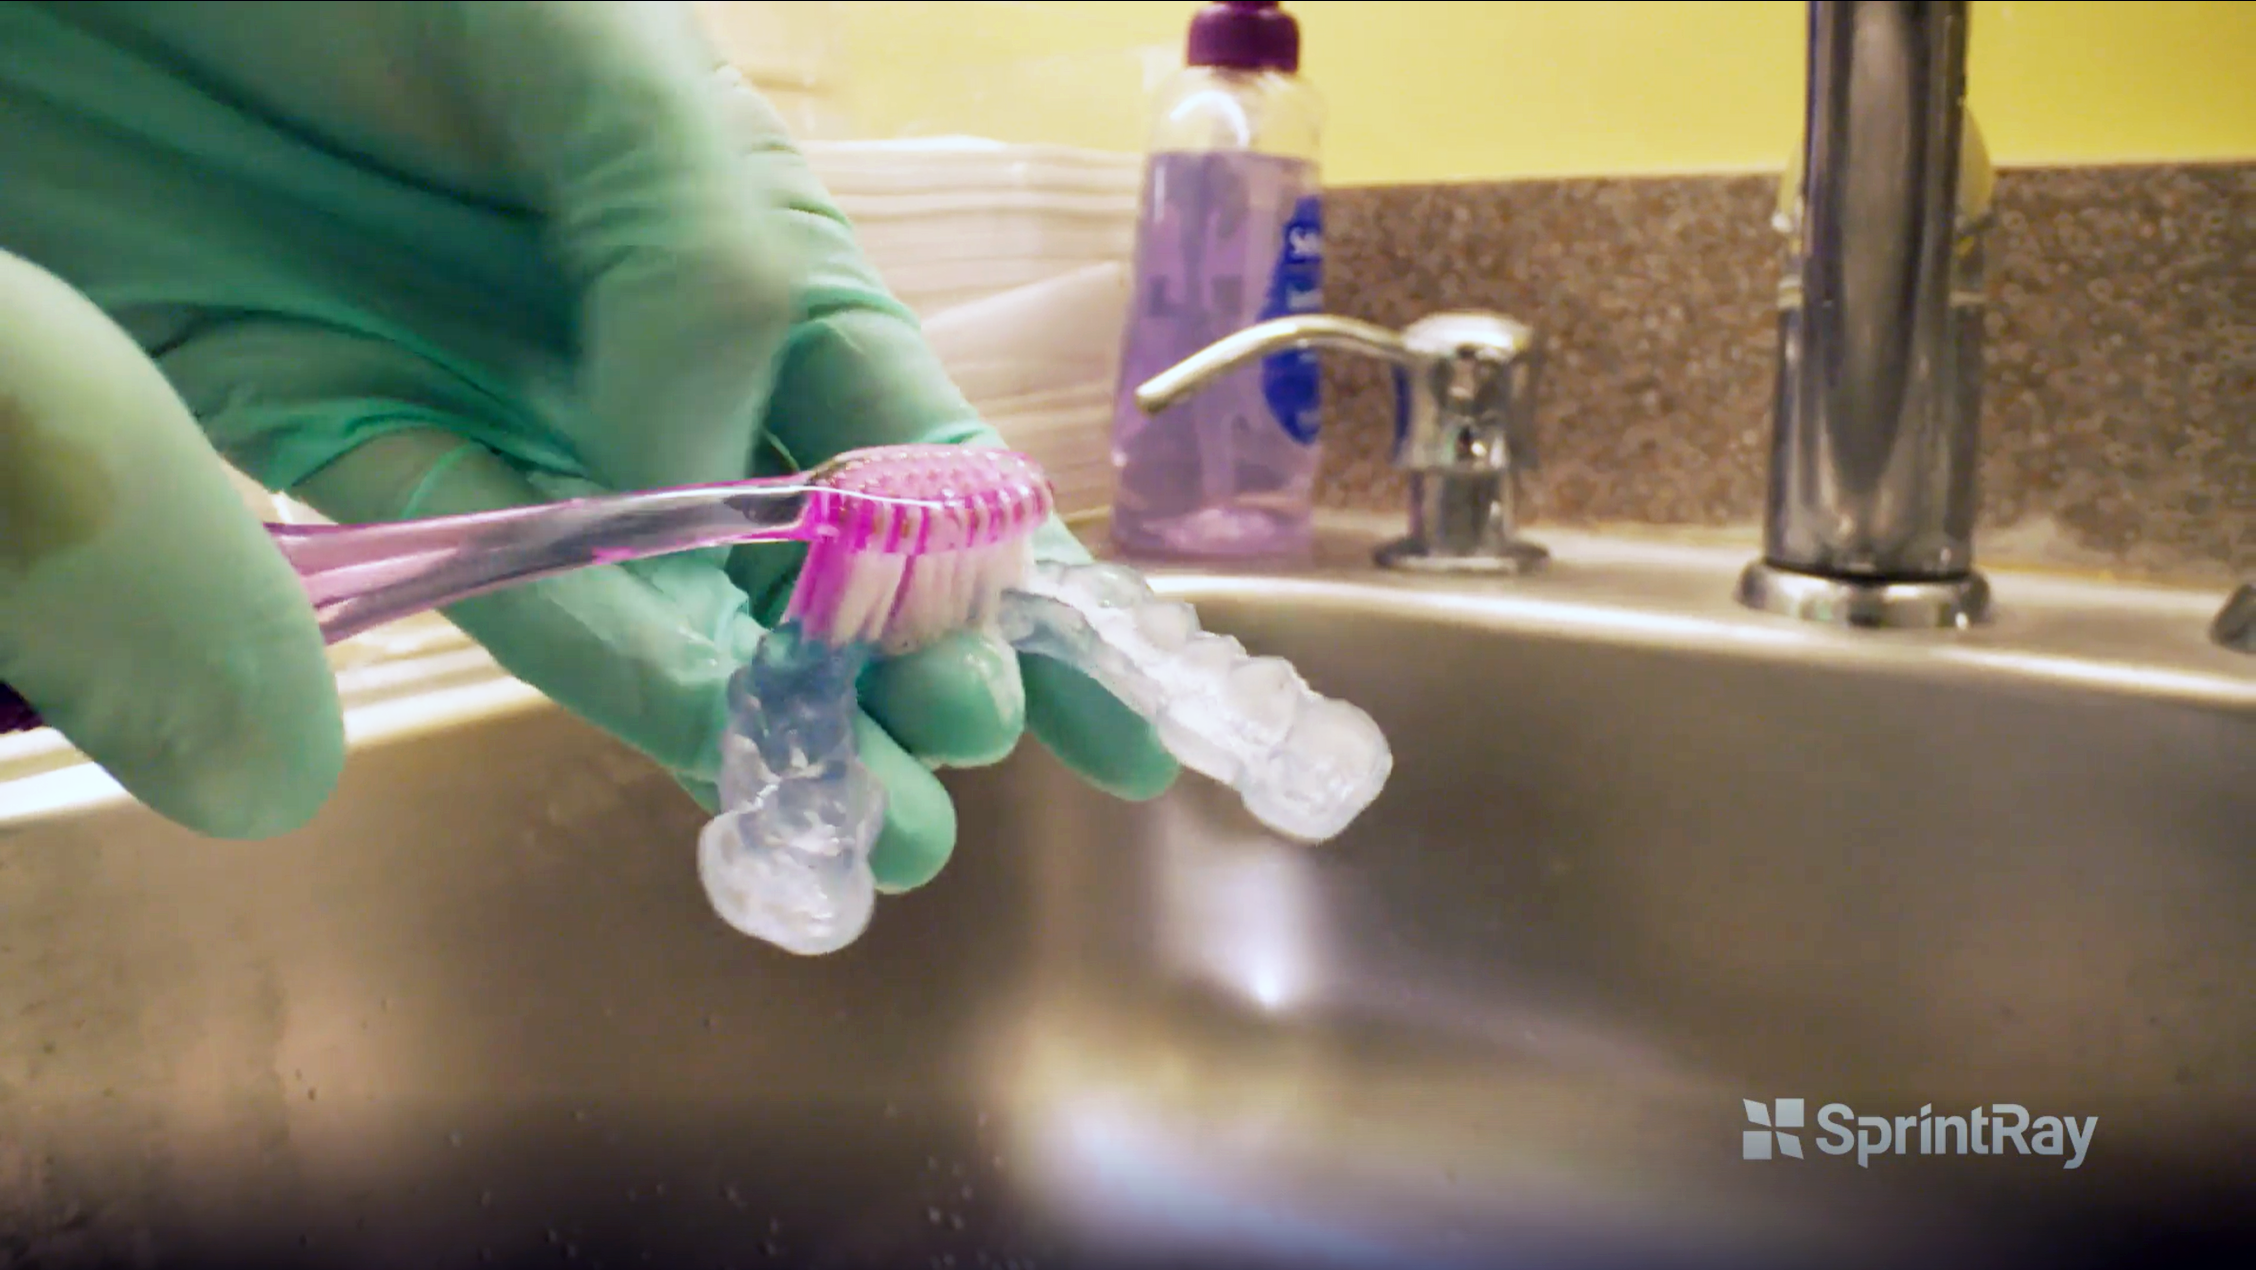
4.1. Cleaning and Disinfecting
Use dish soap and a soft toothbrush to clean the appliance before trying it in the patient's mouth.
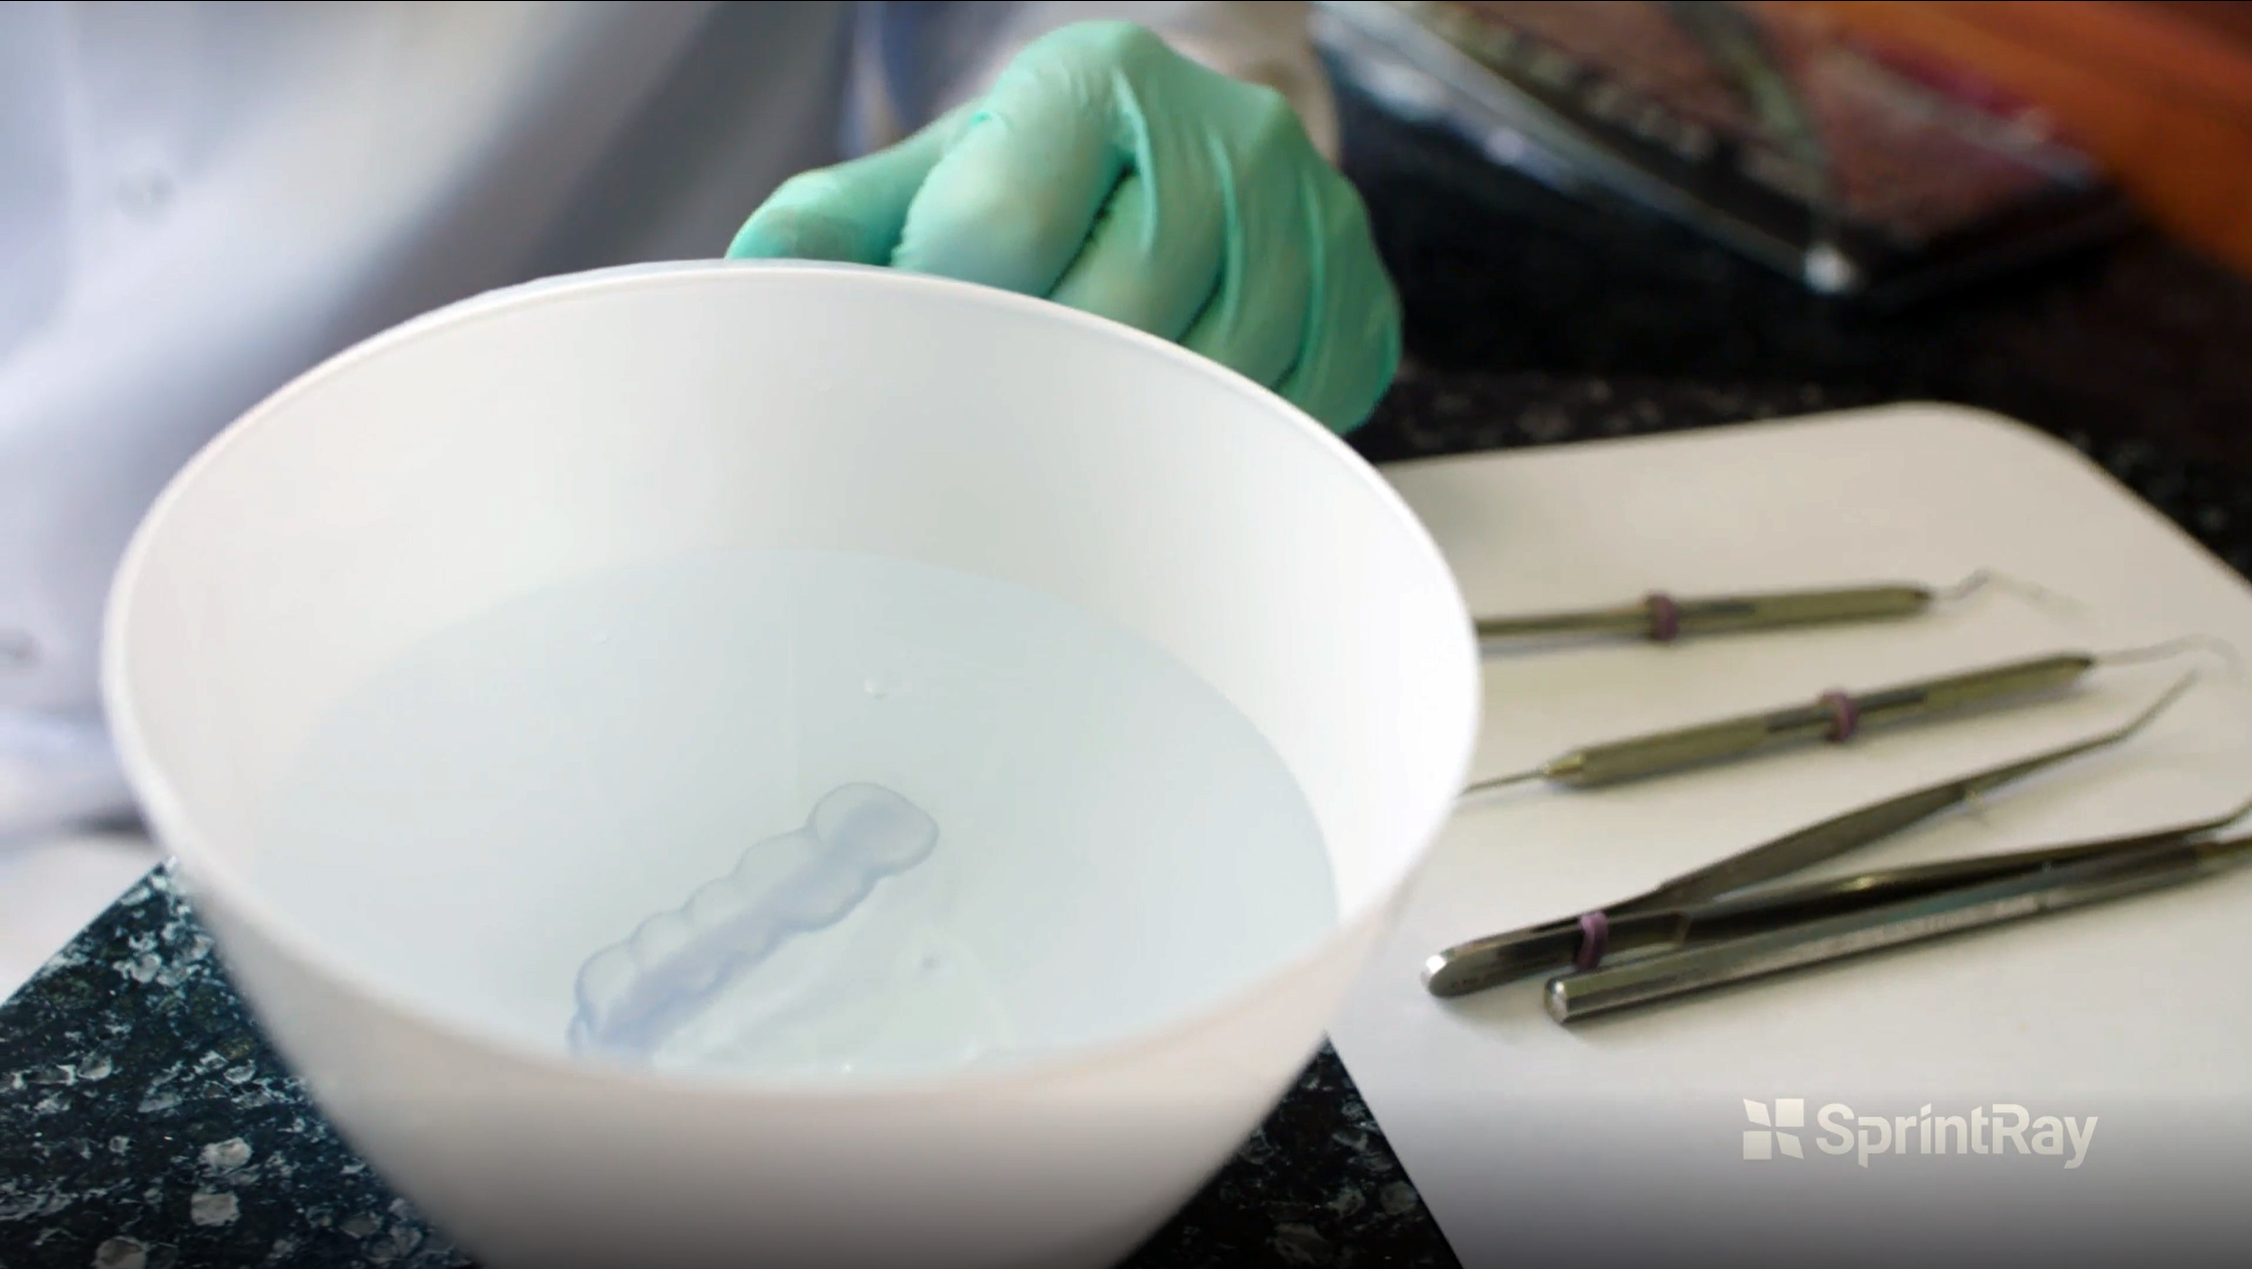
4.2. Soaking
Soak the appliance in a bowl of warm water for about 20-25 seconds. Make sure the water temperature does not exceed 50°C/122°F.
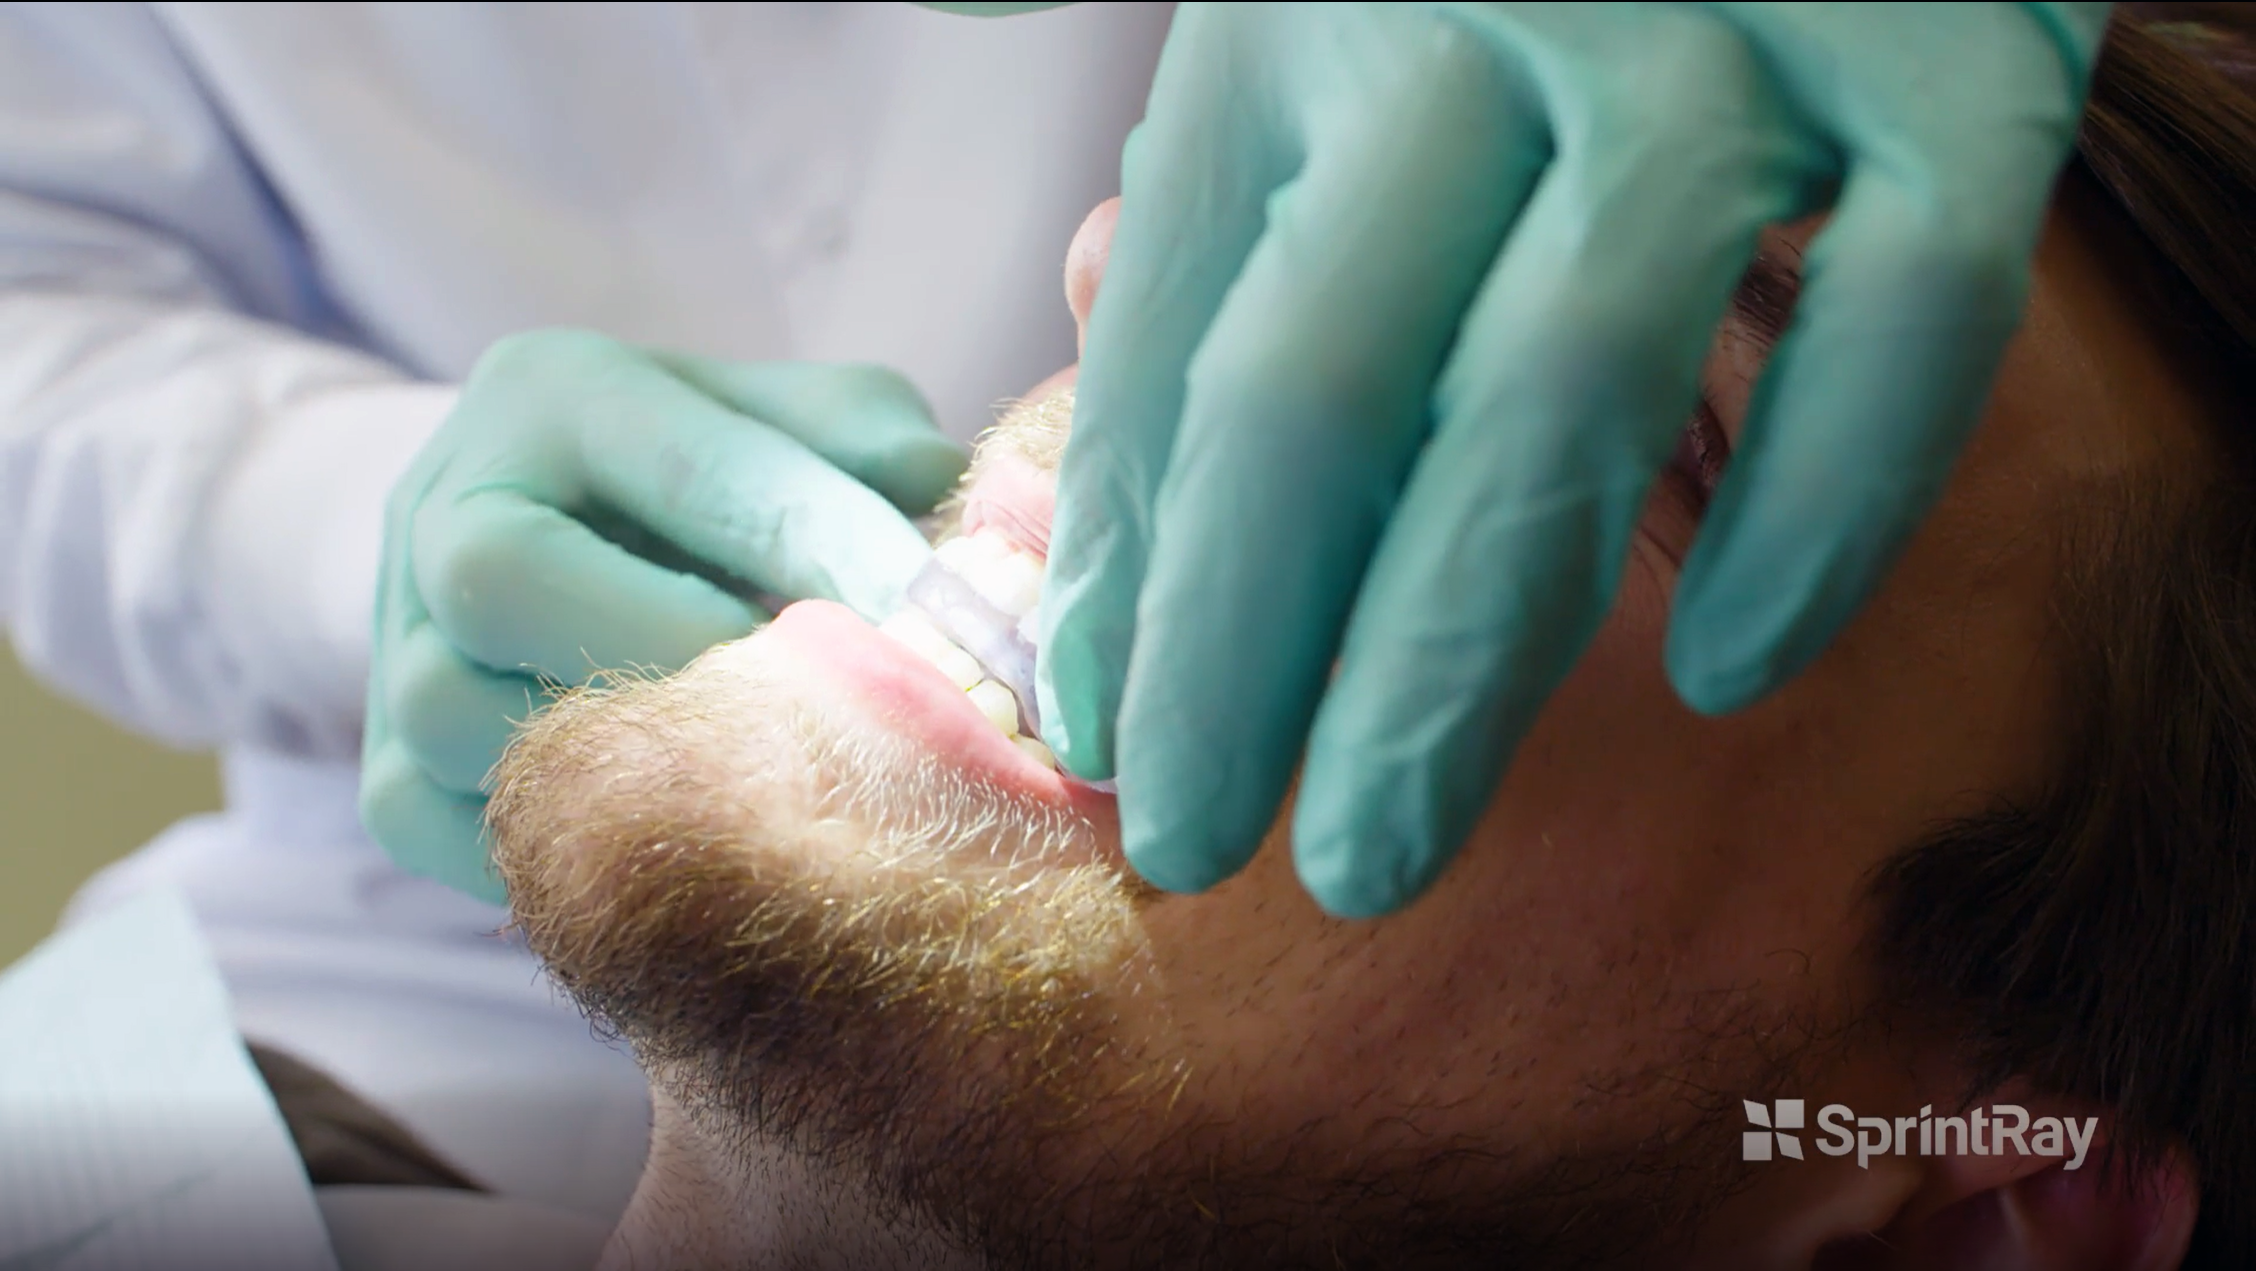
4.3. Try-in and Adjustment
Seat the printed occlusal guard on the patient's teeth and let them try out the appliance. Use an articulating paper to make any adjustments if needed for the proper contact between the occlusal guard and opposing teeth
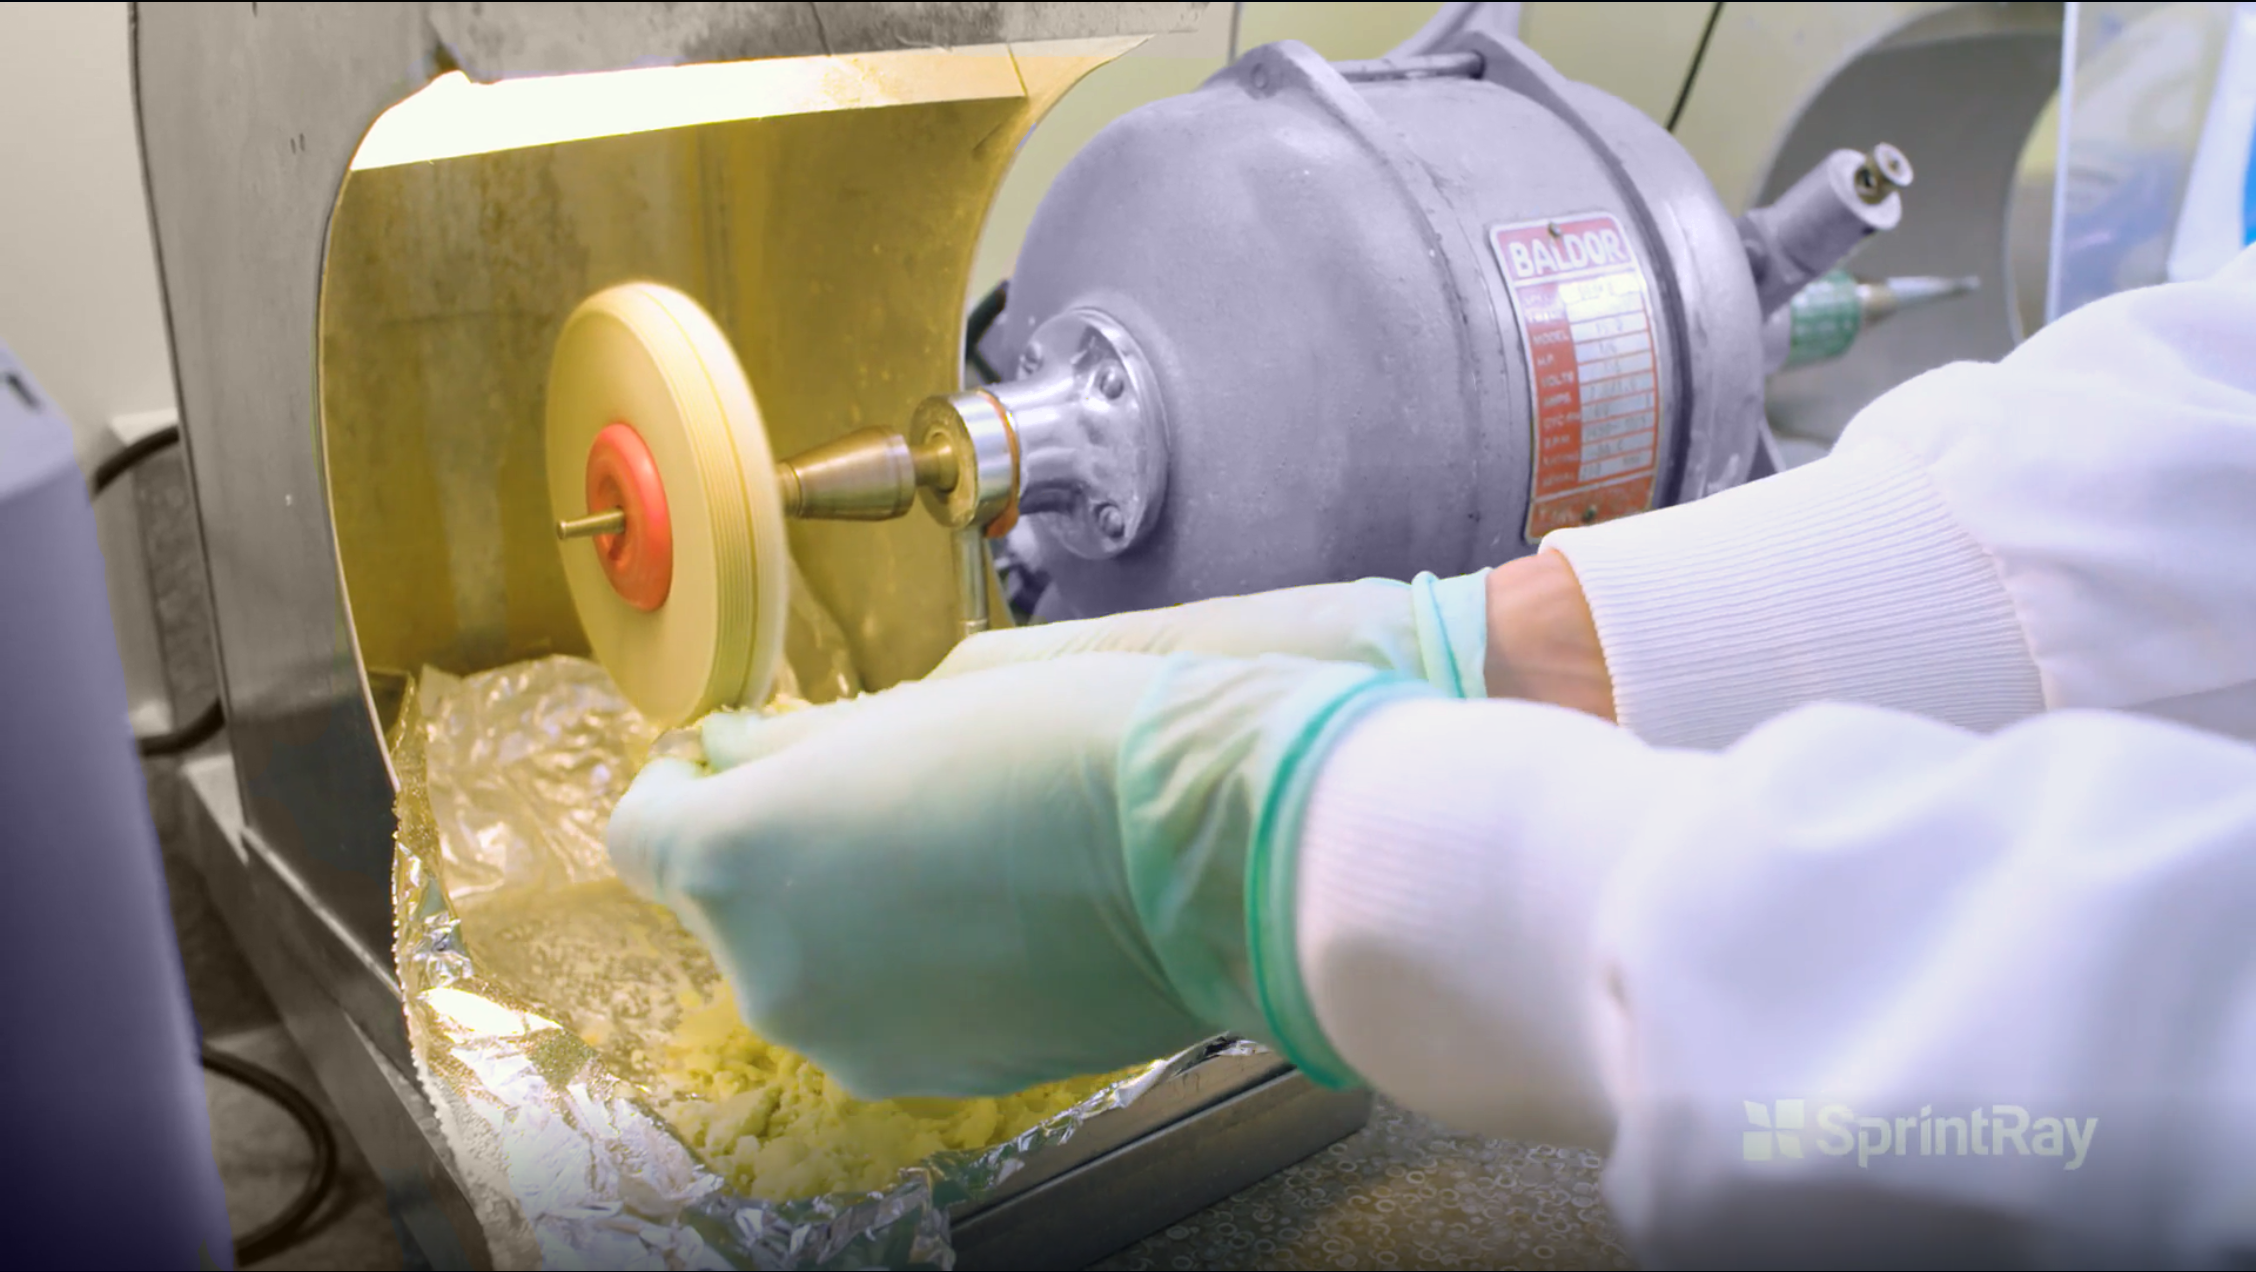
4.4.1. Pre-Polish
Use a muslin polishing wheel and pumice with firm and consistent pressure to reach all the areas of the appliance. Make sure the wheel and pumice are wet enough, and the pumice is flowable. Once done, rinse the guard with water to remove pumice residue.
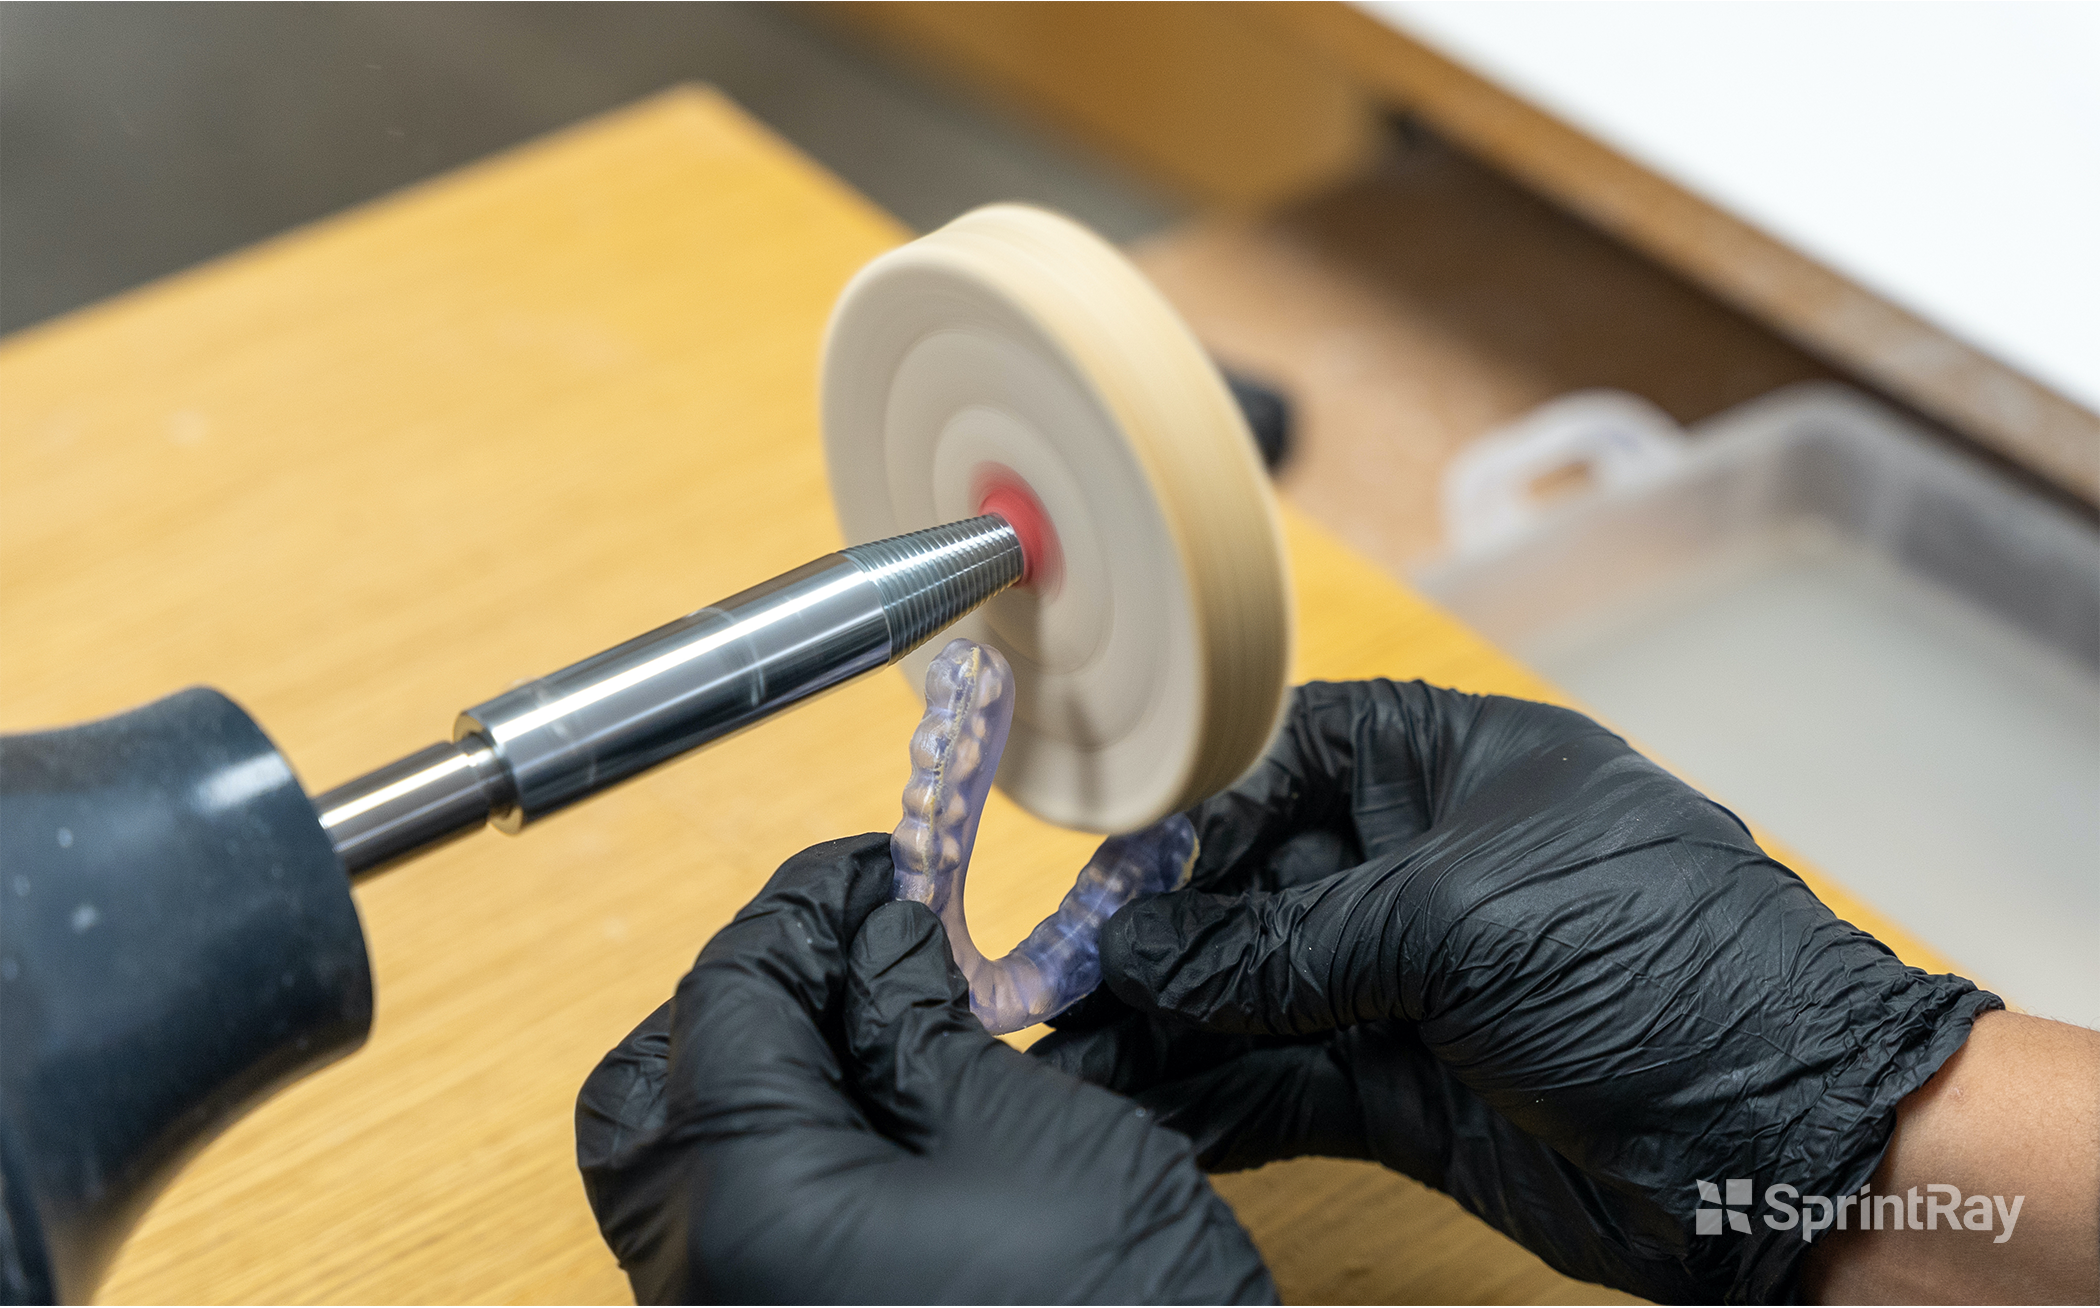
4.4.1. Polish
Start with a fresh muslin wheel and Tripoli polishing compound. Use firm and constant pressure, reaching all the areas of the appliance. Re-apply the Tripoli compound, but this time use light pressure. Once done, rinse the guard with water to remove Tripoli compound residue.
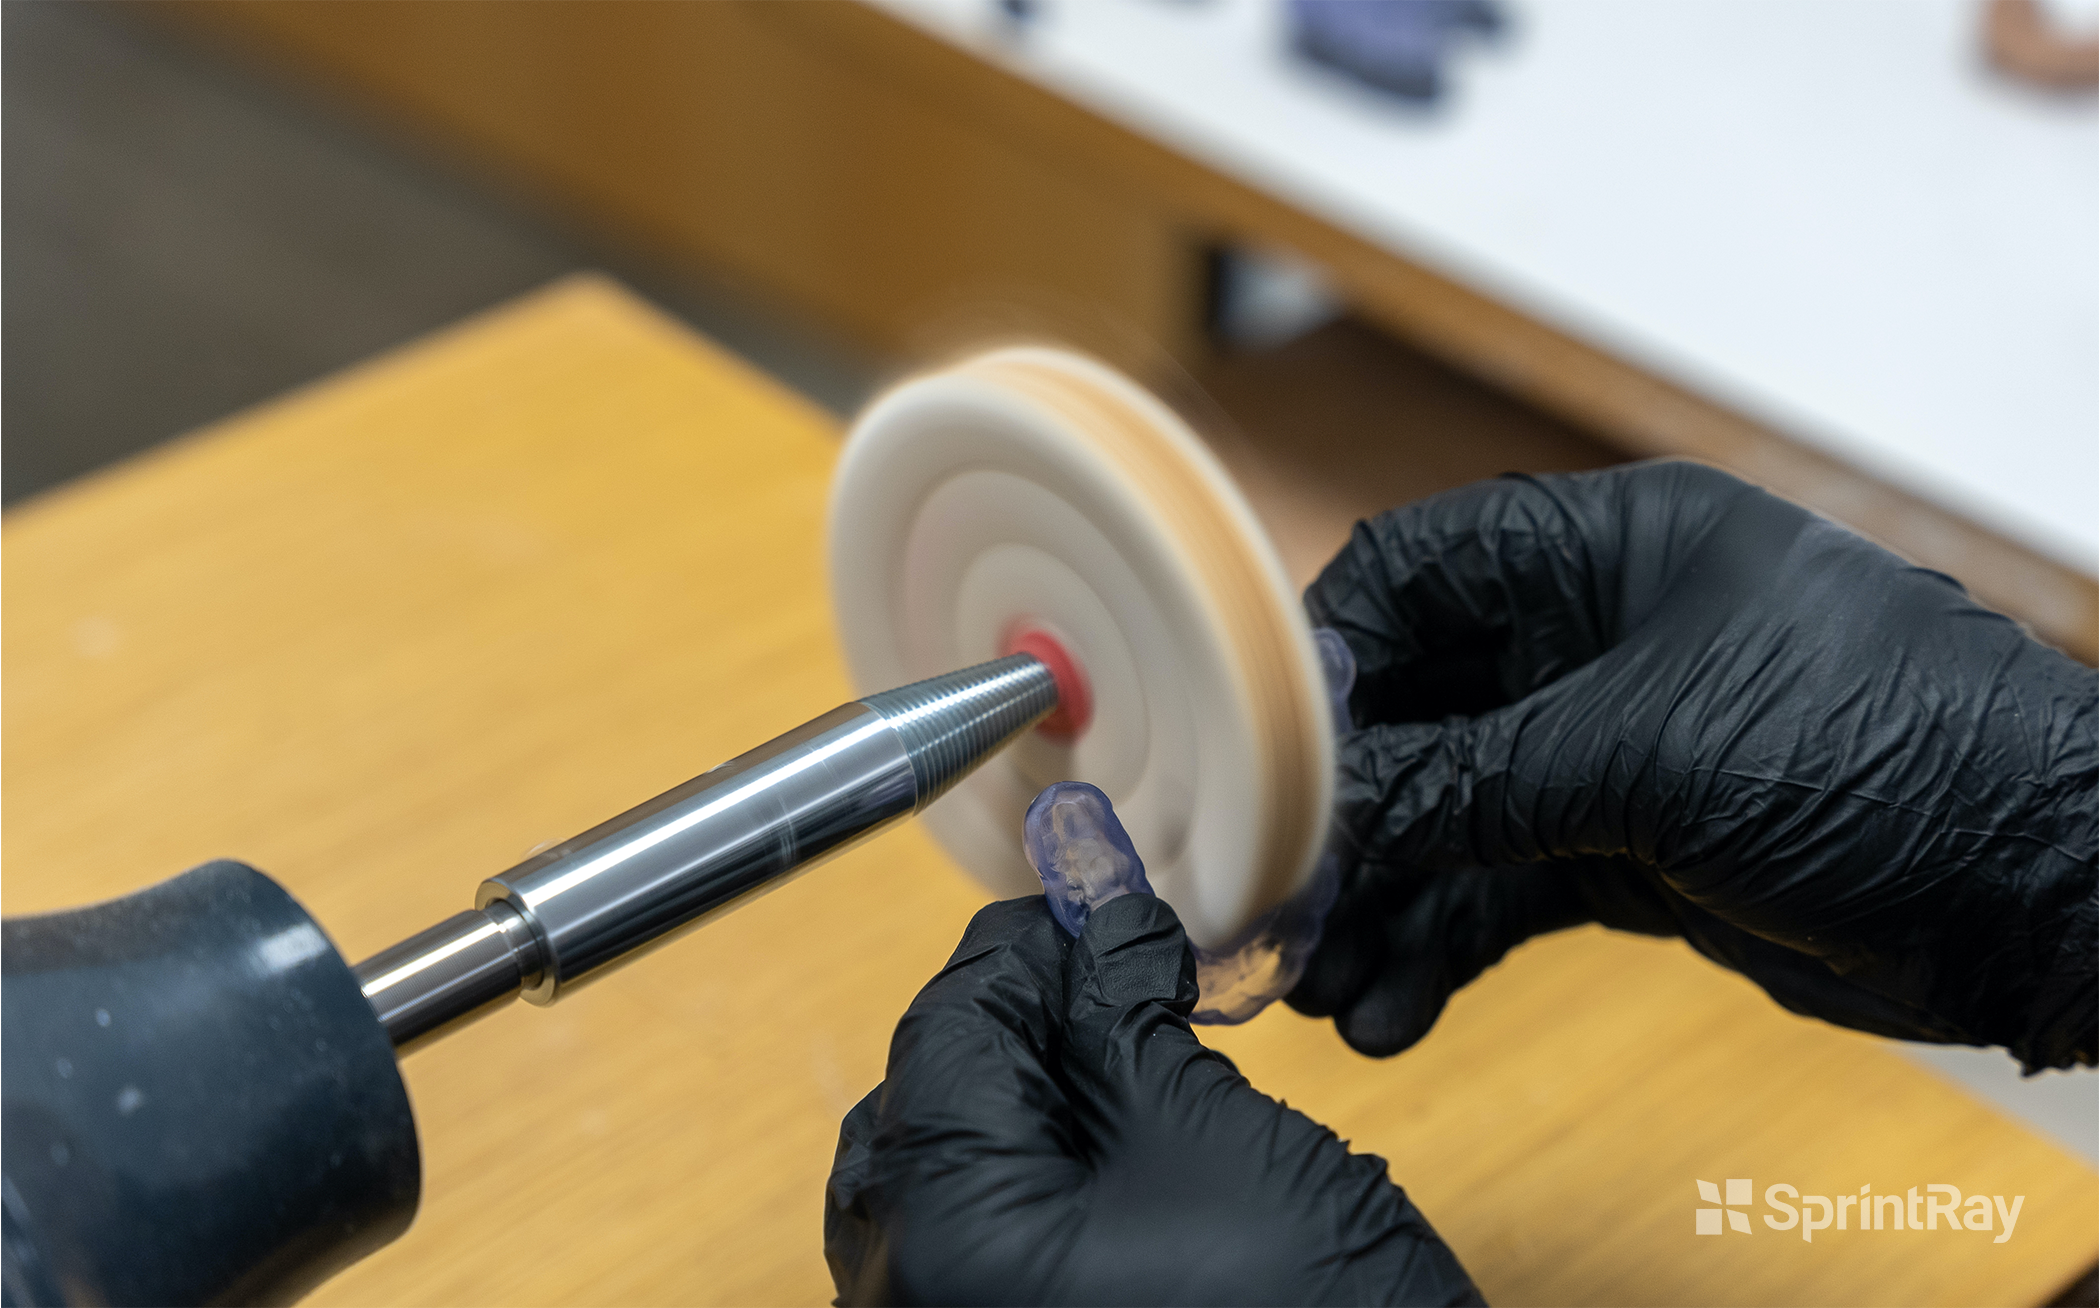
4.4.2. High-Shine
Use a fresh muslin wheel and Hatho Beige polishing compound, with firm and consistent pressure, reaching all the areas of the appliance. Make sure to achieve a uniform shine on the appliance. Once done, rinse the guard with water to remove high-shine compound residue.
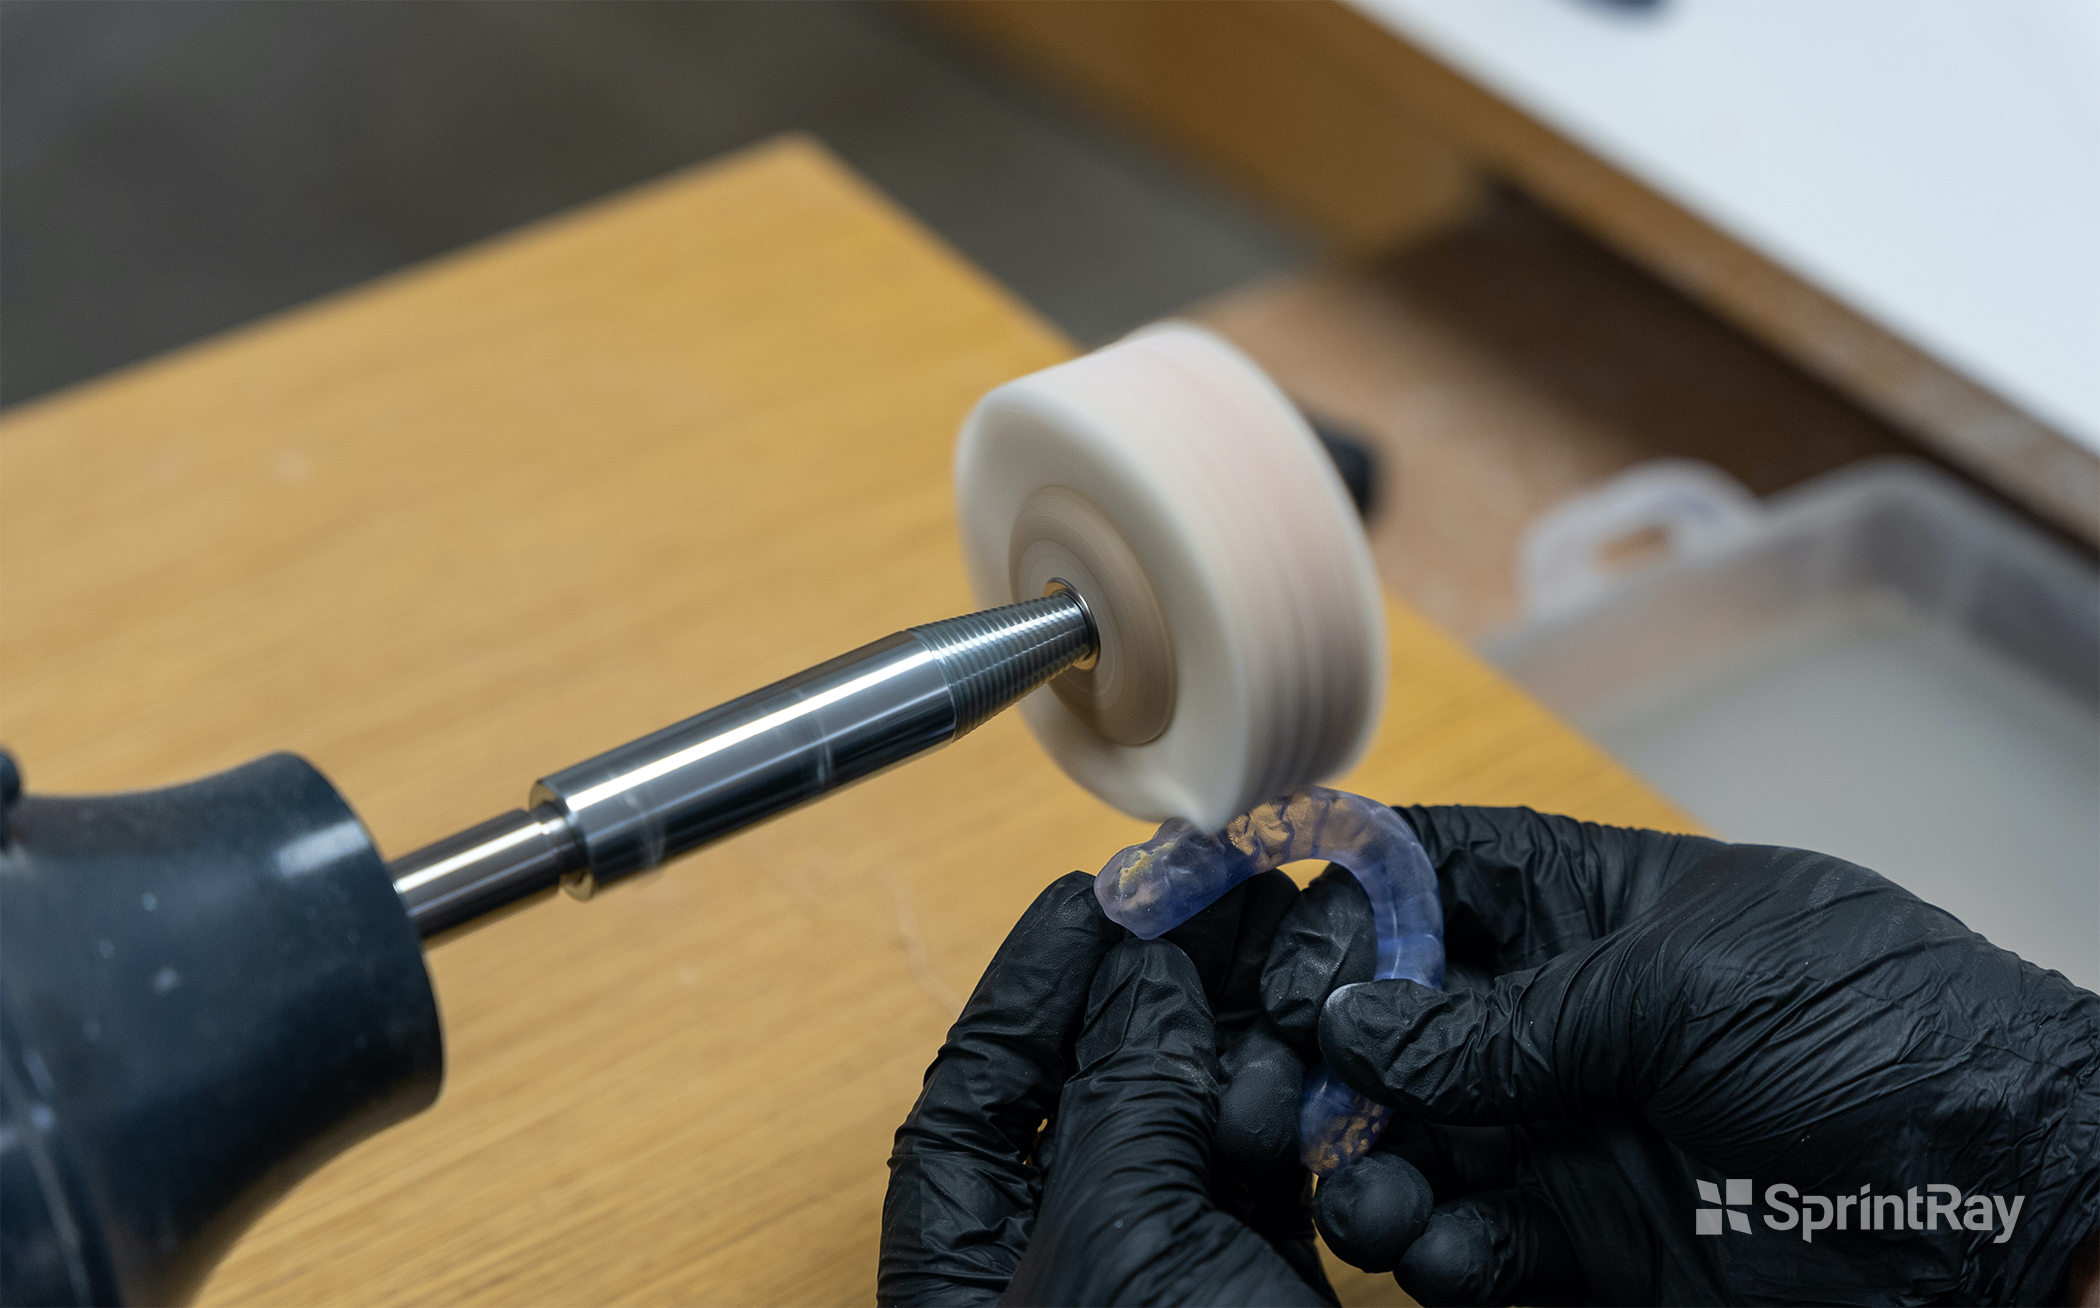
4.4.3. High-Gloss (Optional)
Use a cotton buff wheel and Hatho Pink polishing compound with consistent pressure, reaching all the areas of the appliance until you get a “mirror finish”.

4.4.4. Cleaning the Occlusal Guard
Use dish soap and a soft toothbrush to clean the appliance before trying it in patient’s mouth.
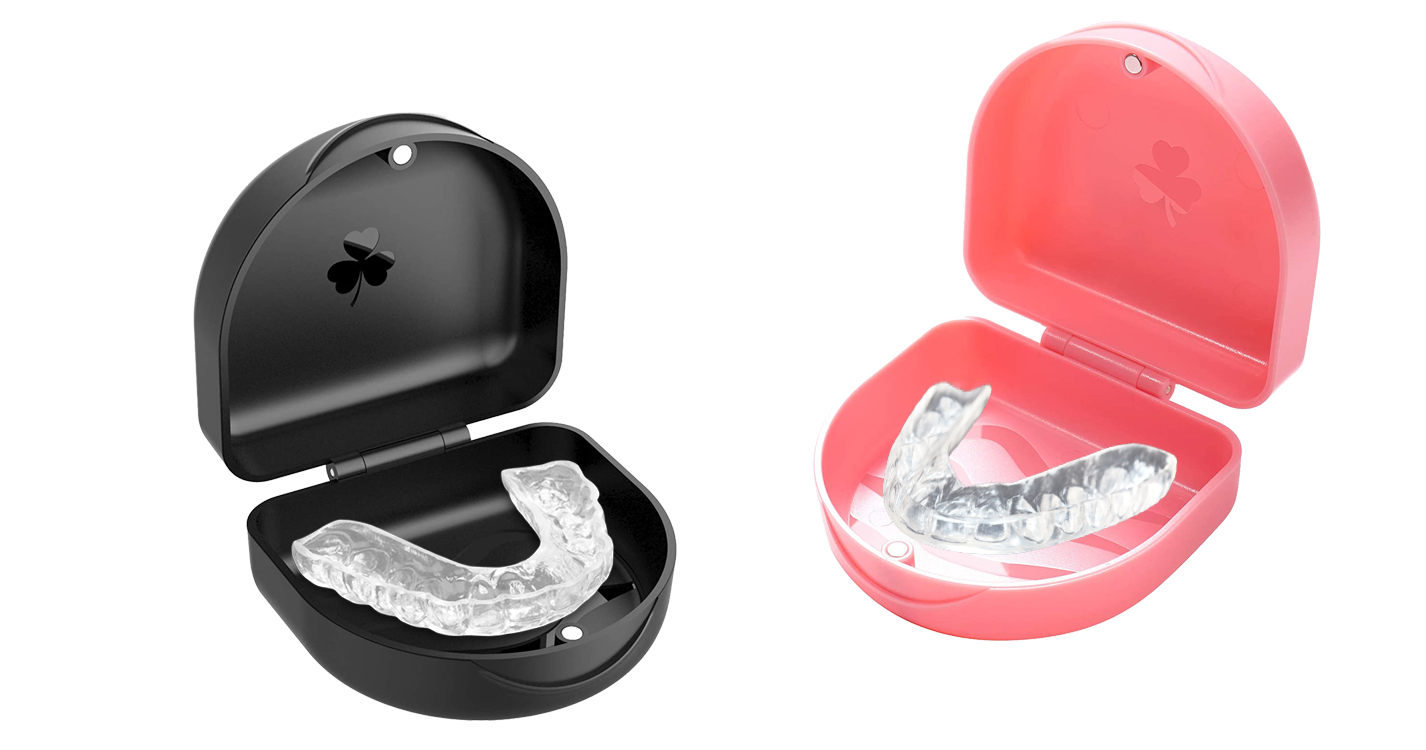
4.4.5. Packing
Pack the finished occlusal guard in a container that has the patient's name/file number, and then deliver it to the patient. Provide the patient with instructions on how to use and clean the occlusal guard.
Pro Tips
- Use protective eyewear at all times to avoid eye injuries.
- Let the patient practice placing and removing the appliance before leaving the office.
For further information or any questions, please contact our Customer Support team from Monday through Friday, 7AM - 5PM PST at (800) 914 8004, or visit www.support.sprintray.com.


