


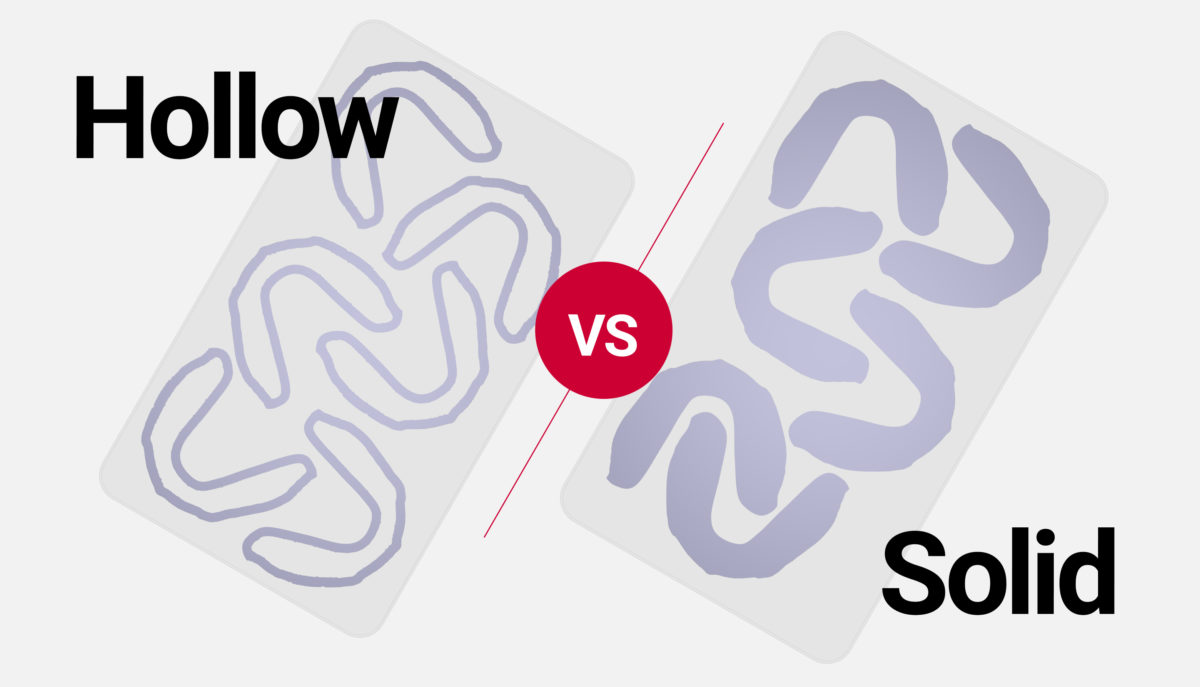
Decision Points: Hollow or Solid?
Creating models for the fabrication of clear retainers or aligners presents a rapid, high-value return on investment for dental 3D printing. While this therapy has been one of the driving forces in the adoption of 3D printing in dental clinics, there is disagreement within the community on exactly how one should go about it. For any new technology in a dental office, the emphasis should be on improving efficiency over previous methods and workflows.
You may never have given much thought to whether your models should be hollow or solid, but saving resin means, at least in principle, saving money. And one tempting way to save resin is to print models that have been hollowed out. If nothing functional is lost in the process of hollowing, then this intuition seems sound. If, however, it creates extra work and increases the number of steps for this therapy, then the cost savings must be significant to make up for it.
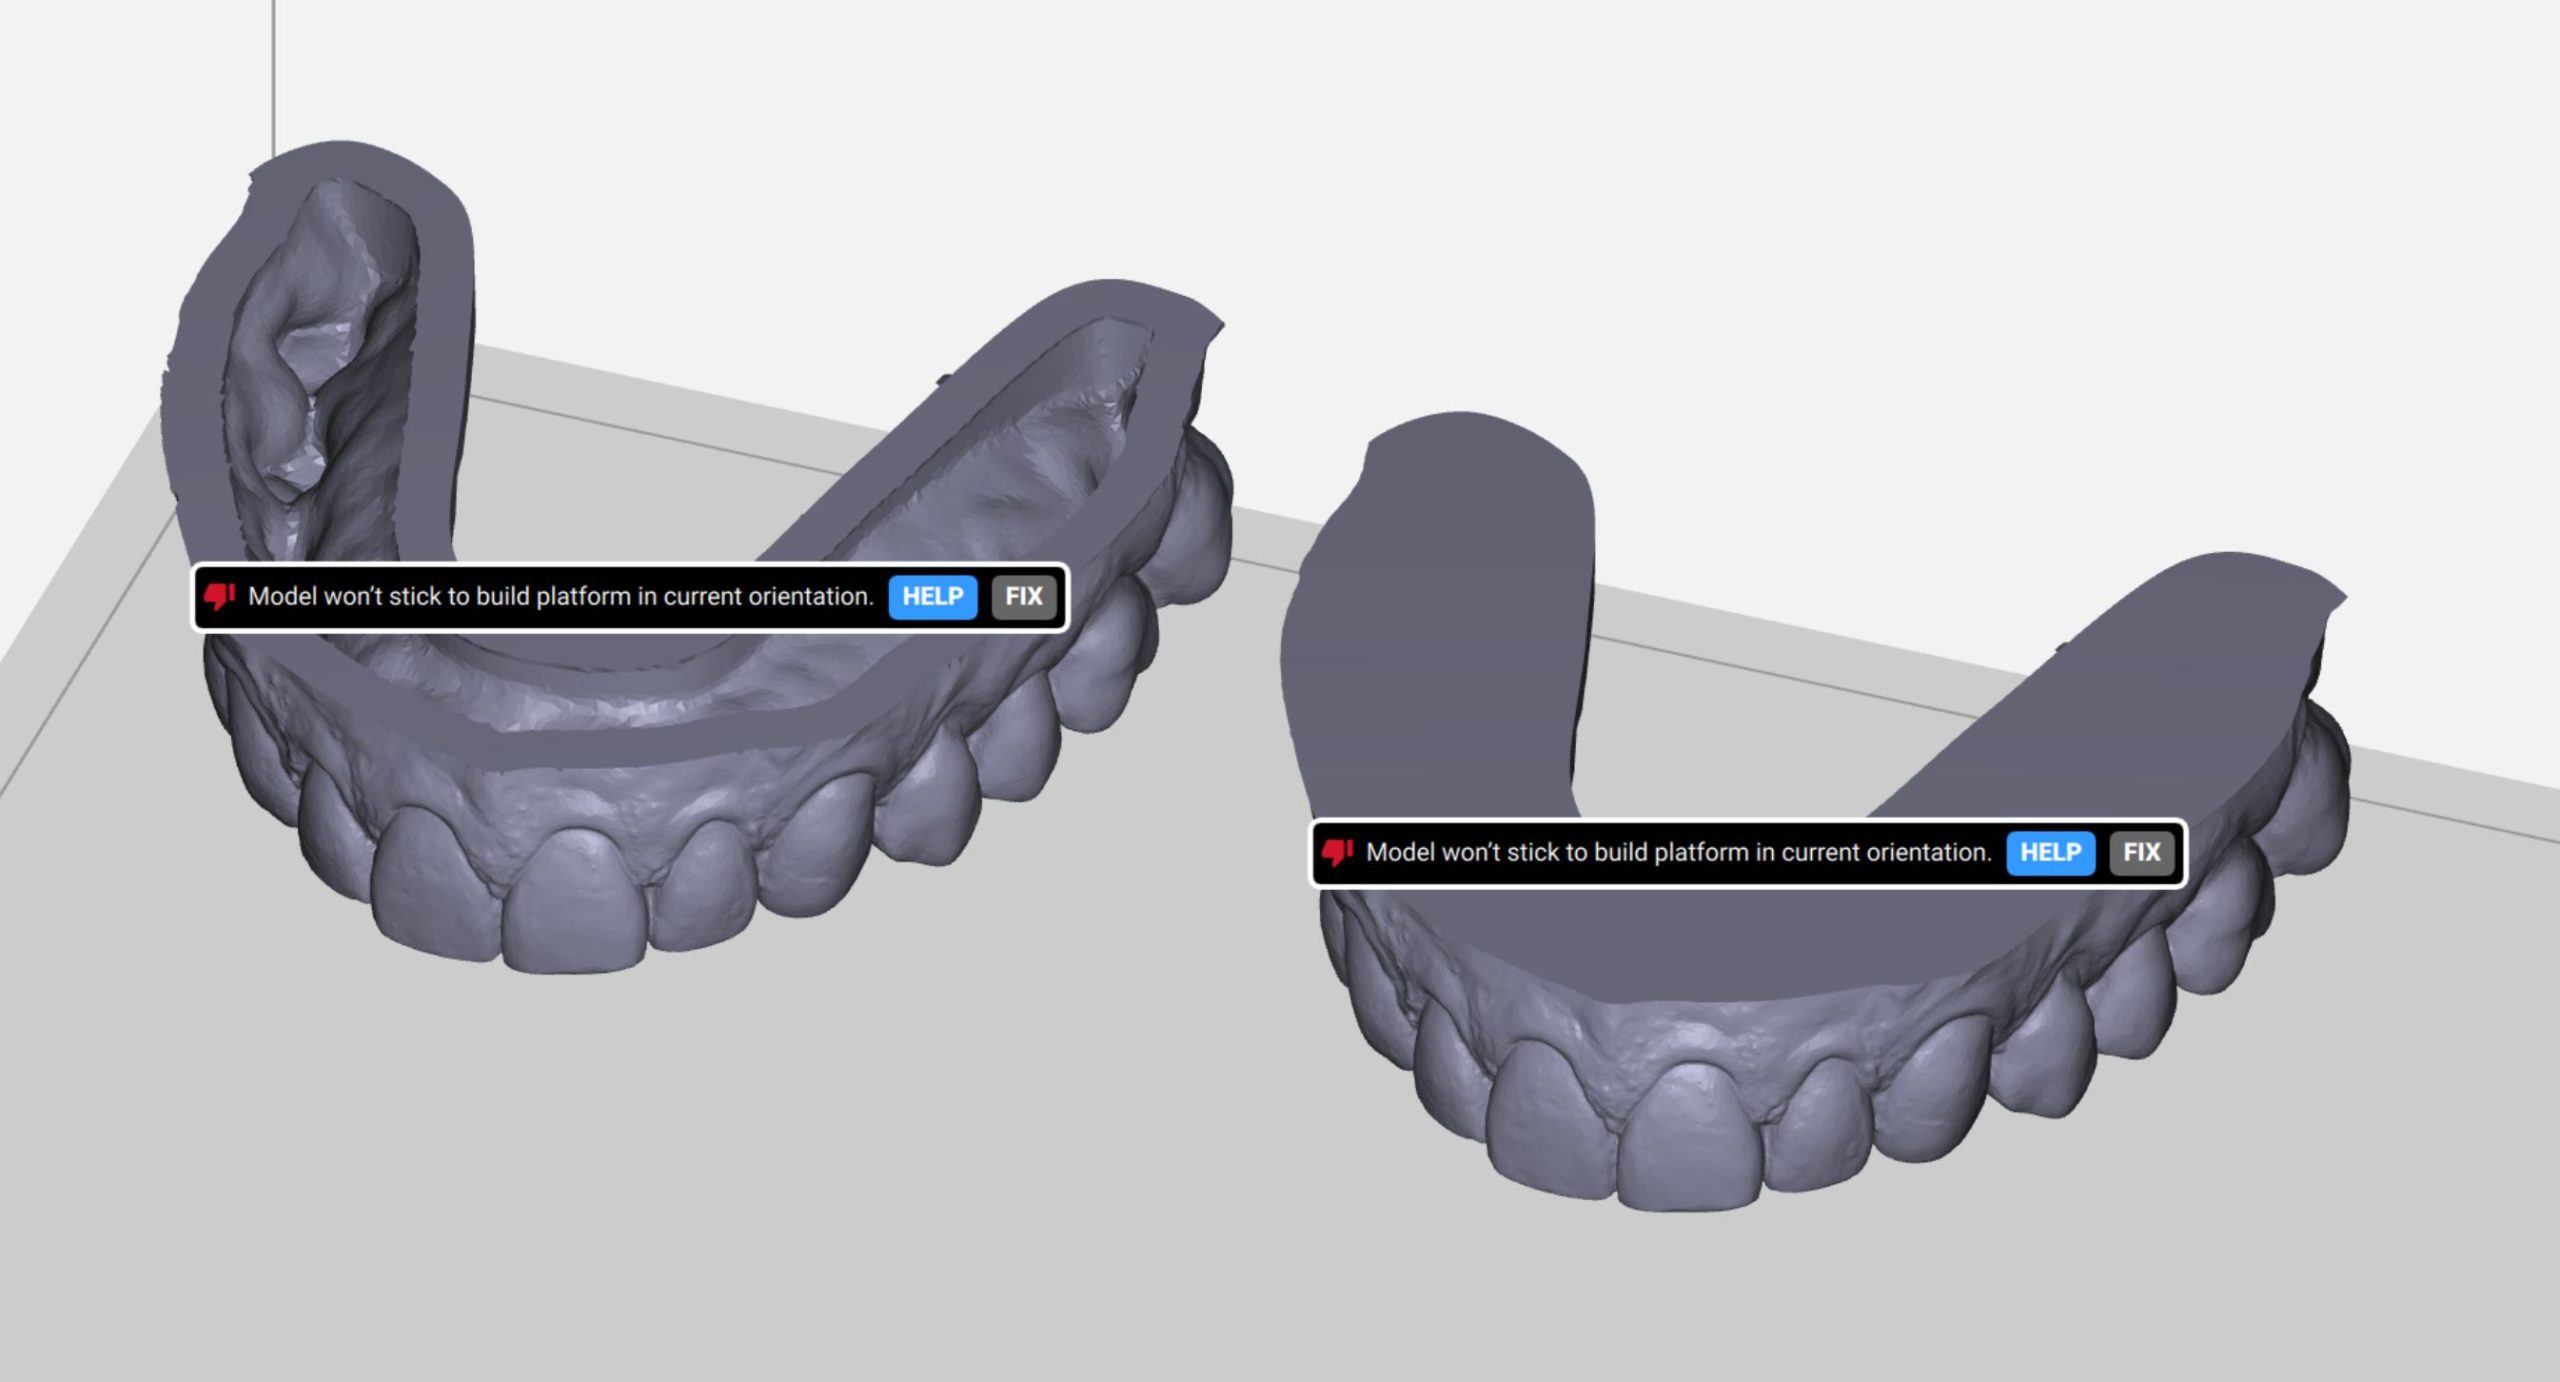
In the end, delving deeper on the potential impacts of printing hollow models might give you a better picture and make you question the potential cost savings. An overall greater surface area to wash and cure, potential build plate adhesion problems due to the smaller contact patch, and increased digital workflow complexity are three major pain points associated with this approach. Read on to learn about the cost/benefit tradeoff of printing hollow and how the economics of printing solid make more sense in most cases.
Overview of Printing Hollow
The perceived benefit to printing models hollow is cost savings. Because DLP 3D printers like SprintRay Pro use liquid resin, only the amount of resin cured is consumed by the print job – whatever isn’t consumed during the print job remains usable for subsequent prints. Since resin consumption is a large share of the operating cost of 3D printing, it makes sense to take steps to reduce that cost as much as possible.
But it’s important to remember that printing hollow isn’t always so easy as just pressing a checkbox in some software. The digital process for hollowing-out models can vary considerably depending on the software used, and it’s important to consider this impact on your workflow. For free software such as Meshmixer, the process is not particularly difficult but can be time consuming, especially when a large number of models are being processed, as this software does not feature batch processing.
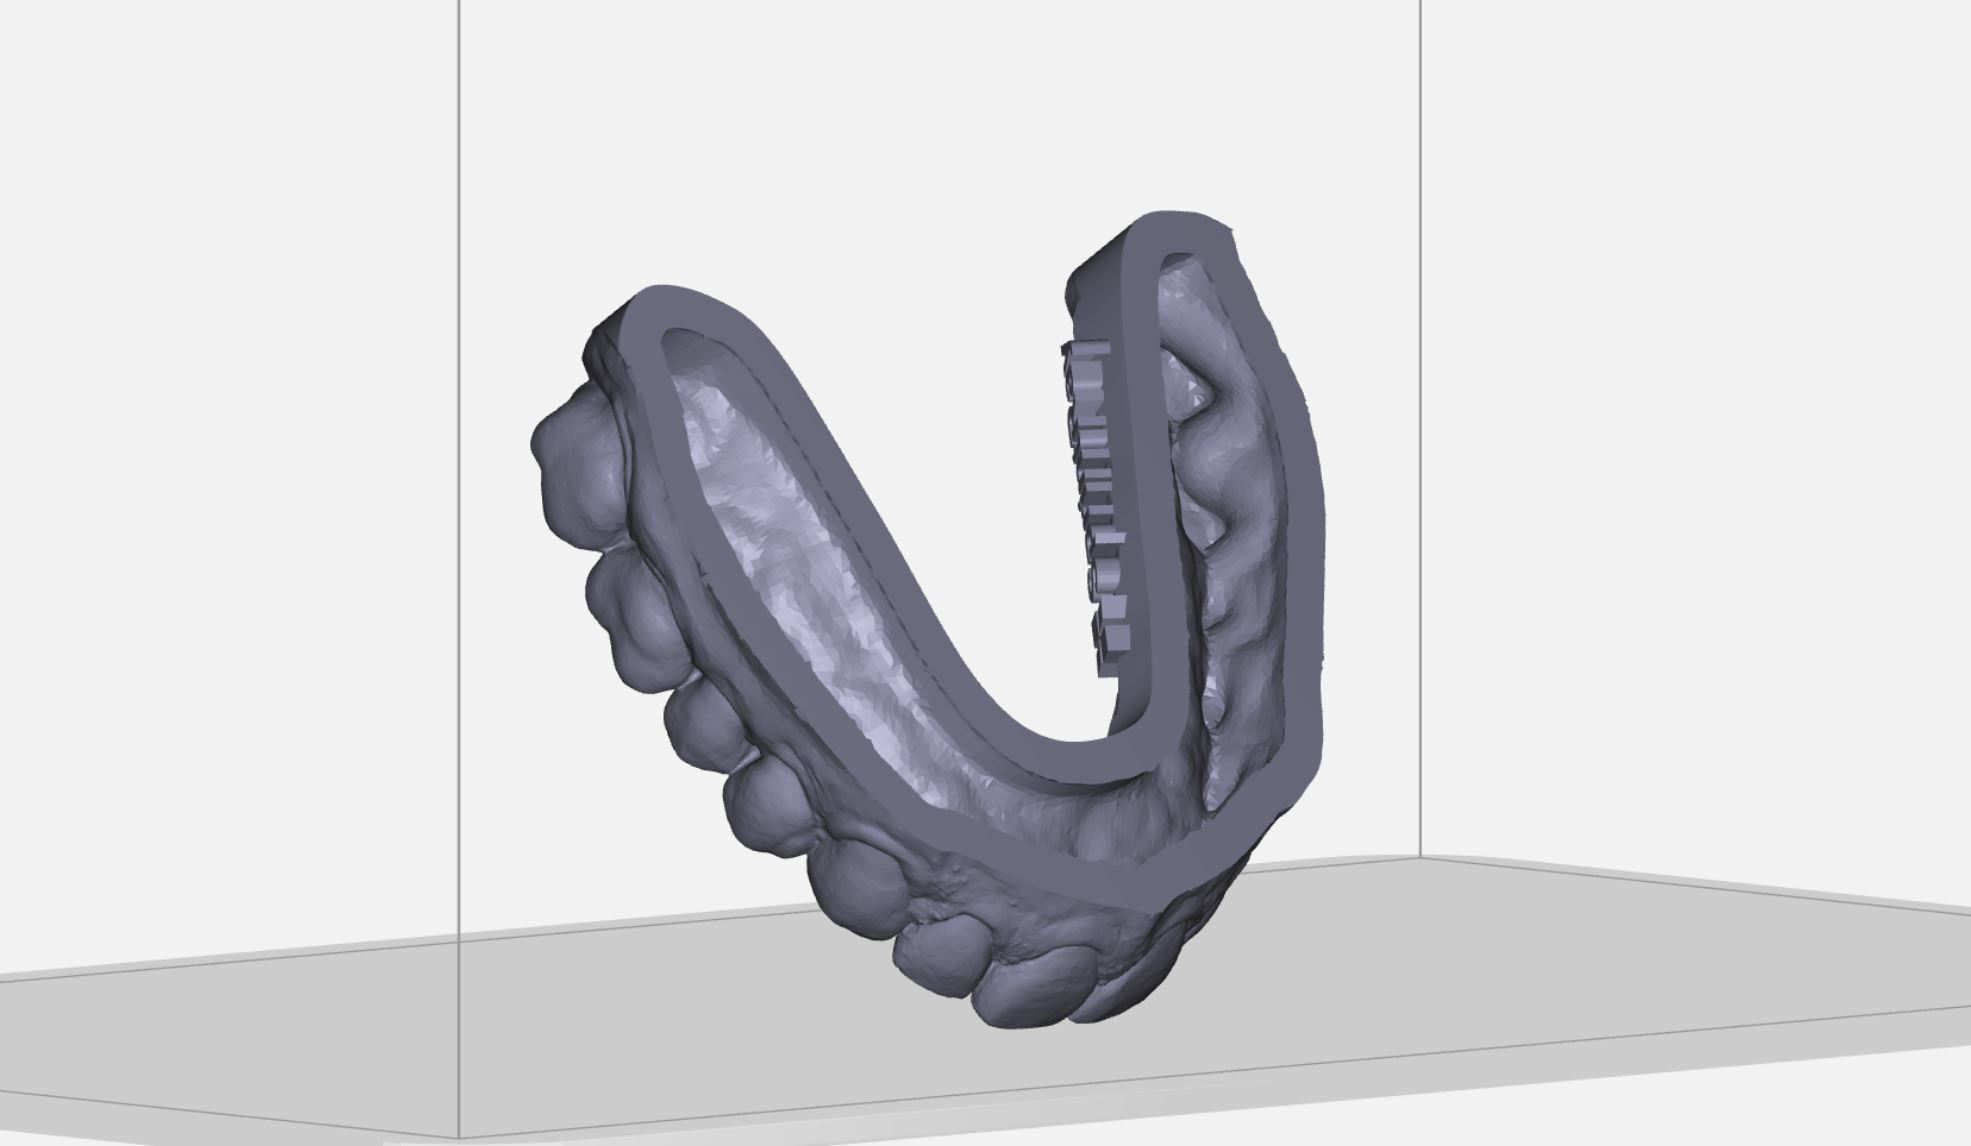
When models are printed hollow, they also may require drain holes in order for the resin inside the model to escape. If no drain holes are added, hollow models can become quite heavy with liquid resin trapped inside, causing adhesion issues that may lead to failed prints. Once the methodology for adding drain holes is learned, the process is somewhat rote but, again, time consuming. Drain holes also cannot remove all the resin from the inside of a hollow model, which diminishes the total benefit of printing in this configuration. Whatever isn’t removed by gravity essentially becomes added resin waste when it is washed away with IPA.
Overview of Printing Solid
Printing solid models presents the most efficient workflow. Models usually are exported from CAD software solid, so printing solid allows you to simply export models from the design phase and take them straight to print. Since time is often of the essence when it comes to using and learning technology, this straightforward workflow is recommended because it requires the fewest steps between design and final product.
After hollowing and adding drain holes, the solid and hollow models were the same height.
Another reason to print solid is to improve adhesion to the build platform. Solid models are less likely to fall off of the build plate and into the resin tank, which means they’re more likely to print successfully. The time and materials cost of a failed print is much higher than savings from a successful hollowed-out model. In the event of fa failure, the tank must be drained, the failure retrieved, and then the resin filtered before re-use. Solid prints tend to provide a better experience with a reduced chance of failure and a more efficient overall workflow.
Breaking Down the Math
Aligner models have been the chosen subject of this debate for a long time. Because a typical aligner case can exceed 25 trays, the potential for cost savings with hollow models seems significant. But as the math will demonstrate, the financial benefit to printing hollow models is negligible and the time investment required is often significant.
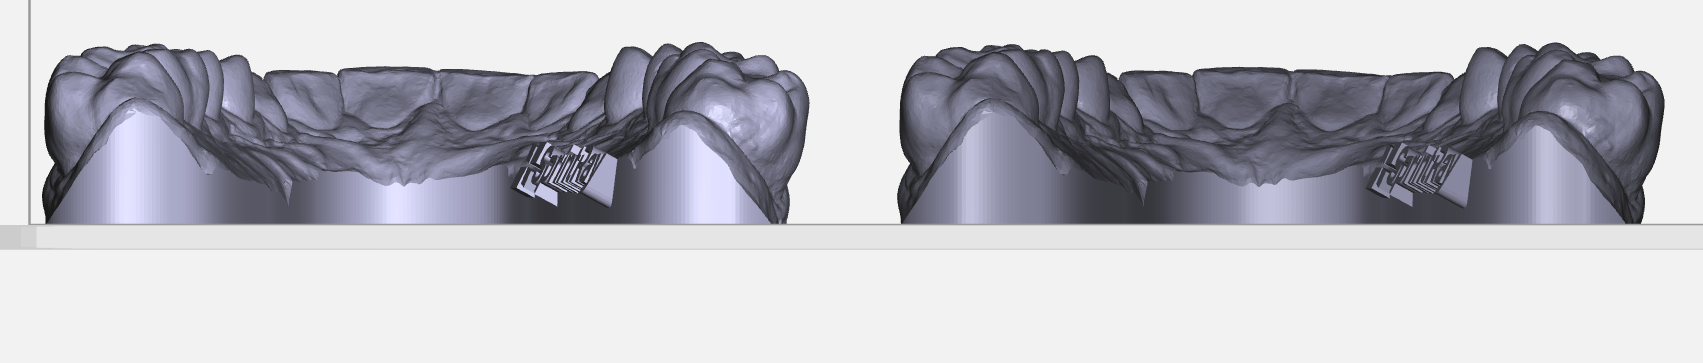
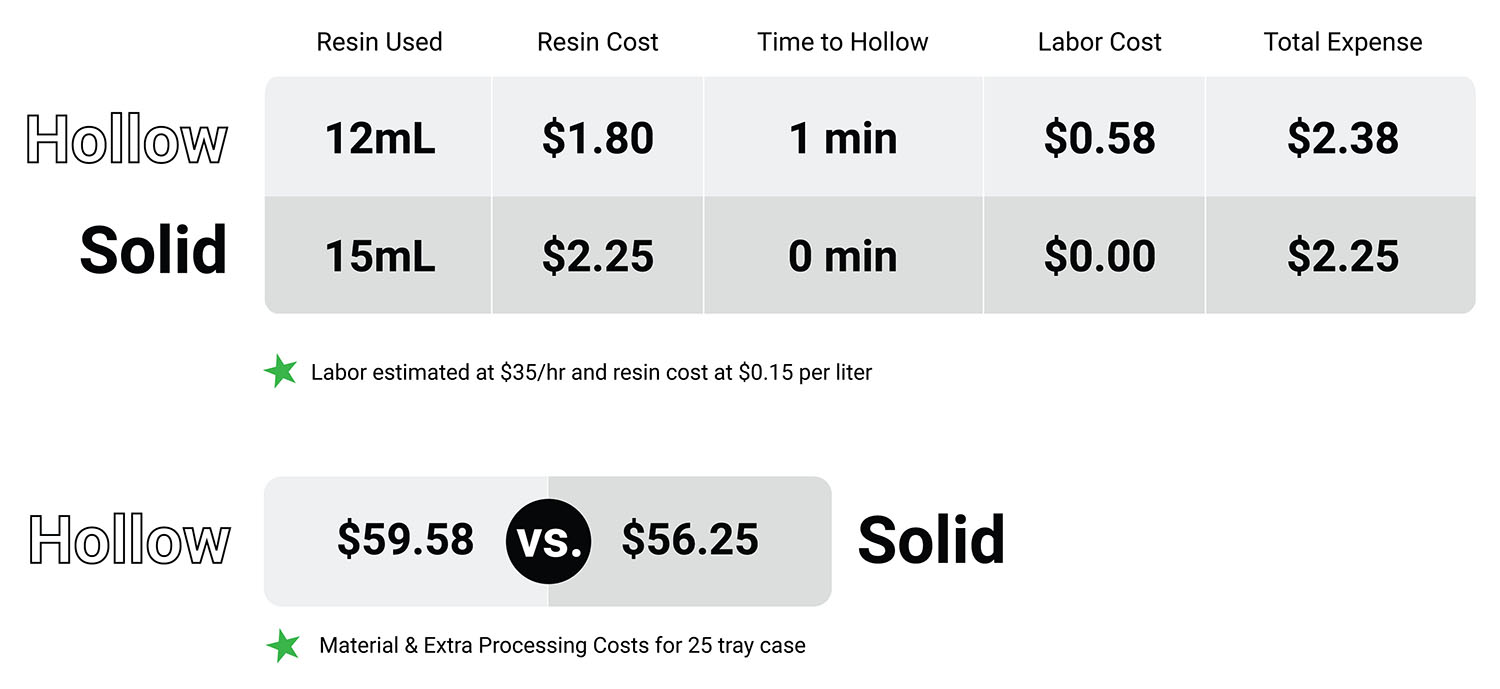
To test this hypothesis, we recruited our resident CAD/CAM expert to create two identical models that replicate aligner stage models – one solid, one hollow. We discovered that the solid models require 15mL of SprintRay Die & Model resin, whereas the hollow models require 11mL. A 1L bottle of SprintRay Die & Model resin costs $150, which means that each 1mL of resin costs $0.15.
CAD analysis revealed that hollow models have roughly 20% more surface area, and uncured liquid resin has a tendency to cling to models – this is why printed models are always wet when they’re finished. This 20% increased surface area means that in this instance at least an additional 1 mL of resin is consumed for the hollow model by virtue of resin clinging, bringing the total for hollow models to 12 ml.
While practice and automated software can make the hollowing-out process faster, using Meshmixer to hollow-out 50+ models without compromising their print efficacy will likely take even an experienced user at least 1 minute per model. That means you’ve sacrificed almost an hour of your time to save $30 in materials, which is not a good trade for most dentists. If you train a member of your staff to perform the hollowing, there is potential to reduce the cost. But assuming standard labor cost for dentistry, the best-case scenario may not break even.
This increase in uncured resin also affects the washing process. Because there is uncured resin attached to the inside of the model, the whole model must be removed from the platform in order to be properly cleaned, whereas an equivalent solid model can be left on the platform during wash, reducing the number of steps in this workflow. The additional uncured resin on the hollow model will increase the frequency with which your IPA must be replaced.
Models may also be printed hollow and vertical without drain holes, which reduces the amount of excess resin to be removed/cleaned after the process. However, this requires the addition of some type of raft or supports for reliable adhesion to the printing platform, which adds a similar amount of labor/time to the preparation process, and also consumes extra resin. Since printing time is a function of height, printing vertical also slows the overall printing process.
The Final Word: Efficiency
Printing models hollow might save a small amount of resin, but the total money saved is eroded by uncured resin clinging to the greater surface area, which increases IPA consumption, and a much more complex workflow than printing solid. We think that the goal of in-office 3D printing is to increase efficiency. For most doctors and in most cases, printing models solid is the correct course of action and that be the accepted standard.
Our intent is to create the best 3D printing experience for our customers, and printing solid is the correct choice for most of our customers most of the time. There are certain cases, such as extremely large models with huge amounts of filled area, where printing hollow makes sense and is worth the added workflow complexity. But for the majority of dental models, the added work just doesn’t make sense.